How to set up Web API in Power Pages?
The Power Pages Web API is a great tool that makes portal functionality more powerful. It allows developers to interact with Dataverse tables easily, making data handling smooth and improving the user experience. Whether you need to fetch data, update records, or delete entries, the Web API helps you do it efficiently.
In this guide, we will look at why the Web API is useful, go through the setup process, see some practical examples, and answer common questions to help you use it better
Advantages of Using Power Pages Web API.
1. Better User Experience: The Web API lets you create custom experiences like interactive forms and editable lists, making the portal more user-friendly.
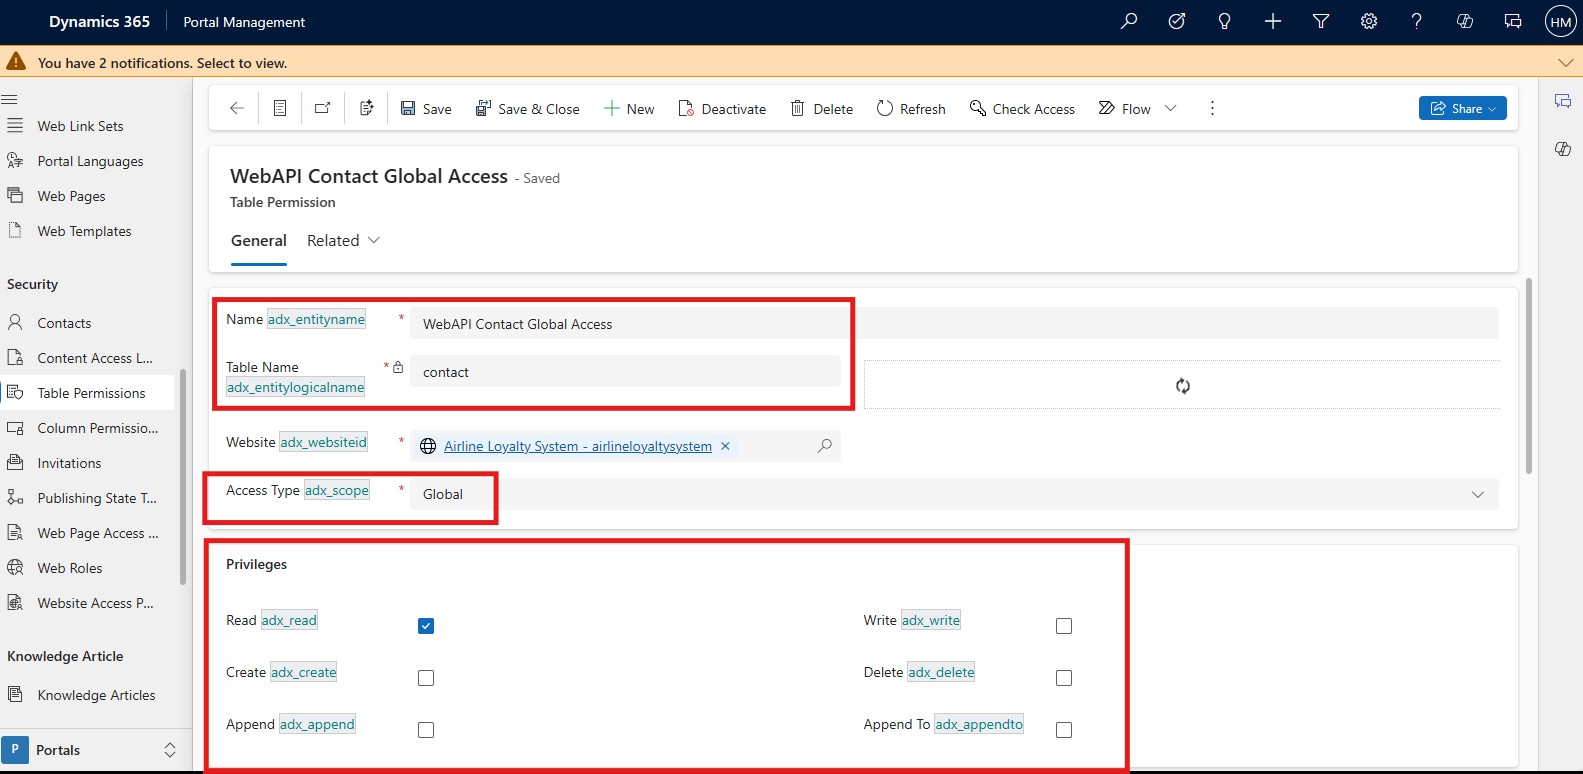
2. More Control and Security: Developers can choose which fields should be accessible through the Web API, ensuring better data protection.
3. Easy Integration: While mainly used to improve portal experiences, the Web API can also connect with other systems.
4. Faster Data Handling: It supports server-side caching, making subsequent API calls faster than initial ones.
How to set up Web API in Power Pages.
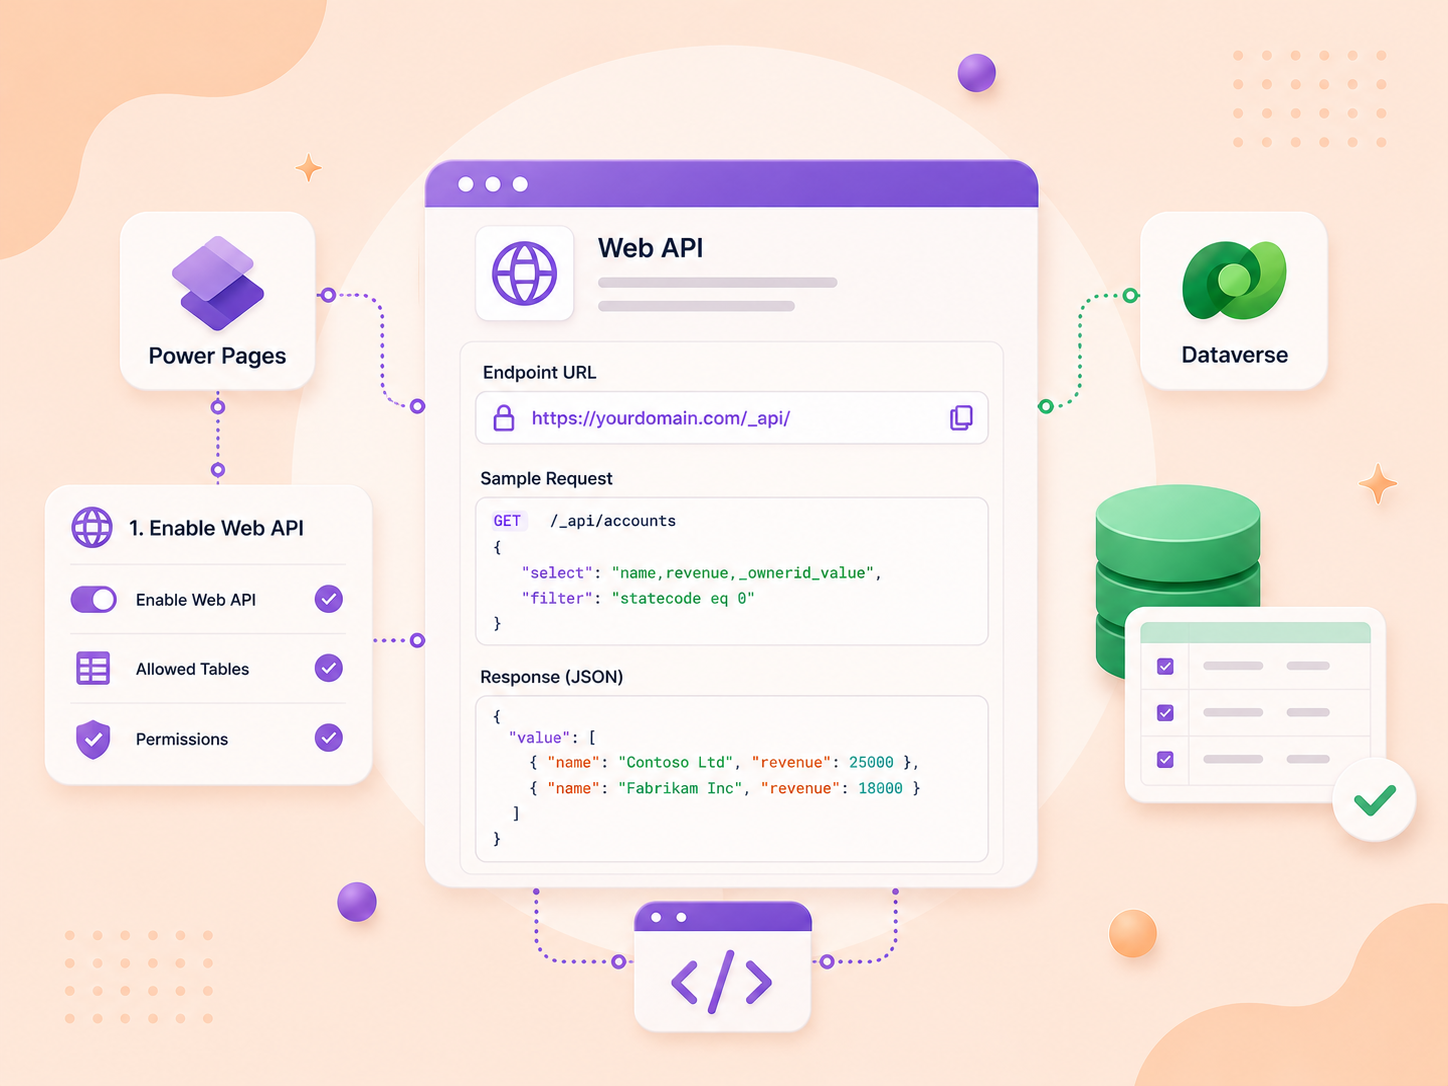
Step 1: Enable Web API for Your Page
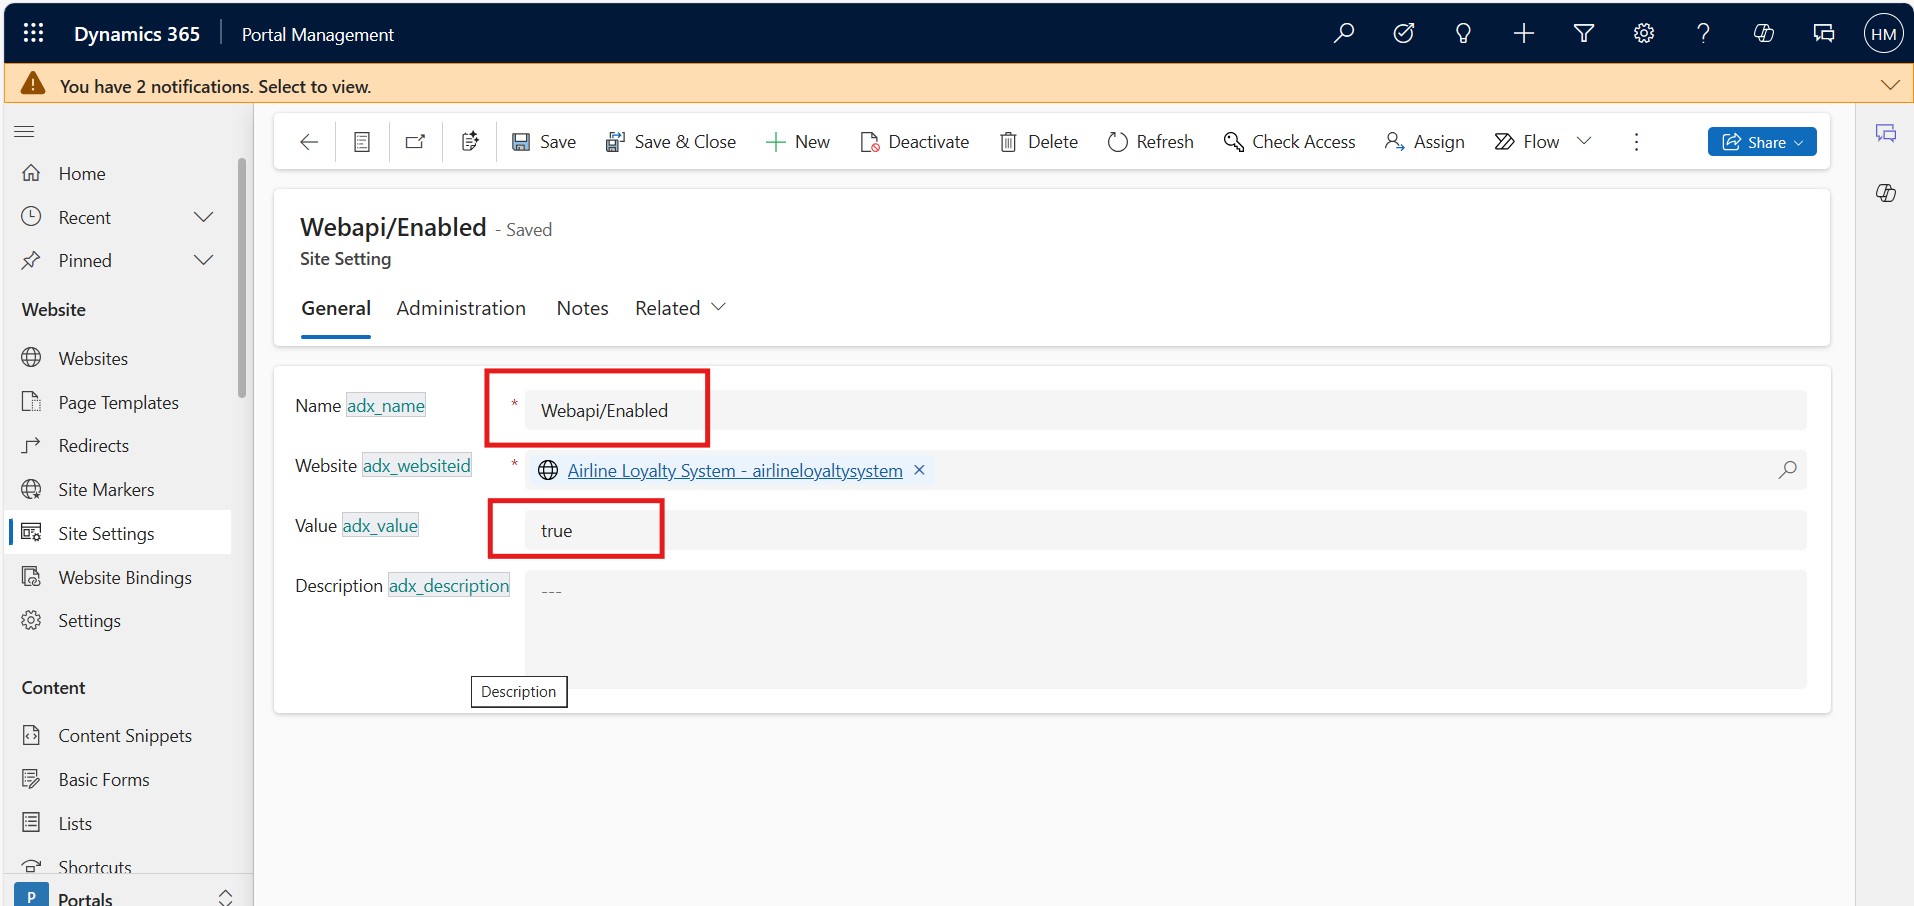
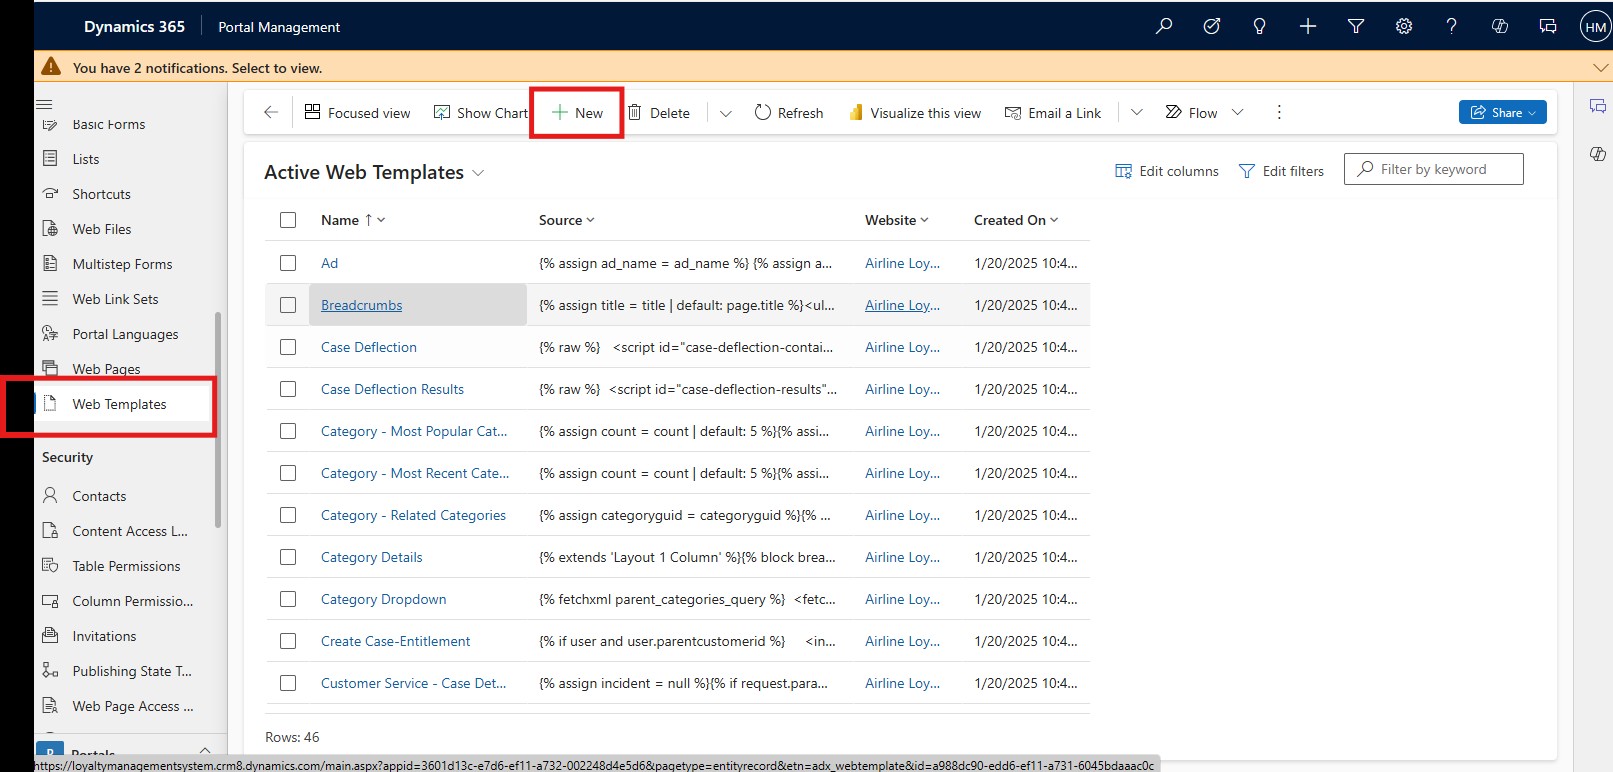
1. Open the Portal Management App.
2. Go to Site Settings in the left pane.
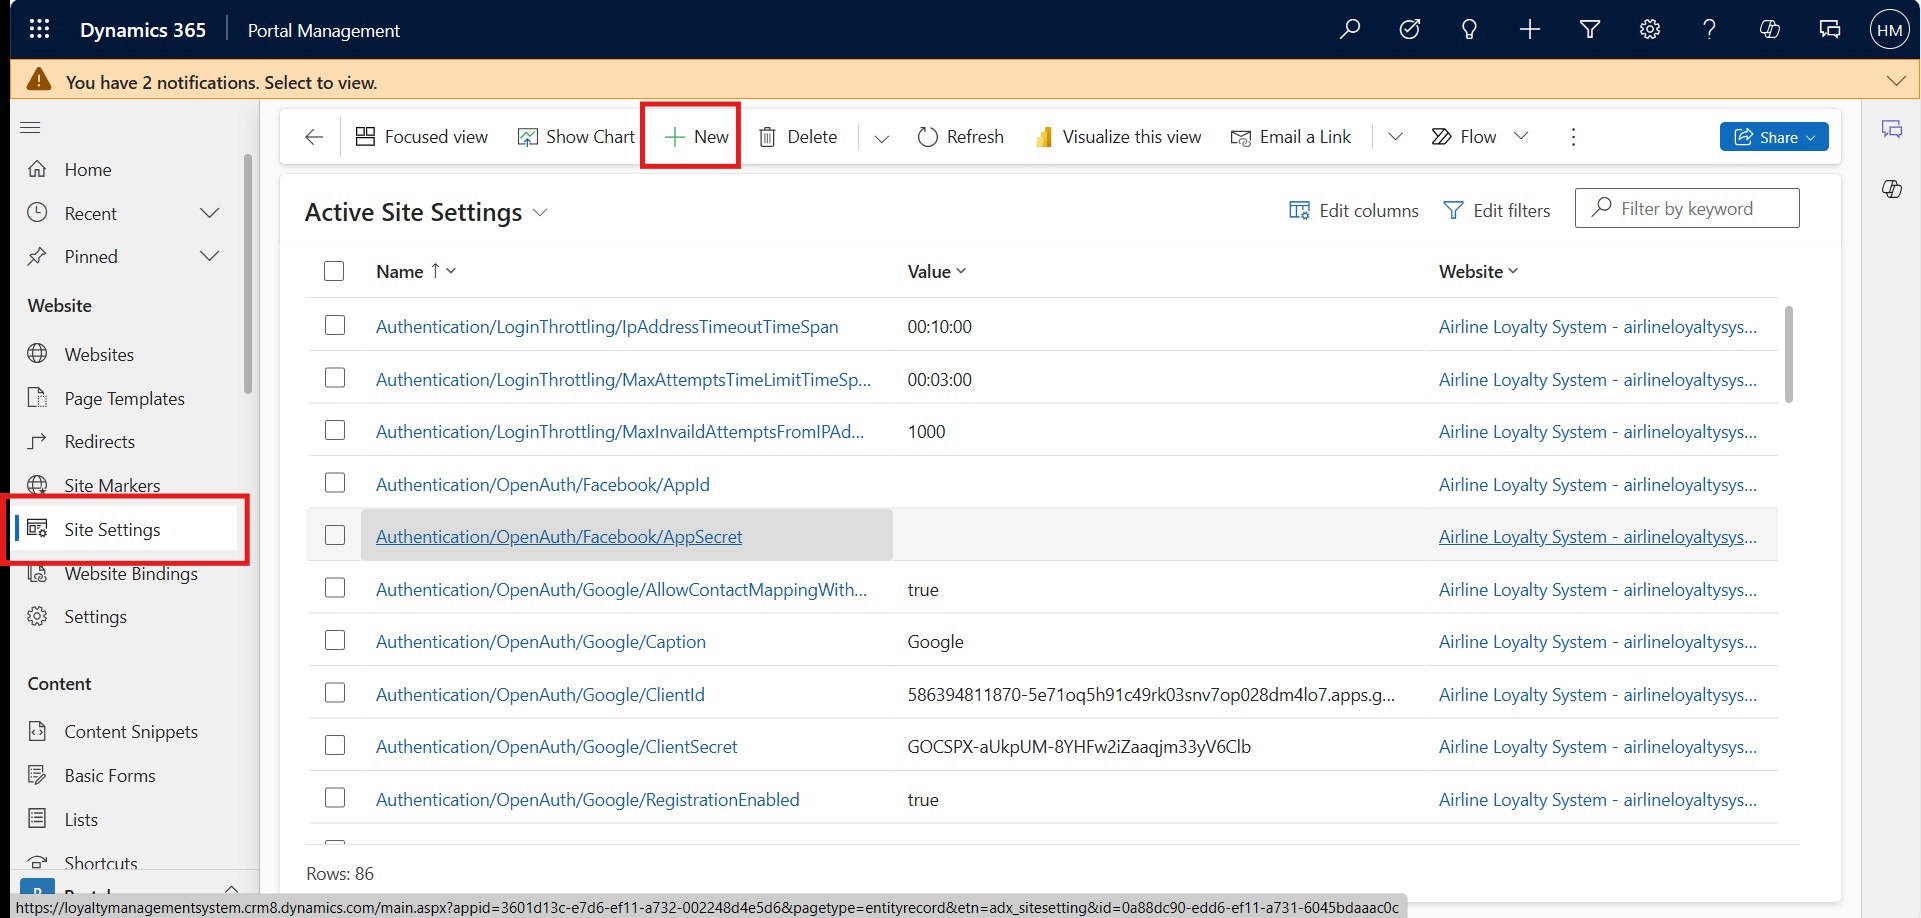
3. Add this site setting to enable the Web API:
Name: Webapi/Enabled
Value: true