Power Automate, combined with Microsoft Dataverse, provides powerful tools to automate processes such as generating and sending dynamic PDF documents. This blog post we’ll cover how to retrieve data, dynamically create and convert PDF files, and send them automatically via email. This solution is perfect for scenarios where you need to deliver updated records, reports, or invoices to clients or stakeholders without manual intervention.
Prerequisites
Before you start using the Convert file feature, ensure you have the following:
Microsoft Account: A valid Microsoft account to access OneDrive and Power Automate.
Power Automate Access: Access to Power Automate to create flows.
OneDrive Subscription: A subscription to OneDrive that includes file conversion features (most plans do).
Basic Understanding of Flows: Familiarity with how to create and manage flows in Power Automate will help.
A Donate entity with three columns has been created: Name, Mobile Phone, and Donate (with a data type of currency).
Scenario: This Power Automate flow triggers when a new record is added to the Dataverse. It retrieves the data from the record, generates an HTML document with the relevant information, converts it to a PDF, and stores it in OneDrive. Finally, the PDF is sent as an email attachment to the specified recipient.
Step-by-Step Guide to Set Up a File Conversion Workflow.
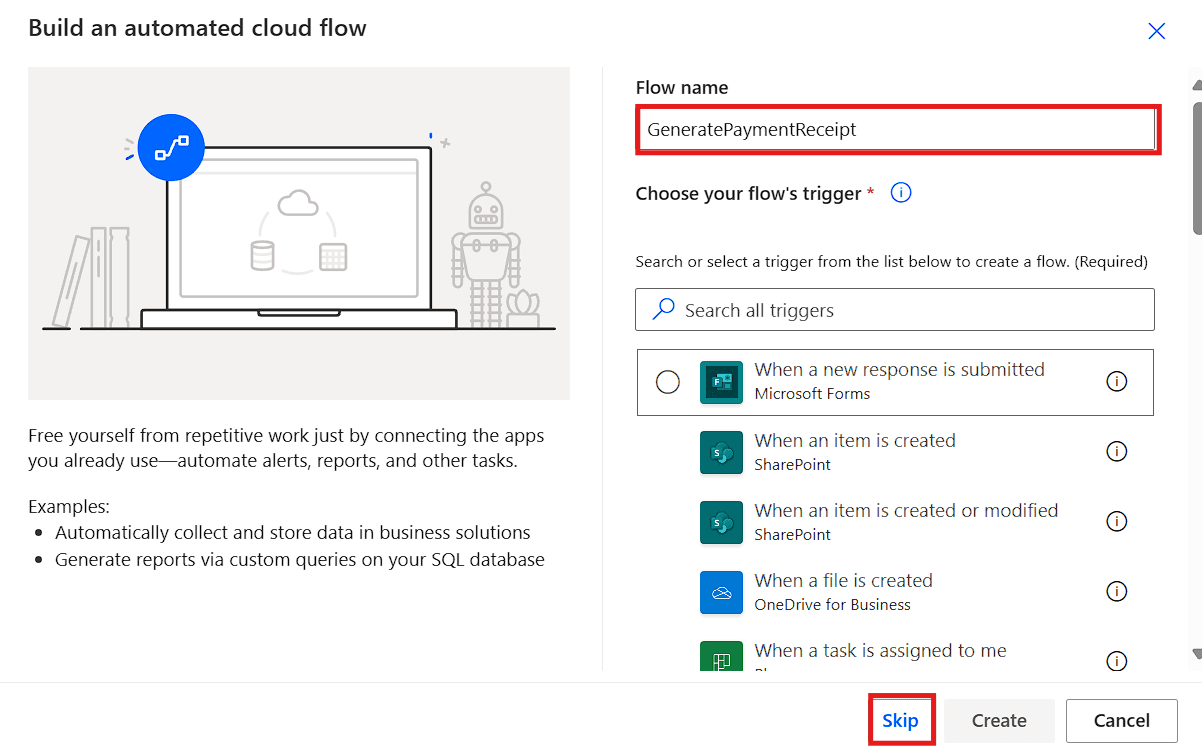
Firstly, log into Power Automate and choose an automated cloud flow.

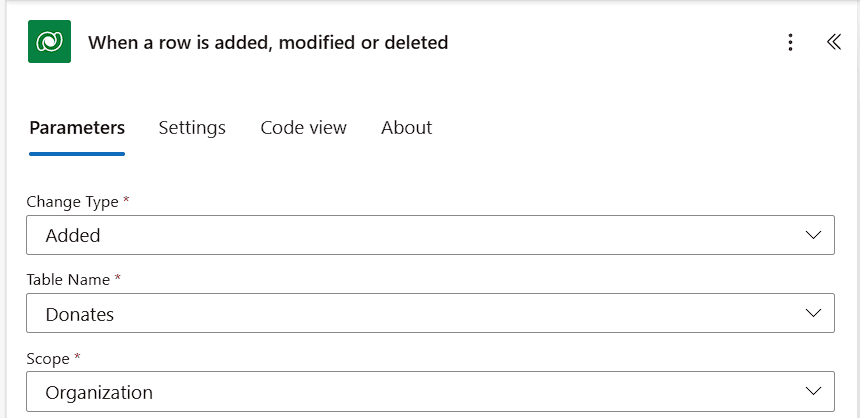
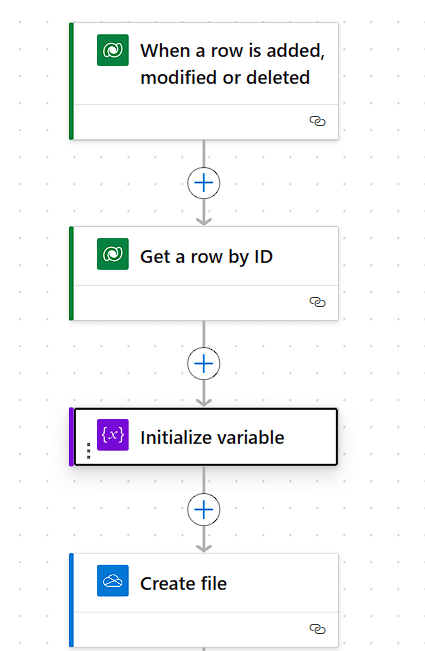
Then, add a Microsoft Dataverse trigger (When a row is added, modified, or deleted), and select the change type, table name, and scope.
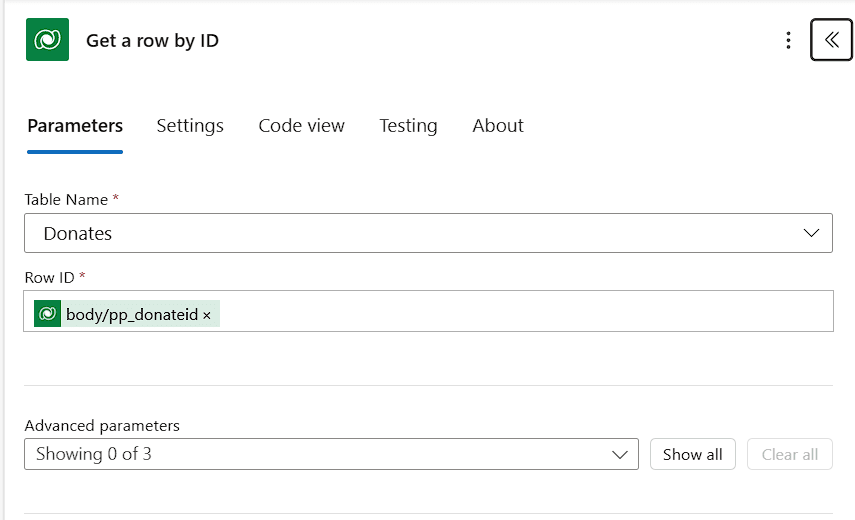
Use the Get a row by ID action to retrieve the specific row from Dataverse that triggered the flow. This allows you to gather the necessary data for the PDF.
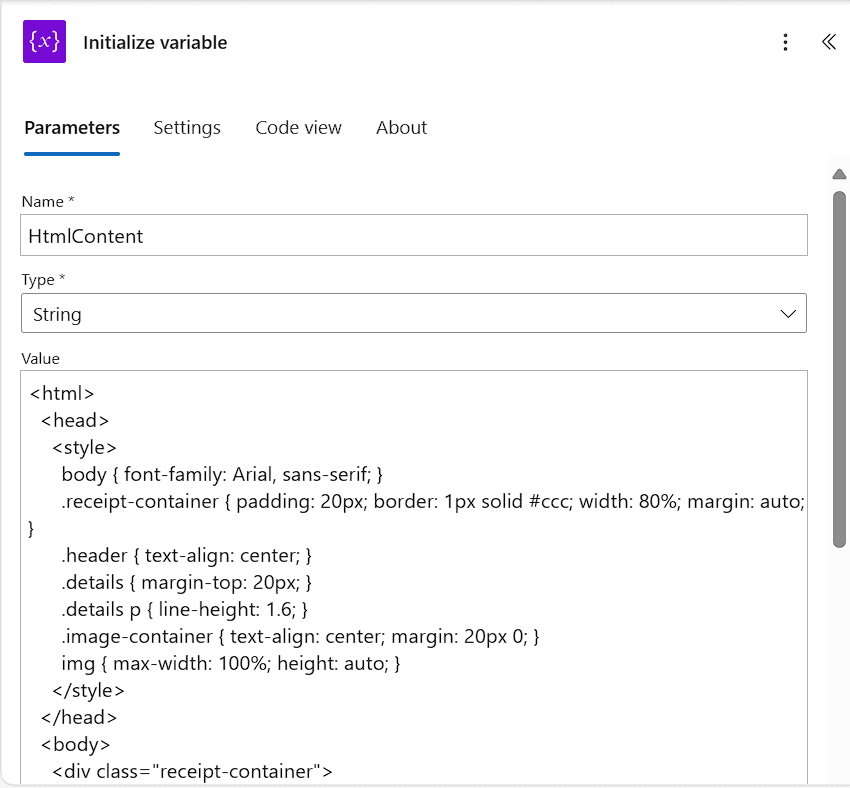
Set up an Initialize Variable step to store any data you need to dynamically insert into the PDF file. Add html and CSS code in the values.
Add a Create file action to generate an HTML document. Here, you can define the file content and structure using dynamic values from Dataverse. Add .html as extension in file name and HtmlContent in File content.

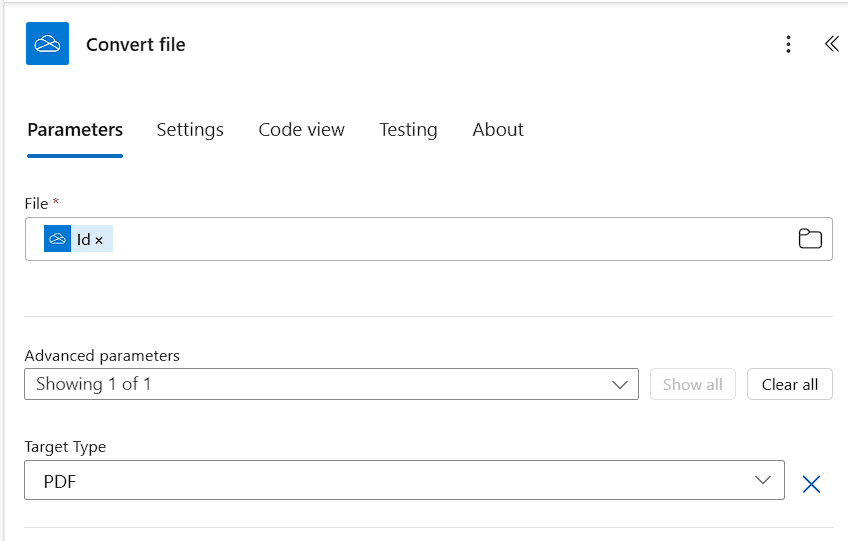
Use a Convert file action to convert the generated document into a PDF format if needed. This step ensures the document is in the correct format before it is sent.
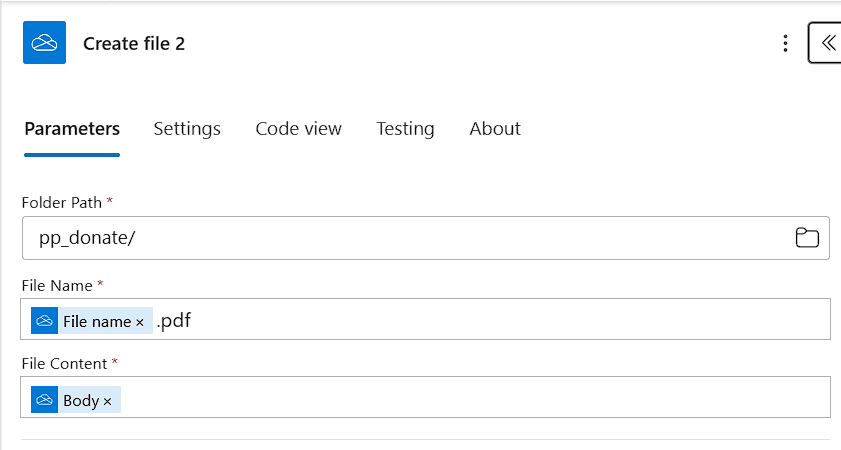
Save the final PDF file by adding another Create file action to store the completed PDF in a specified location, such as SharePoint or OneDrive.
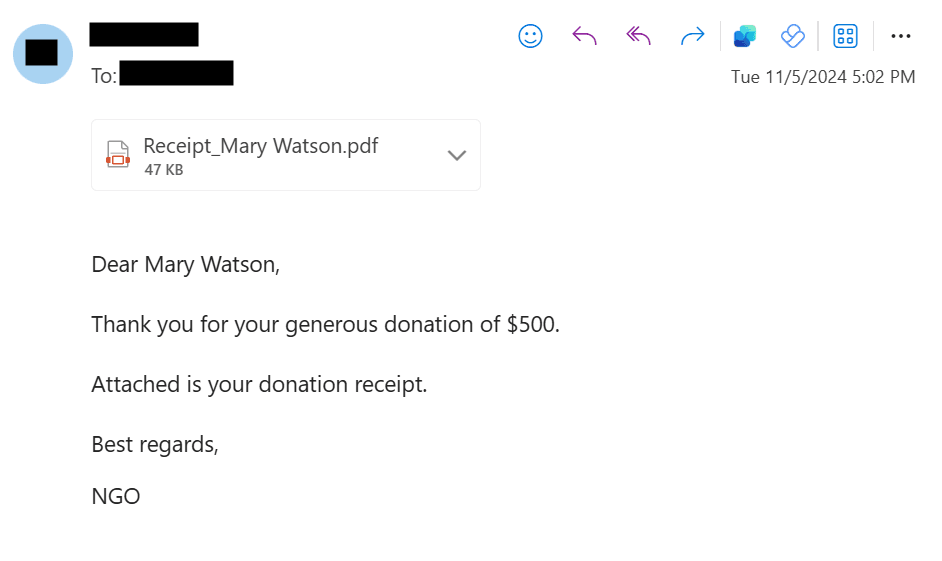
Lastly, use the Send an email (V2) action to automatically email the generated PDF to specified recipients. You can attach the PDF, add a custom message, and include any relevant details from the Dataverse data.


This is how you will get outlook mail with the pdf attachment.
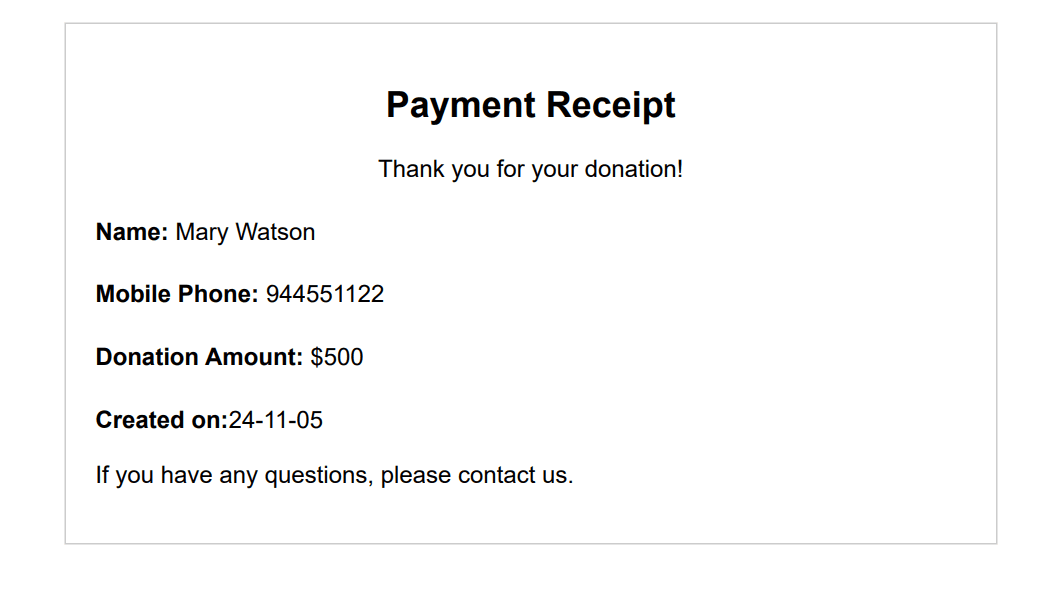
Using Power Automate to convert files in OneDrive can significantly enhance your productivity by automating tedious tasks. By following the steps outlined above and addressing common issues, you can create a seamless workflow that saves you time and reduces manual effort. Remember to test your flow and troubleshoot any issues you encounter to ensure a smooth automation experience.
Frequently Asked Questions (FAQs)
1. What types of files can I convert in OneDrive using Power Automate?
You can convert various file types, including Word documents, Excel spreadsheets, and PowerPoint presentations, to formats like PDF and DOCX.
2. Do I need a premium Power Automate license to convert files?
While basic automation features are available in the free version, some actions, including those for premium connectors like OneDrive for Business, may require a premium license.
3. Can I convert multiple files at once?
Yes, you can set up a flow to process multiple files, but you may need to use a loop action (such as Apply to each) to iterate over the files.
4. What if my file conversion fails?
If the conversion fails, check the error message in Power Automate. Common issues include incorrect file IDs or unsupported file formats.
5. How do I find the file ID needed for the conversion?
You can obtain the file ID by using the Get file metadata action, which provides the necessary details about the file.


