Save Form's Data & Files to SharePoint after Approval using Power Automate
November 18, 2024
#Power Automate
Ankit Saini
Microsoft Forms, a user-friendly tool for creating surveys and collecting data, can be powerful when integrated with SharePoint and Power Automate. This setup allows you to automate the process of saving form responses and file uploads to SharePoint once they’ve been approved, reducing manual effort and minimizing errors. By leveraging Power Automate, you can create workflows that automatically route data for approval and, upon approval, save files and responses directly to a designated SharePoint folder.
In this blog, we’ll explore step-by-step how to set up this integration, providing a seamless and effective data management solution.
Scenario: We’ll save Microsoft forms data to SharePoint after approval from Admin using power automate flow for streamlined data management.
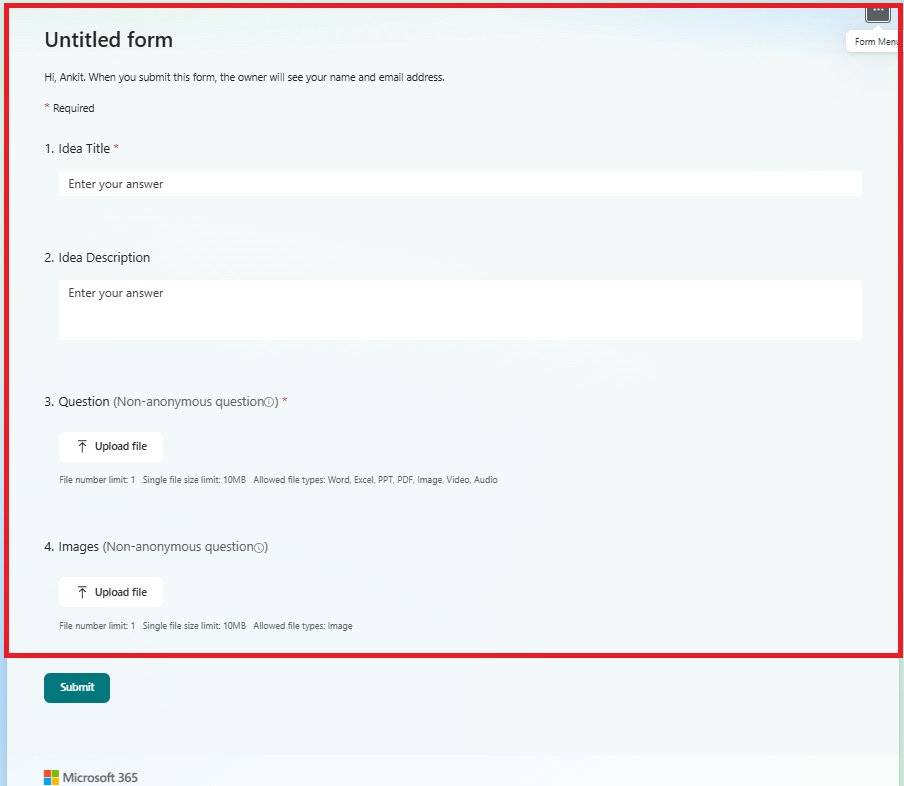
Create a Microsoft Form that includes the required fields. I have created a Microsoft Form.
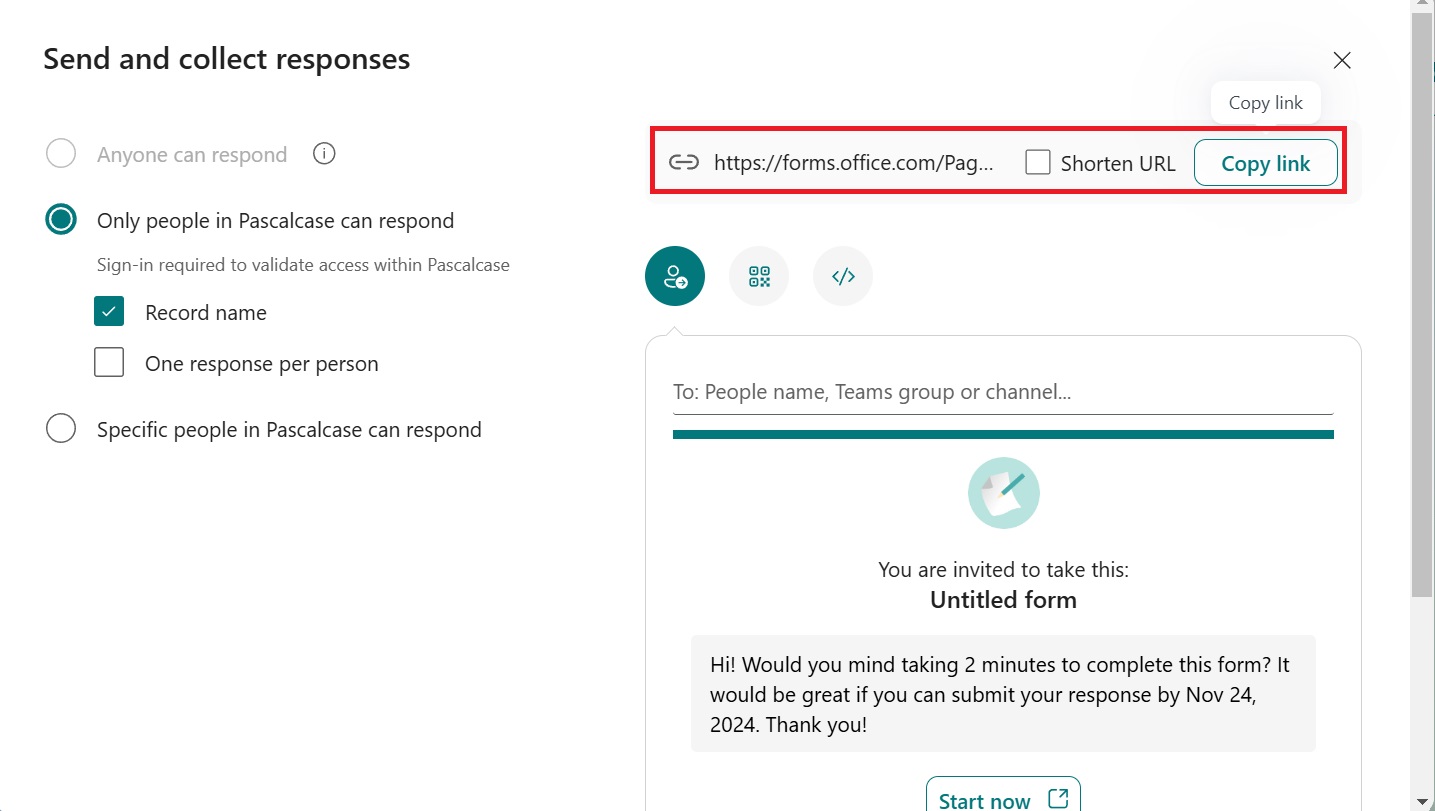
After creating a Microsoft Form, you will receive a form link. To get the form link, click on Collect Responses, and a box will appear.
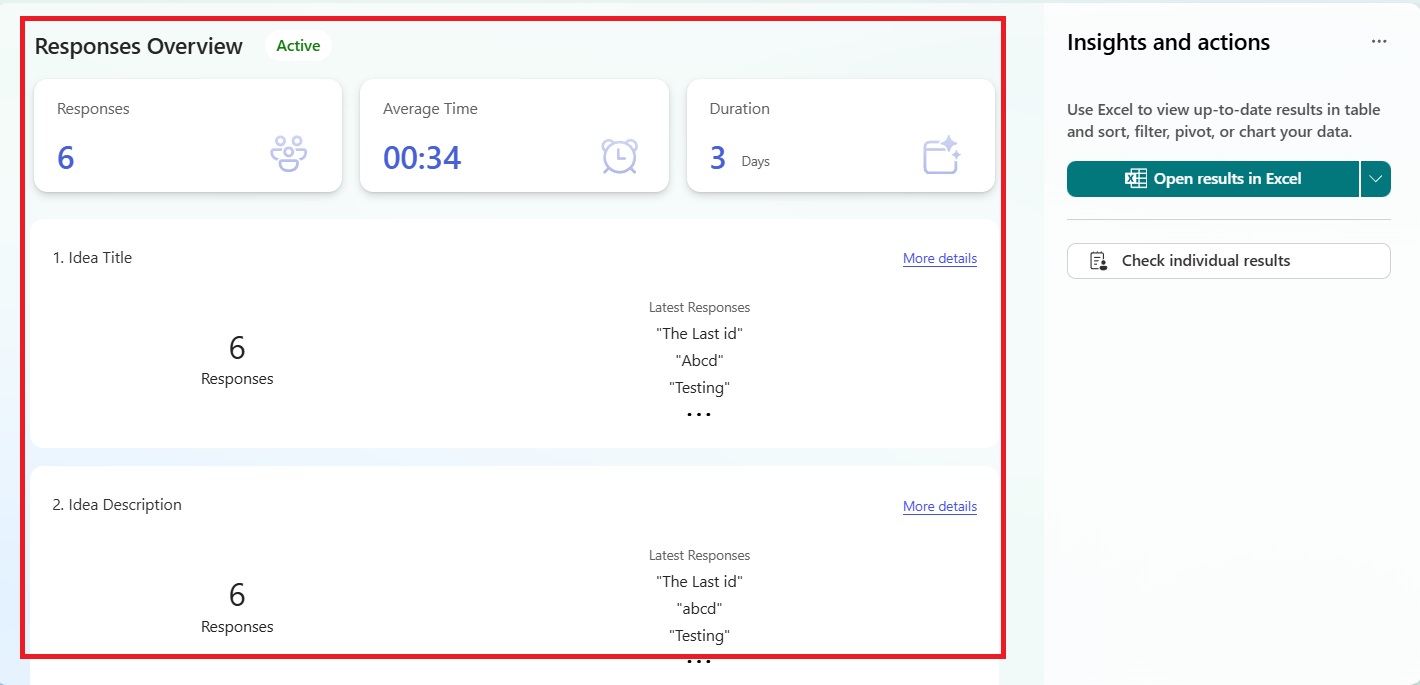
To see the submitted Response you can click on View Responses. You will find the Collection of Reponses.
Now, we will build a Power Automate flow to automatically send email notifications with attachments upon receiving new form responses. Let’s navigate to the Power Automate page to create the flow.
Create an Automated Cloud Flow. I have created my flow.
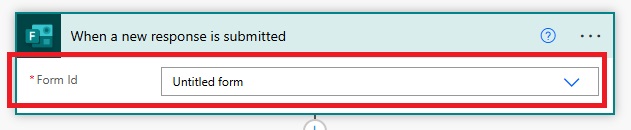
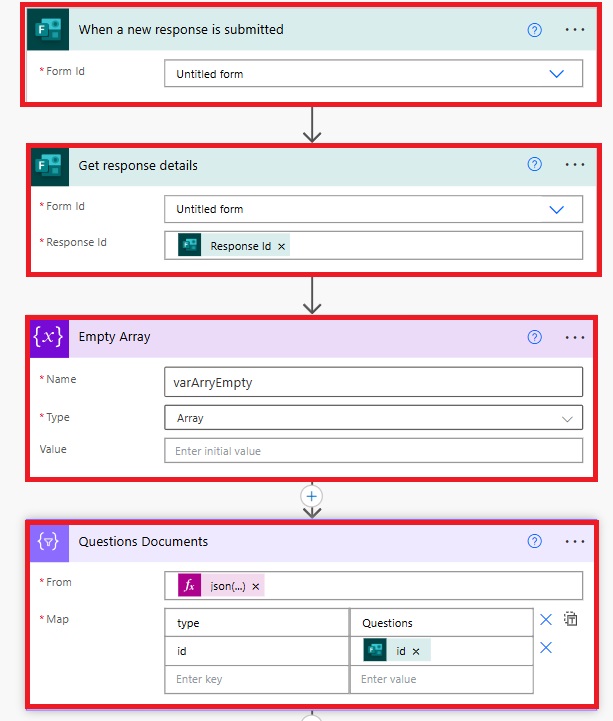
Trigger -: When a new Response is Submitted (Microsoft Forms)
Need help with your business solution?
Our team can help you implement the right solution for your organization.
Create a New Step and Select Get Response Details. You can get Response ID from Dynamic Content.
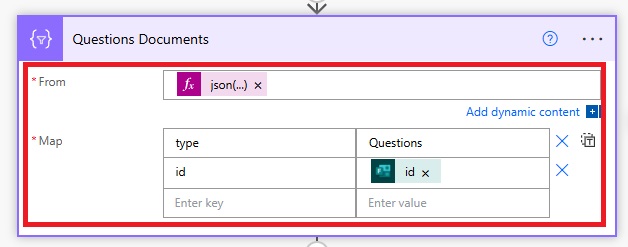
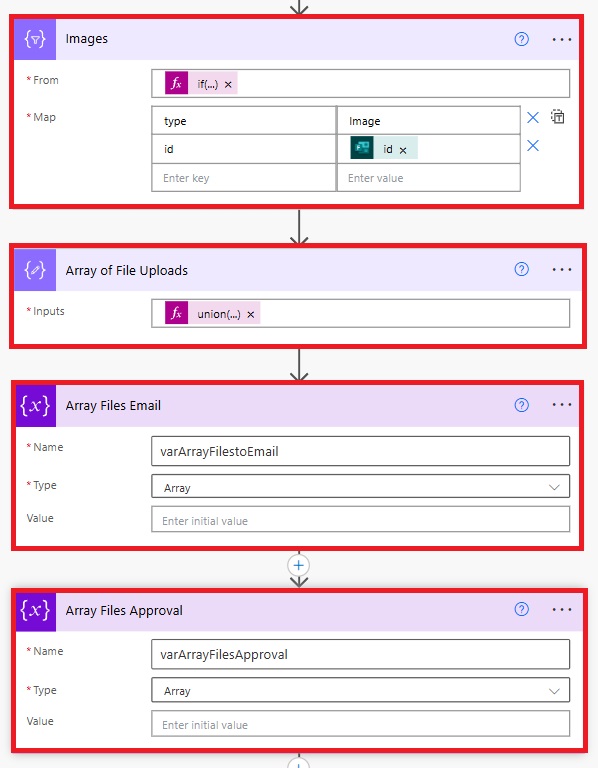
Add a new step: Select from Data Operation. You need to write an expression. In the Map, you need to map it with a unique identifier, such as ID. The expression for ID is item()?[“id”]
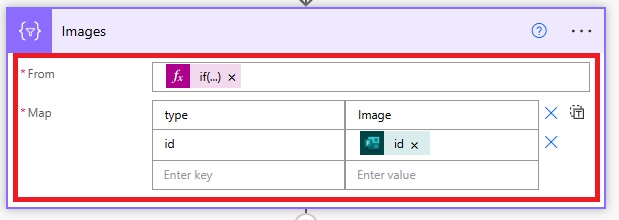
You have to repeat the same format for the next attachment. The above was for the Question Documents. I have another attachment input for Images.
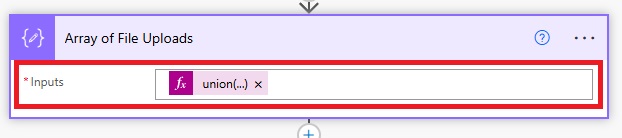
Add a New Step as Compose a Variable. We need to use Union Method to combine all of the attachment.
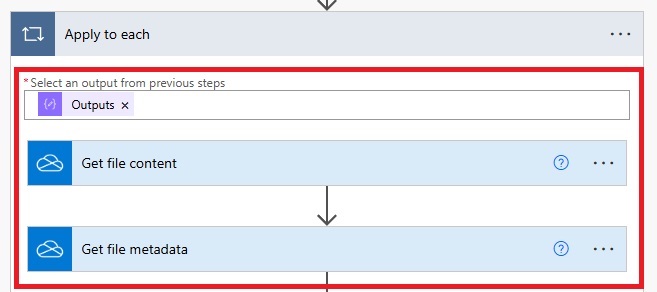
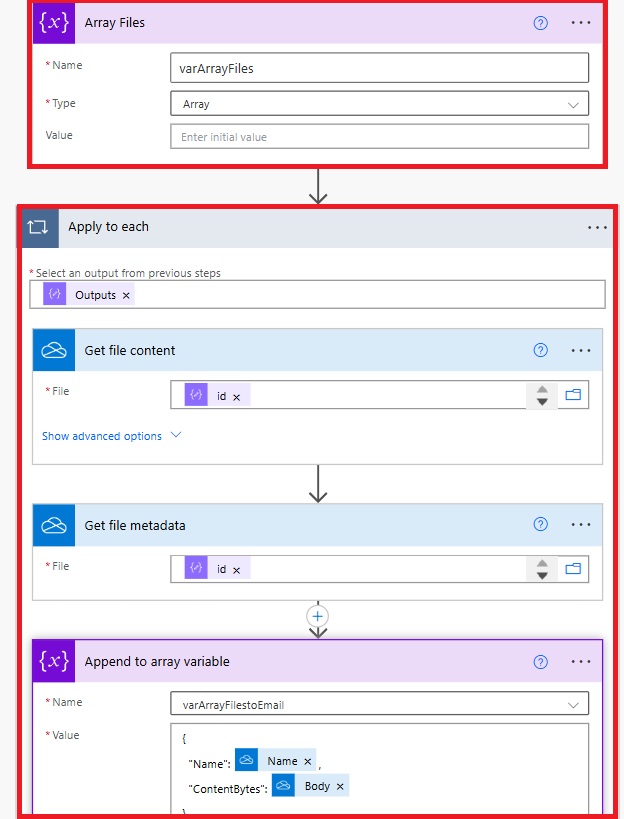
Now we need to Loop through the Uploads. For that add a New Step as Apply to Each. We have used two additional Step such as Get file Content to get the ID and Get File Metadata to get the Name.
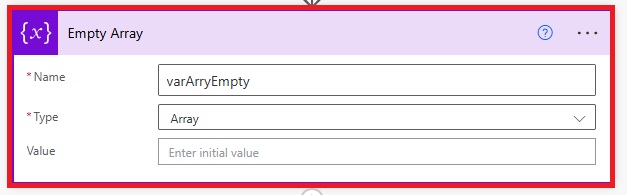
You have to create an Array Variable named as Empty Array. If there are no attachments then we will use that.
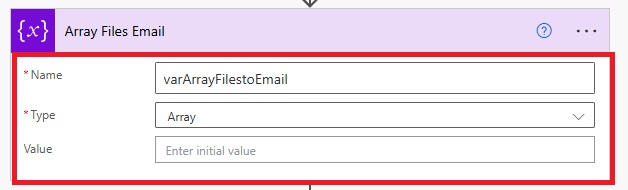
You need to create another variable as Array Type. Choose Initialise a Variable.
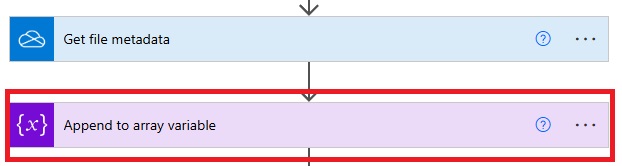
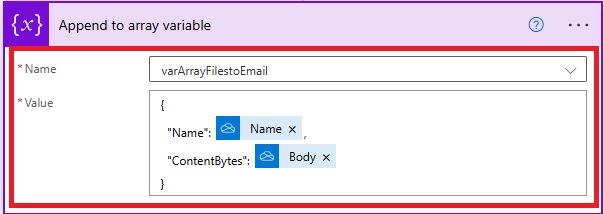
After that you need to go to apply to each and add another step as Append to Array Variable after get file Metadata.
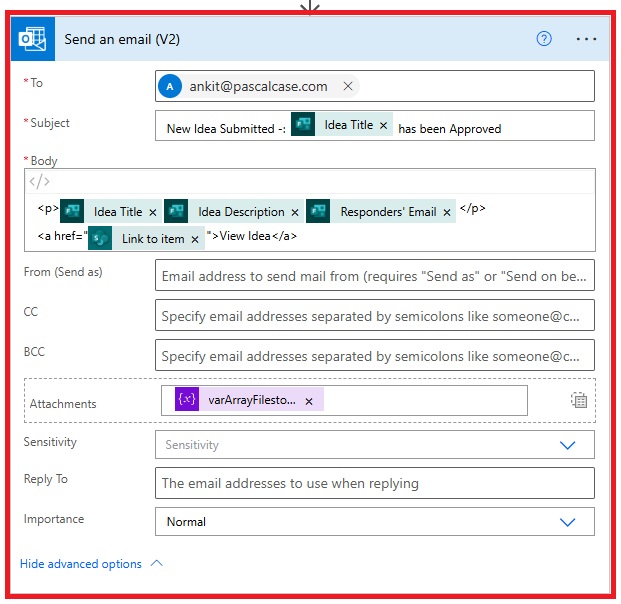
Now we need to choose a step as Send an Email (V2) Outlook.
Now we will be configuring Approval Functionality.
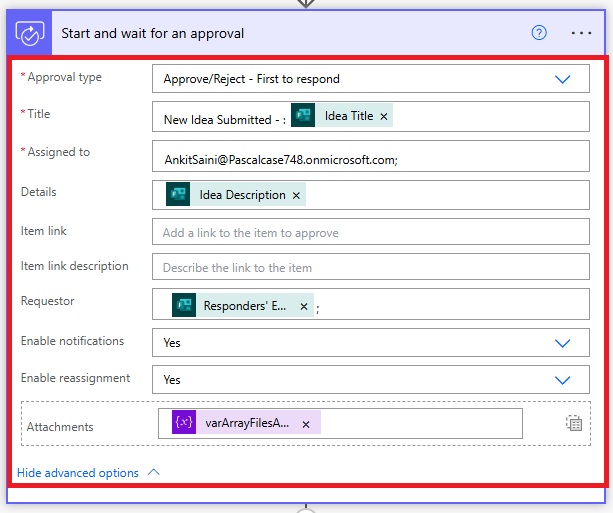
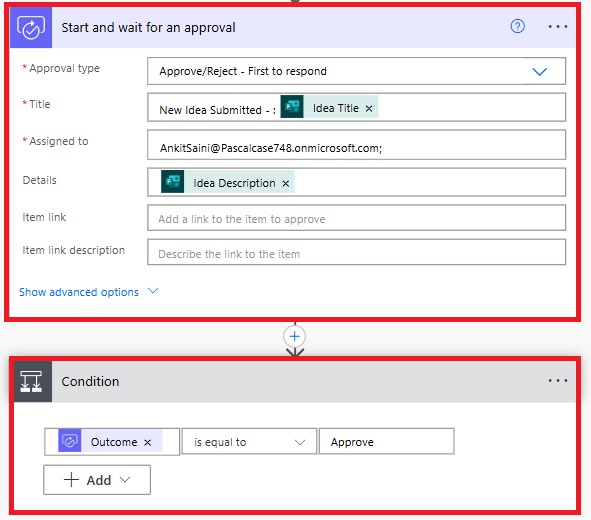
Initialise an Action named as Start and Wait for an Approval.
Note -: The format for Attachments in Approval Stage is Different as Compared to the Email Attachments.
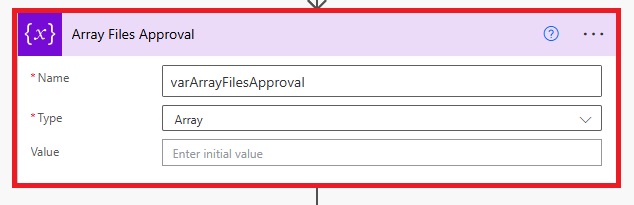
Create an Array Variable that’ll store the Attachments for Approval Stage.
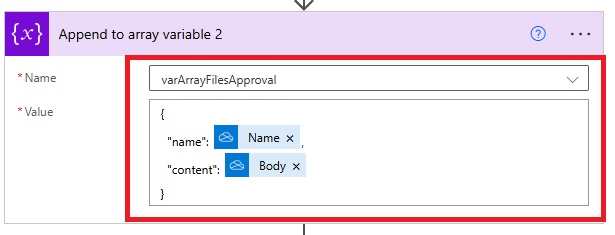
Now go back to the Apply to each step and we need to use Append to Array Variable and Use the variable that we initialised for the Attachments for Approval Stage.
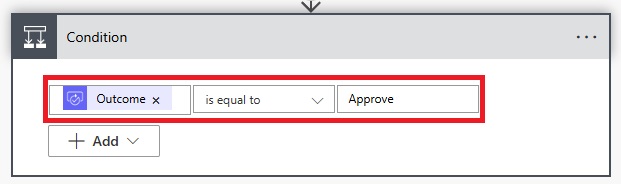
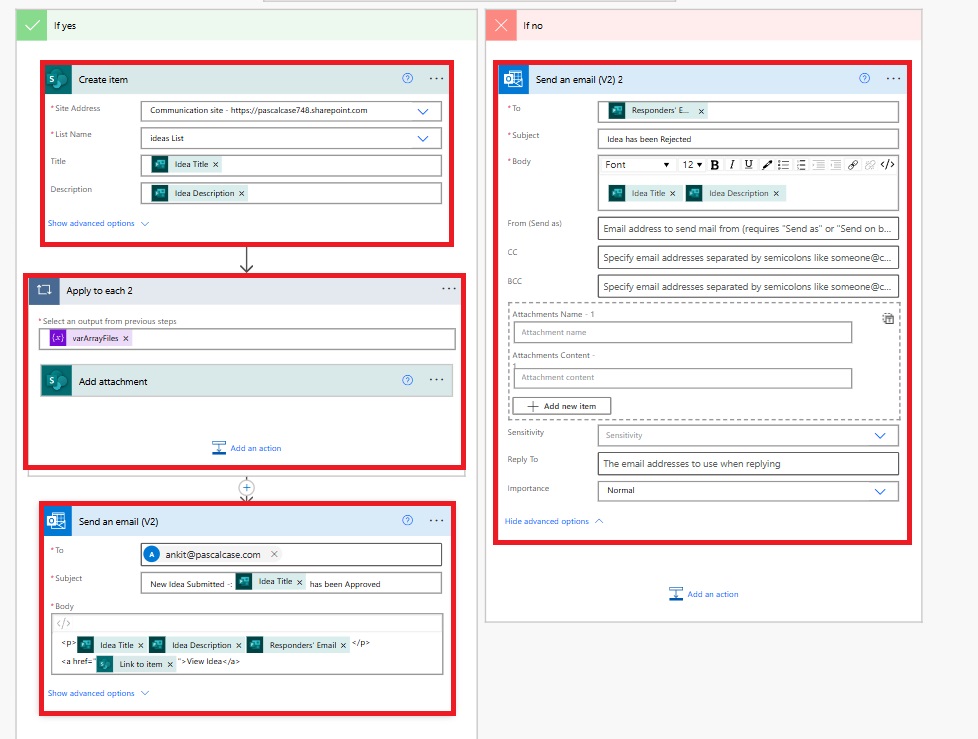
Now, we will add an action as a condition. We will determine the flow based on the approval stage. If the condition is satisfied, we will send an approval email; otherwise, we will send a rejection email.
Now we will handle an Edge Case if the Attachments are not present in the Response.
Create an Empty Array representing the Null Output. We have created that above.
Configure the Expression. I have configured the Expression as per my Requirement. This is how Expression looks like -:
Now we will be configuring our Last Step as Saving Microsoft form Data and File Uploads to the SharePoint.
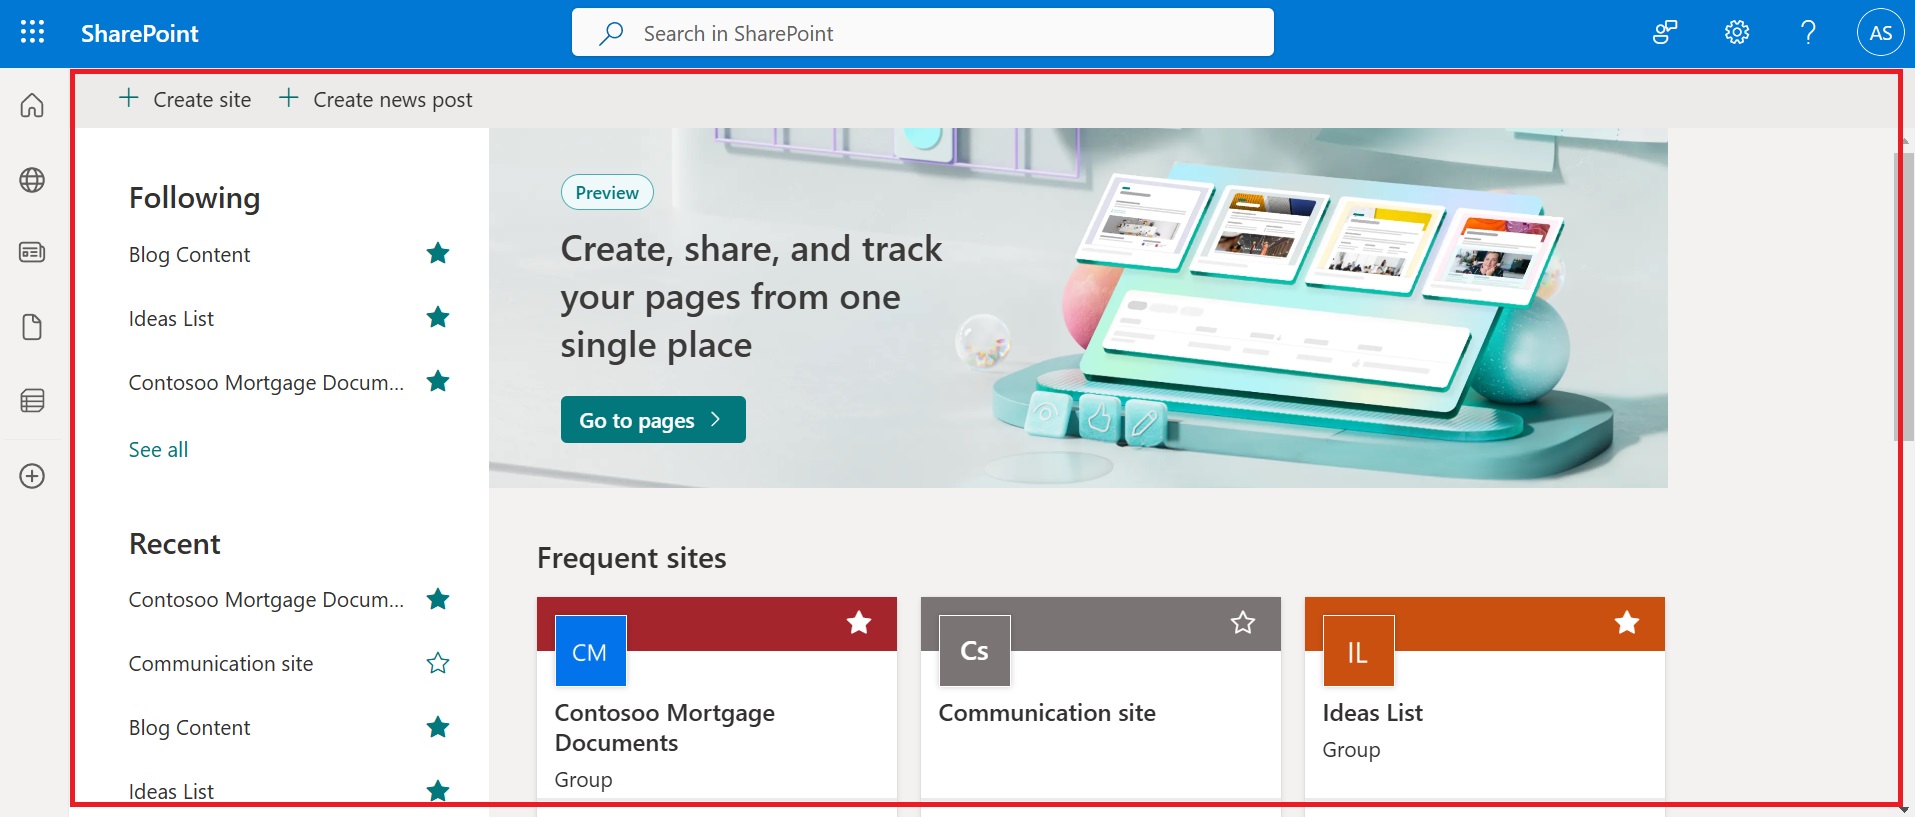
Go to SharePoint Account.
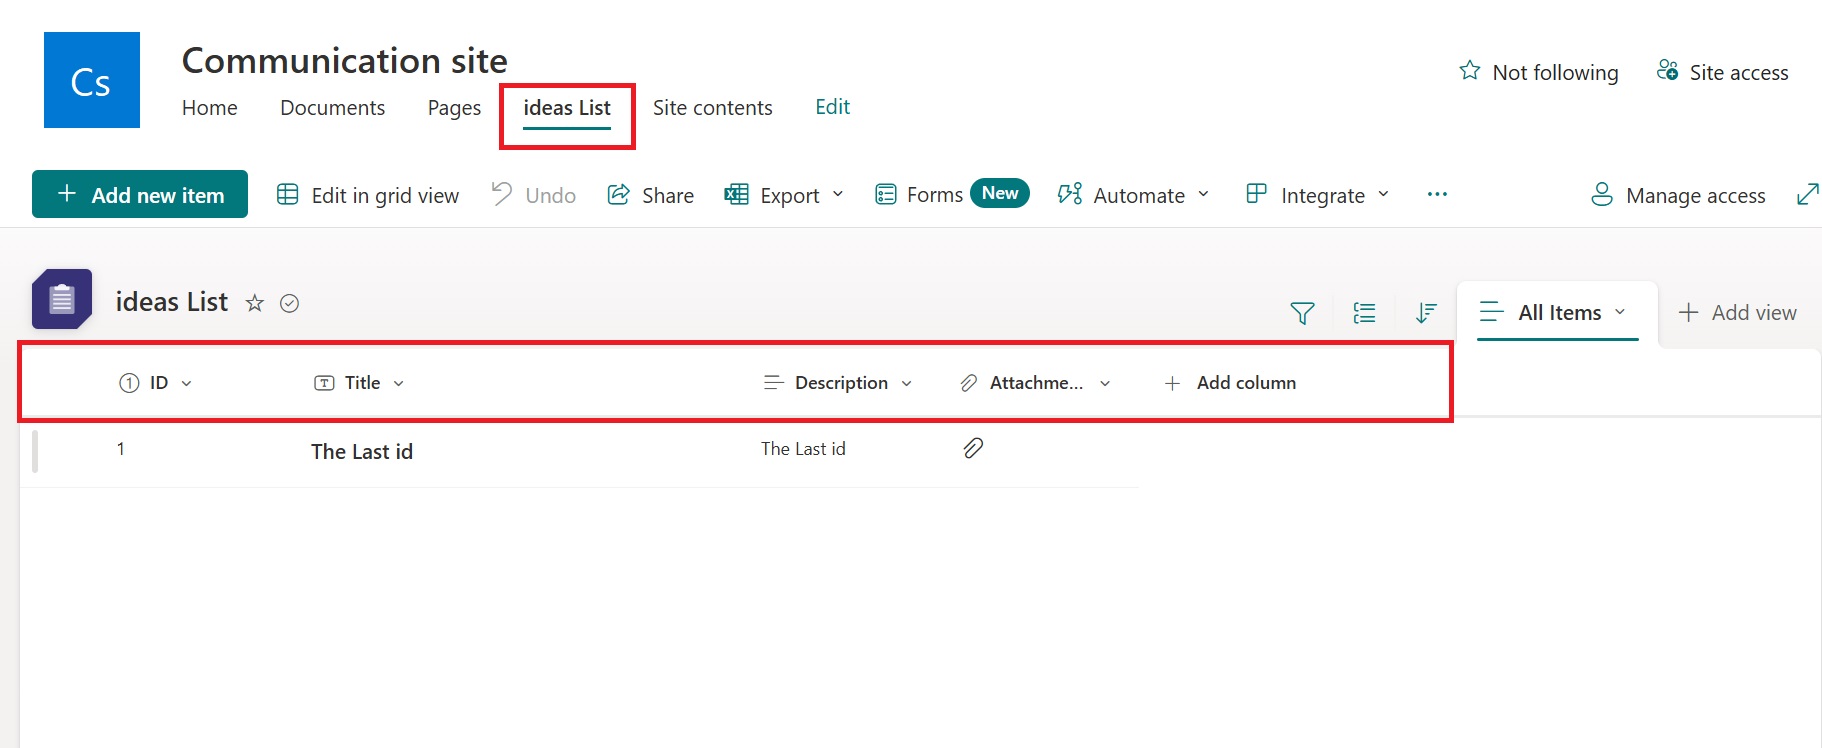
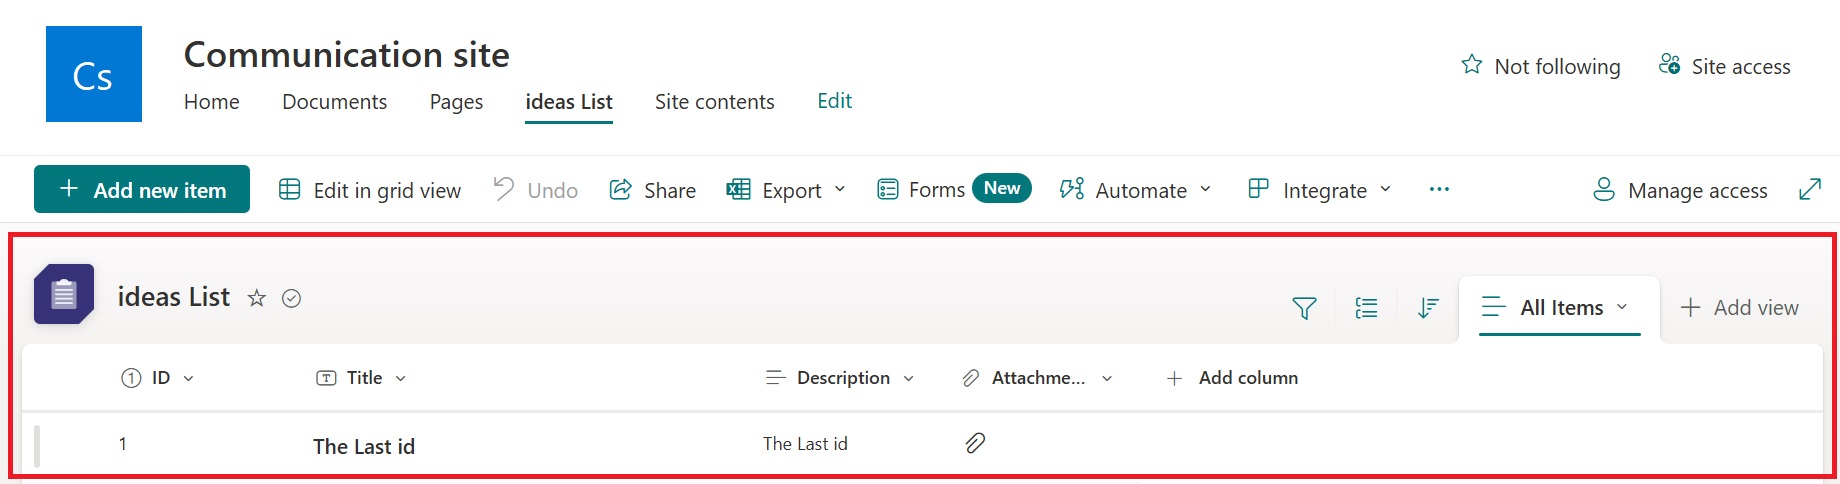
Create a list where we will store our documents and attachments. I have created my list as 'Ideas List' and added some columns as well.
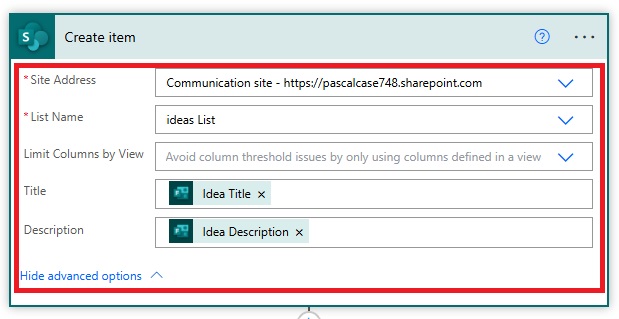
Go back to Automate and Create an Action Create Item (SharePoint) and Select Site Address and ListName.
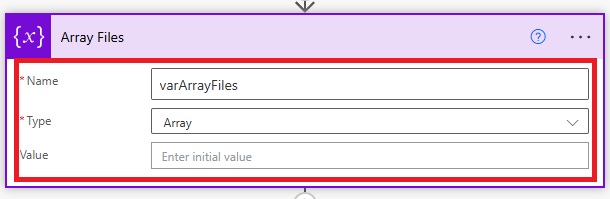
Now to save the Attachments to the SharePoint Site we need to initialise a Variable.
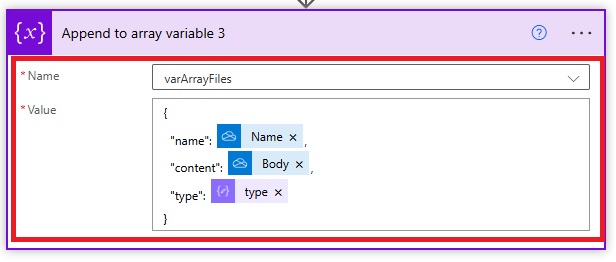
Now we need to append the Attachments to this Variable. Create a new Actions as Append to Array Variable.
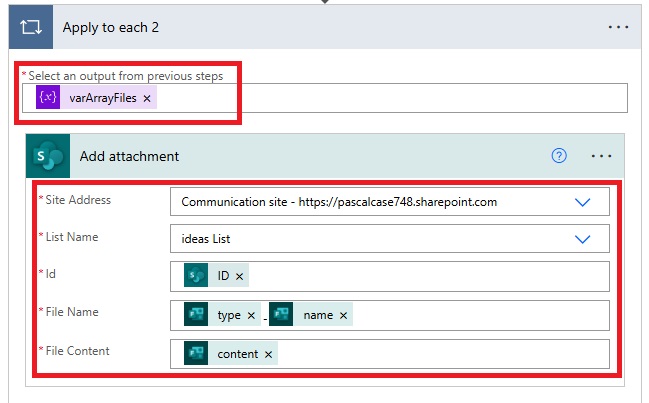
Now use Apply to each action and select the varArrayFiles as Input.
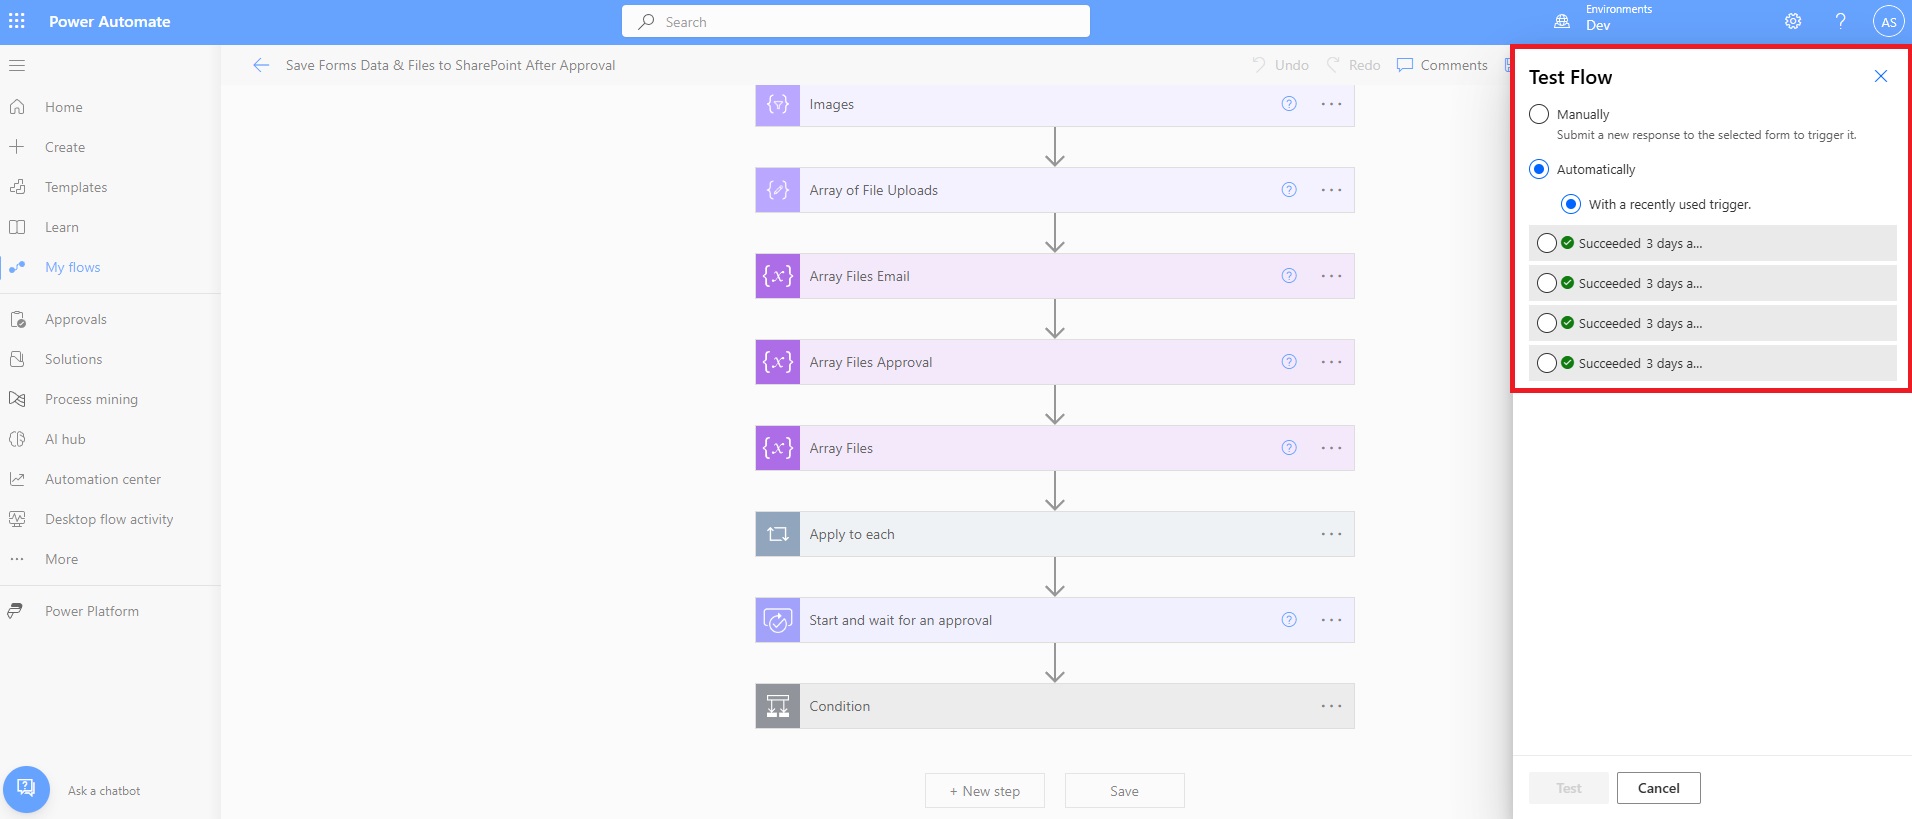
And we're done. Let's check the complete flow in action. I will be testing it automatically.
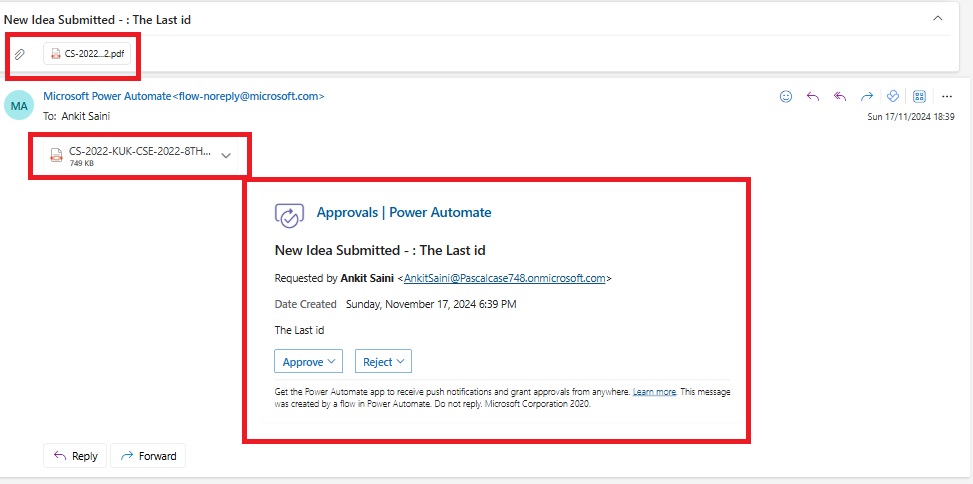
I have received an email with approval and rejection options. There are attachments attached to it as well. I chose 'Approve' as my response.
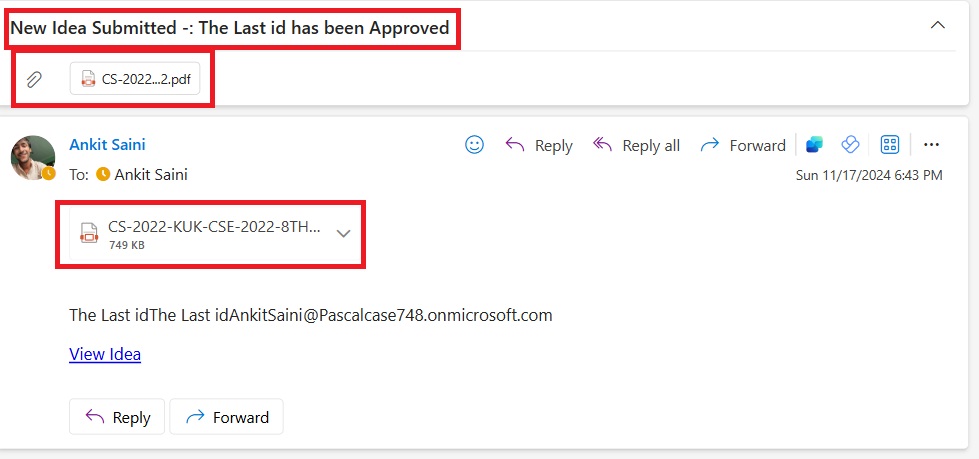
I will receive a submission email, and the attachments will be stored on the SharePoint site.
This is how the entire structure of our flow looks.
Integrating Microsoft Forms with SharePoint via Power Automate is a powerful approach to streamline data collection and storage processes. This setup not only automates approval workflows but also ensures all data and attachments are stored securely in SharePoint. By following this method, organizations can reduce manual efforts, enhance collaboration, and improve document accessibility. The ability to manage approvals, send notifications, and save data efficiently makes this integration a robust solution for modern data management needs.
Frequently Asked Questions (FAQs)
1. What is the main purpose of integrating Microsoft Forms with SharePoint?
The primary purpose is to automate the storage of form data and file uploads in SharePoint after approval, reducing manual work and minimizing errors.
2. How do I start the approval process in Power Automate?
Use the "Start and Wait for an Approval" action in your Power Automate flow. Configure the action with necessary variables and conditions to manage approvals and rejections.
3. Can I store multiple attachments from a single form submission?
Yes, you can handle multiple attachments by using Power Automate's loop functionality to process and append each file to an array variable before saving them to SharePoint.
4. What happens if no attachments are uploaded in the form?
For scenarios with no attachments, you can handle edge cases by creating an empty array variable to avoid errors in the flow.
5. Can I customize the SharePoint list where data and files are stored?
Absolutely! You can create a custom SharePoint list with specific columns tailored to your data and file storage needs.