Automate Image Data Extraction Using Power Apps and AI
January 01, 2025
#Power Apps#AI
Harshitha Madem
Extracting structured data from unstructured images and documents can be a challenging task. By integrating AI with Power Apps, this process becomes much easier. Users can upload images or documents, trigger automated workflows, and retrieve data for further use. Key details, such as names, contact information, and company identifiers, can be extracted from the files and displayed directly in the app for easy access and management.
In this blog, we’ll go through the step-by-step process to set this up, including creating the AI model, building a canvas app, and connecting it with Power Automate.
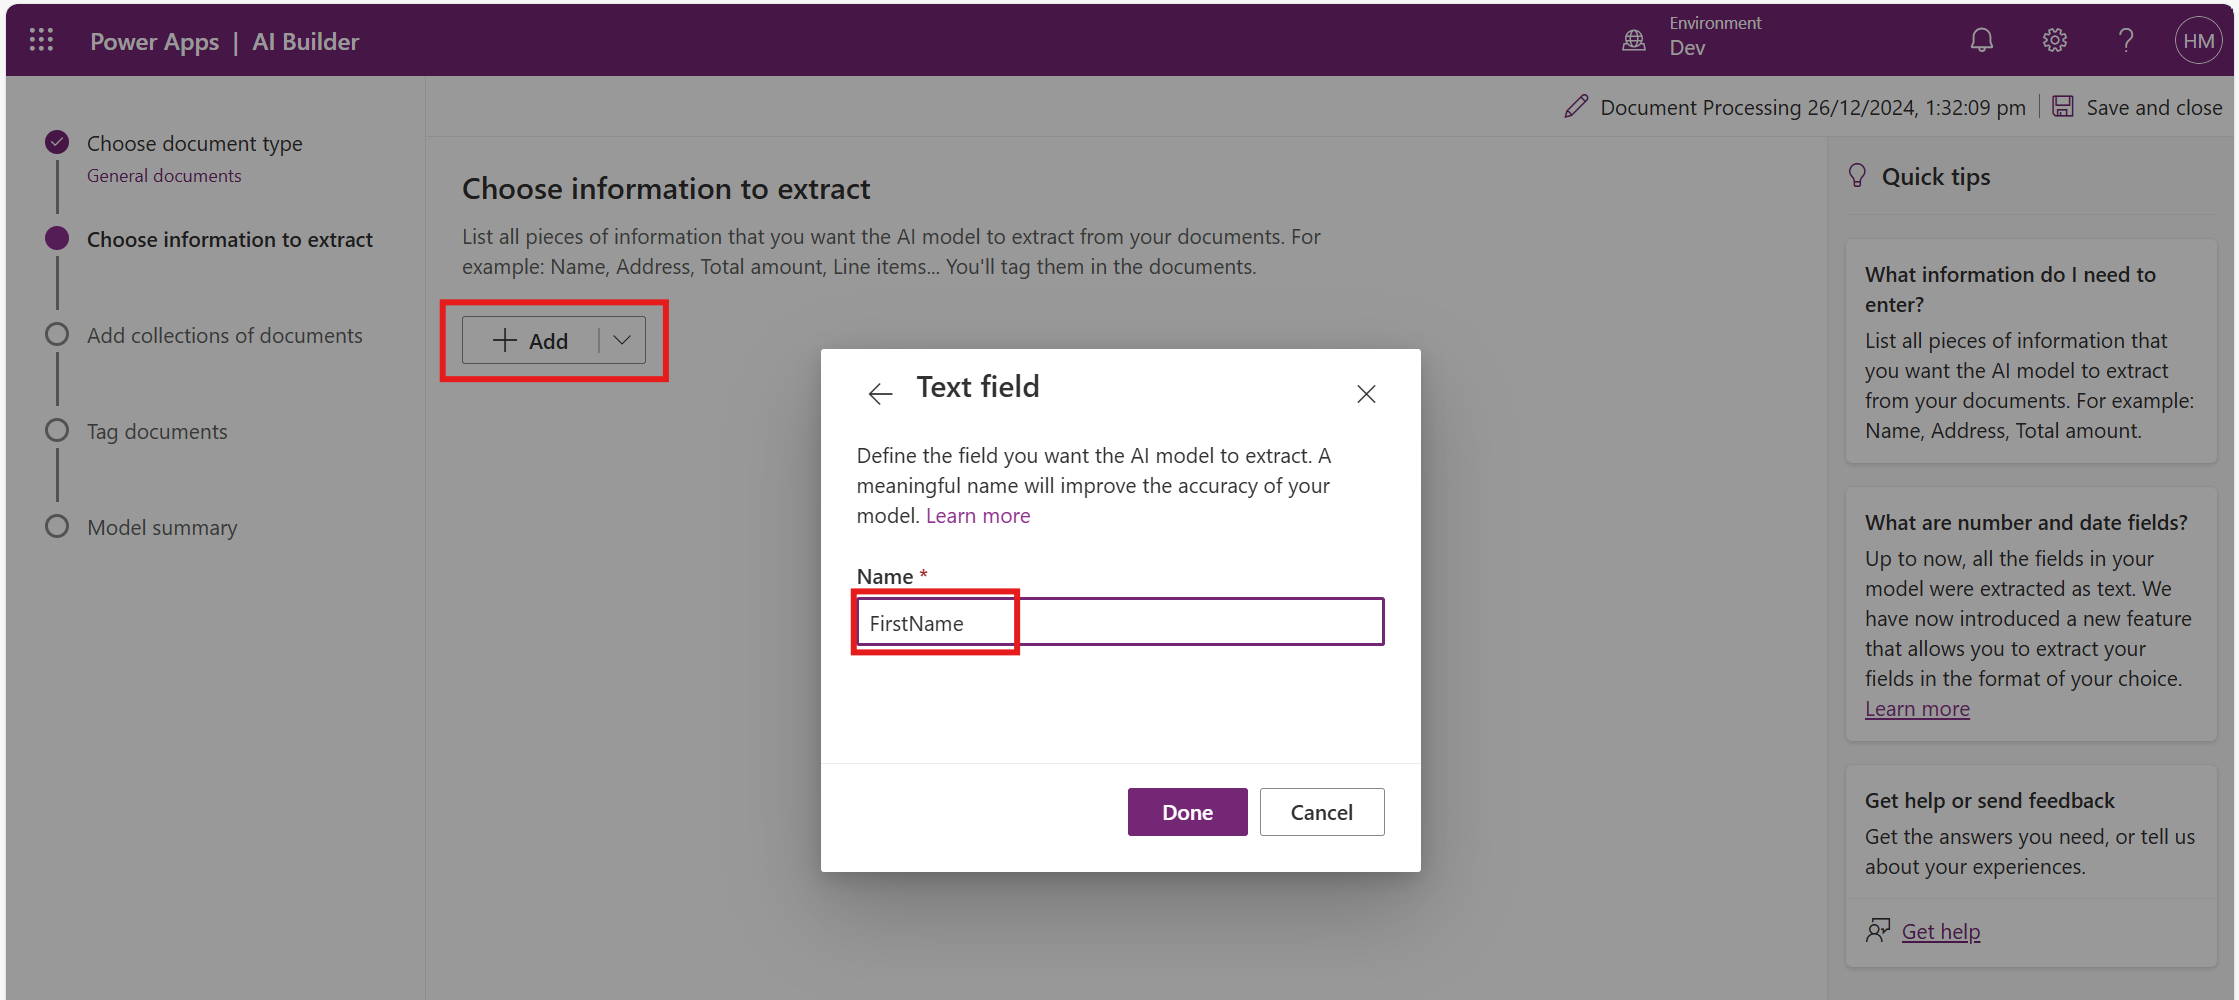
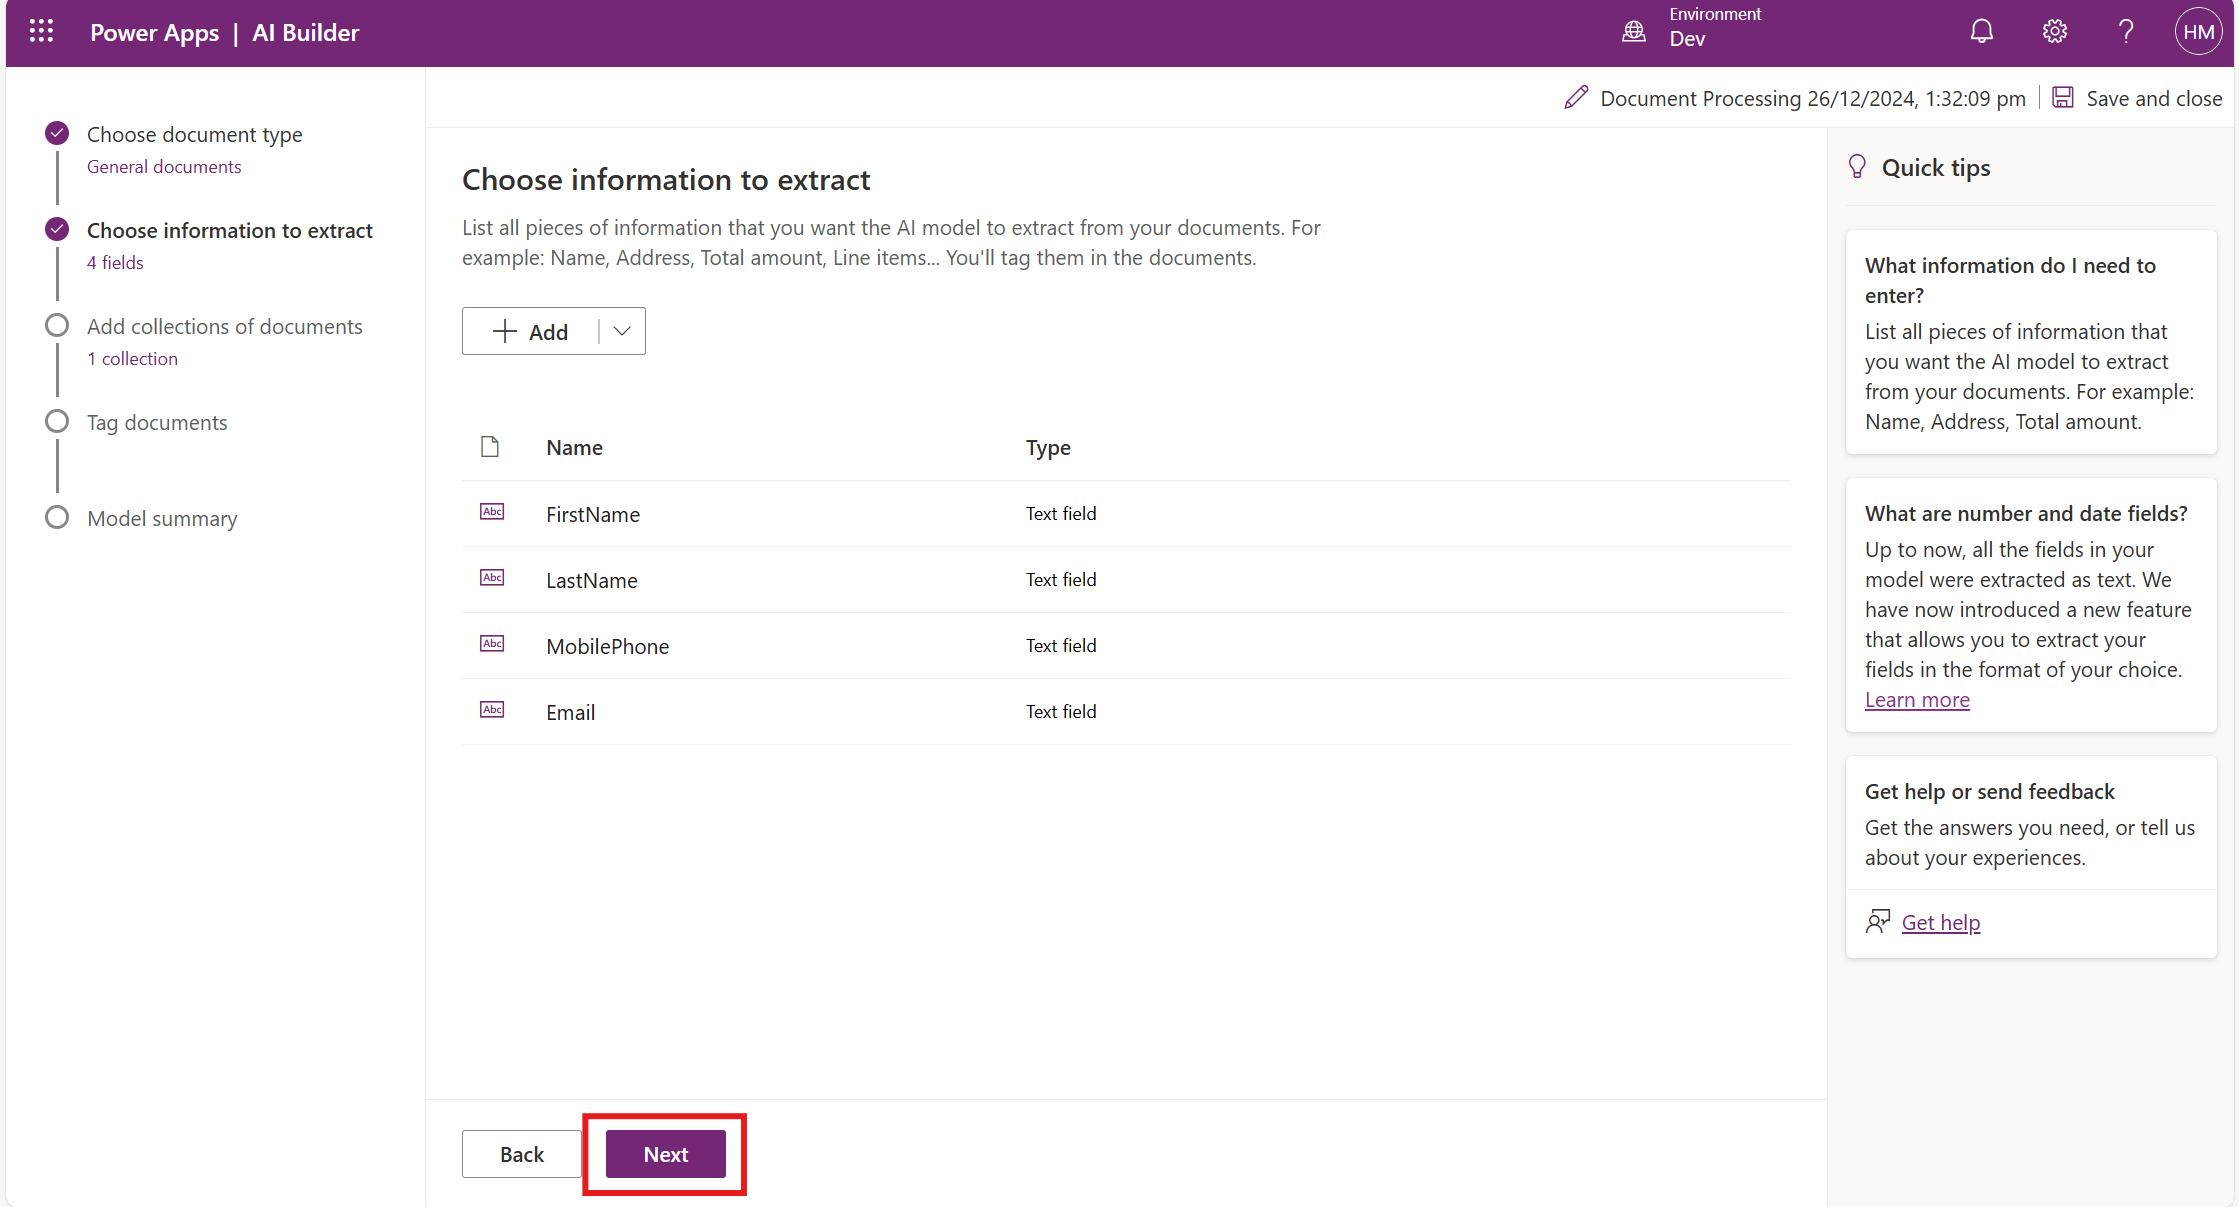
Click on Add and define the variables such as FirstName, LastName, Email, and Phone.
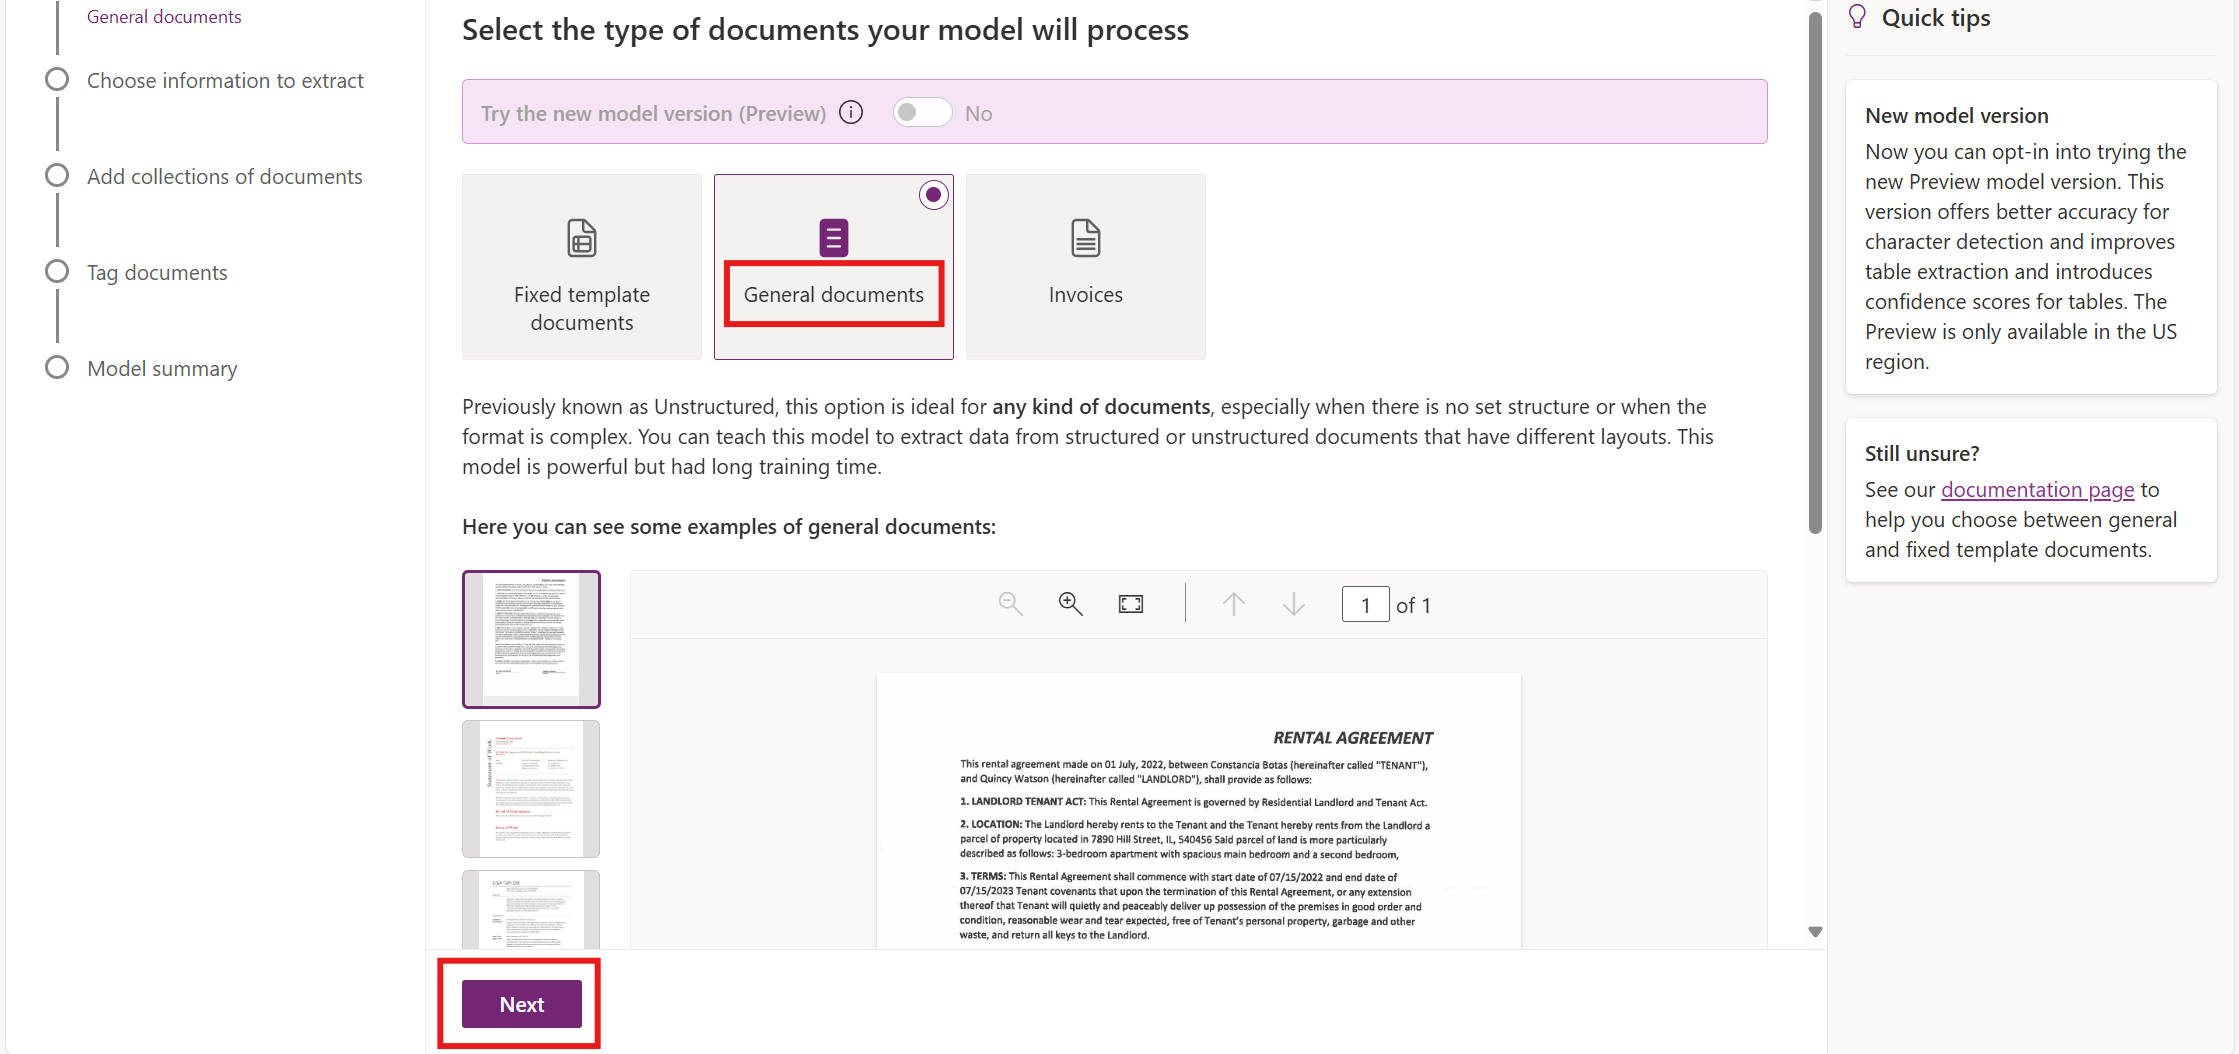
Click Next to add the documents.
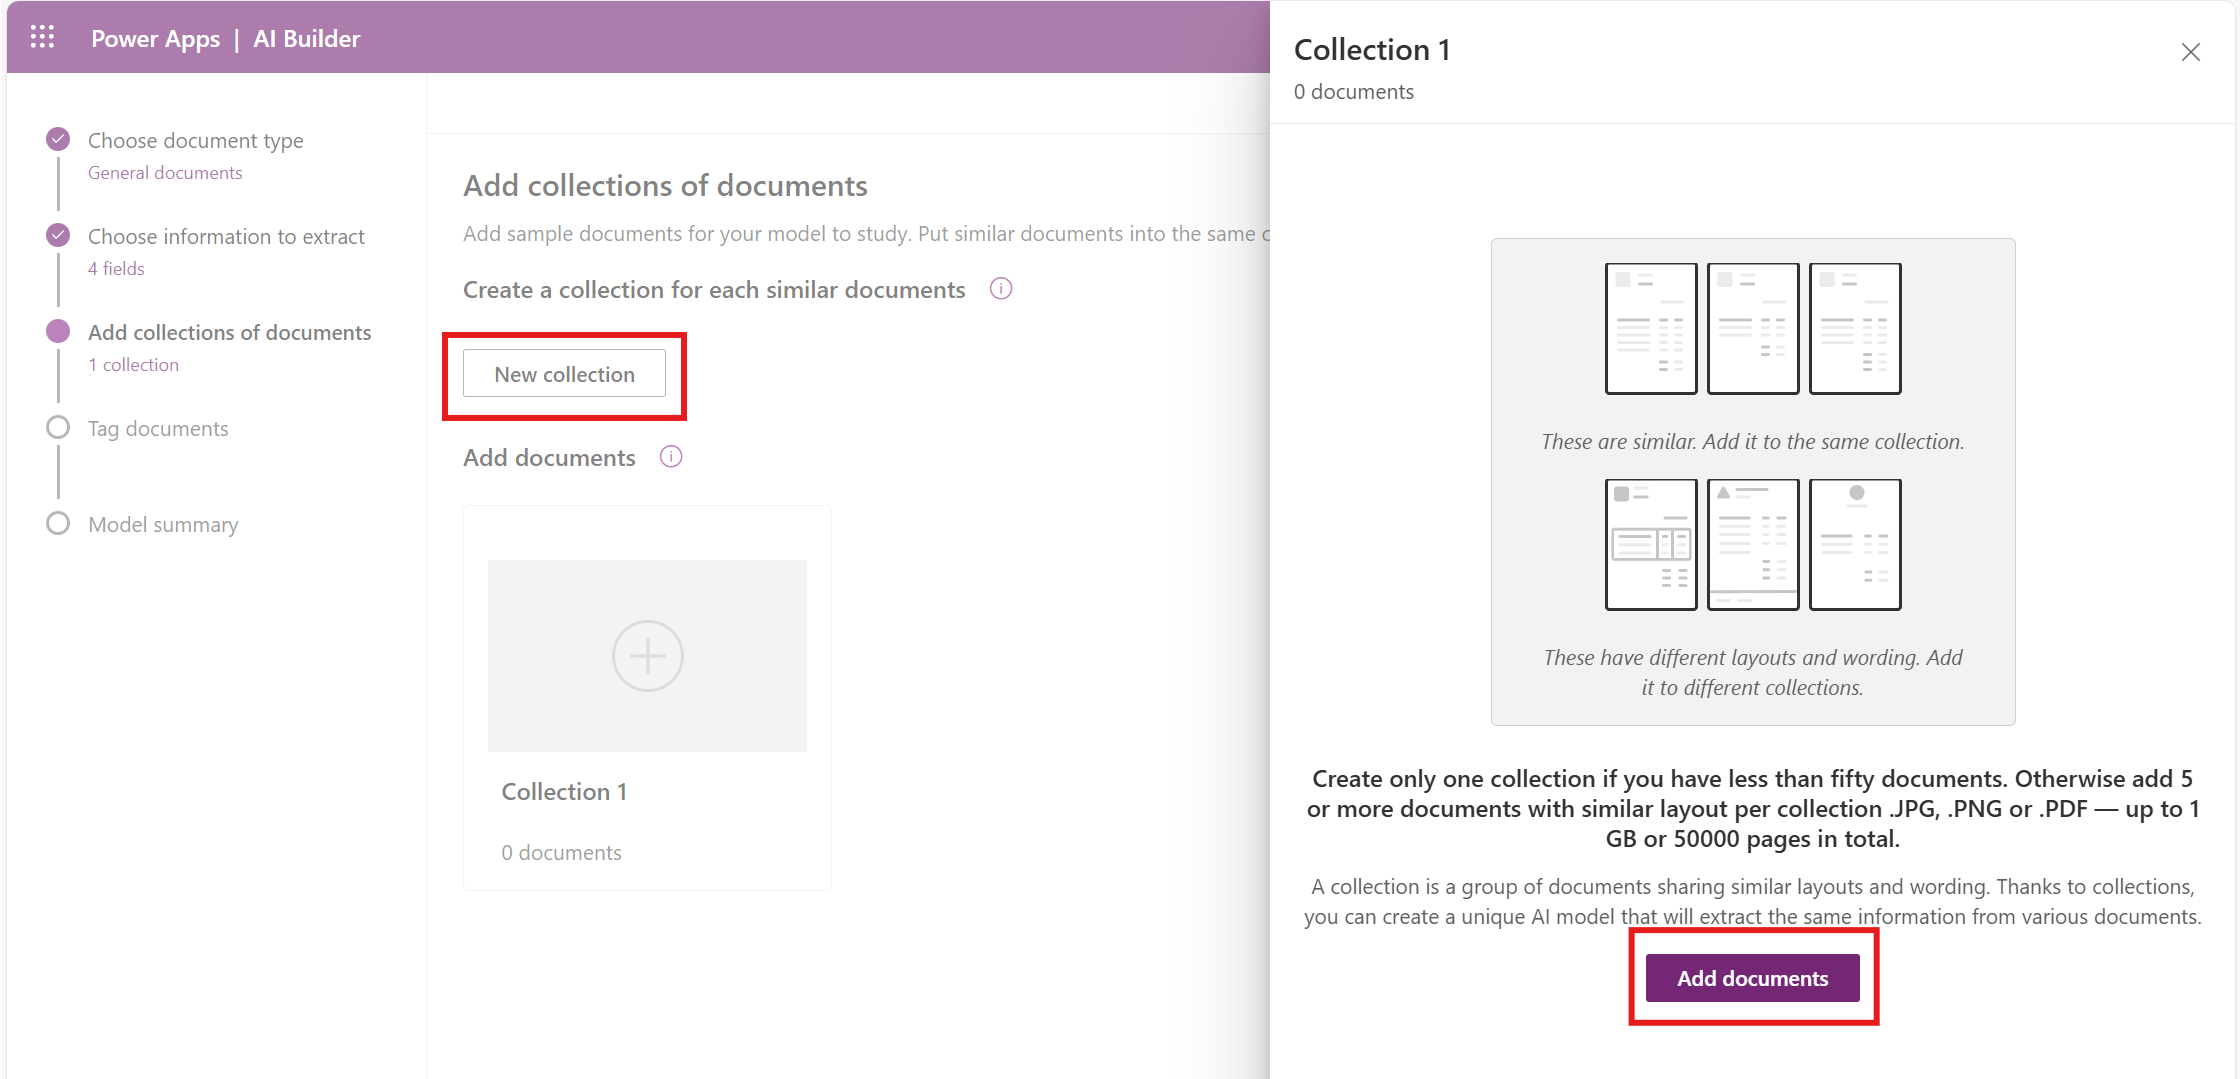
Click on New Collection and add more than five documents.
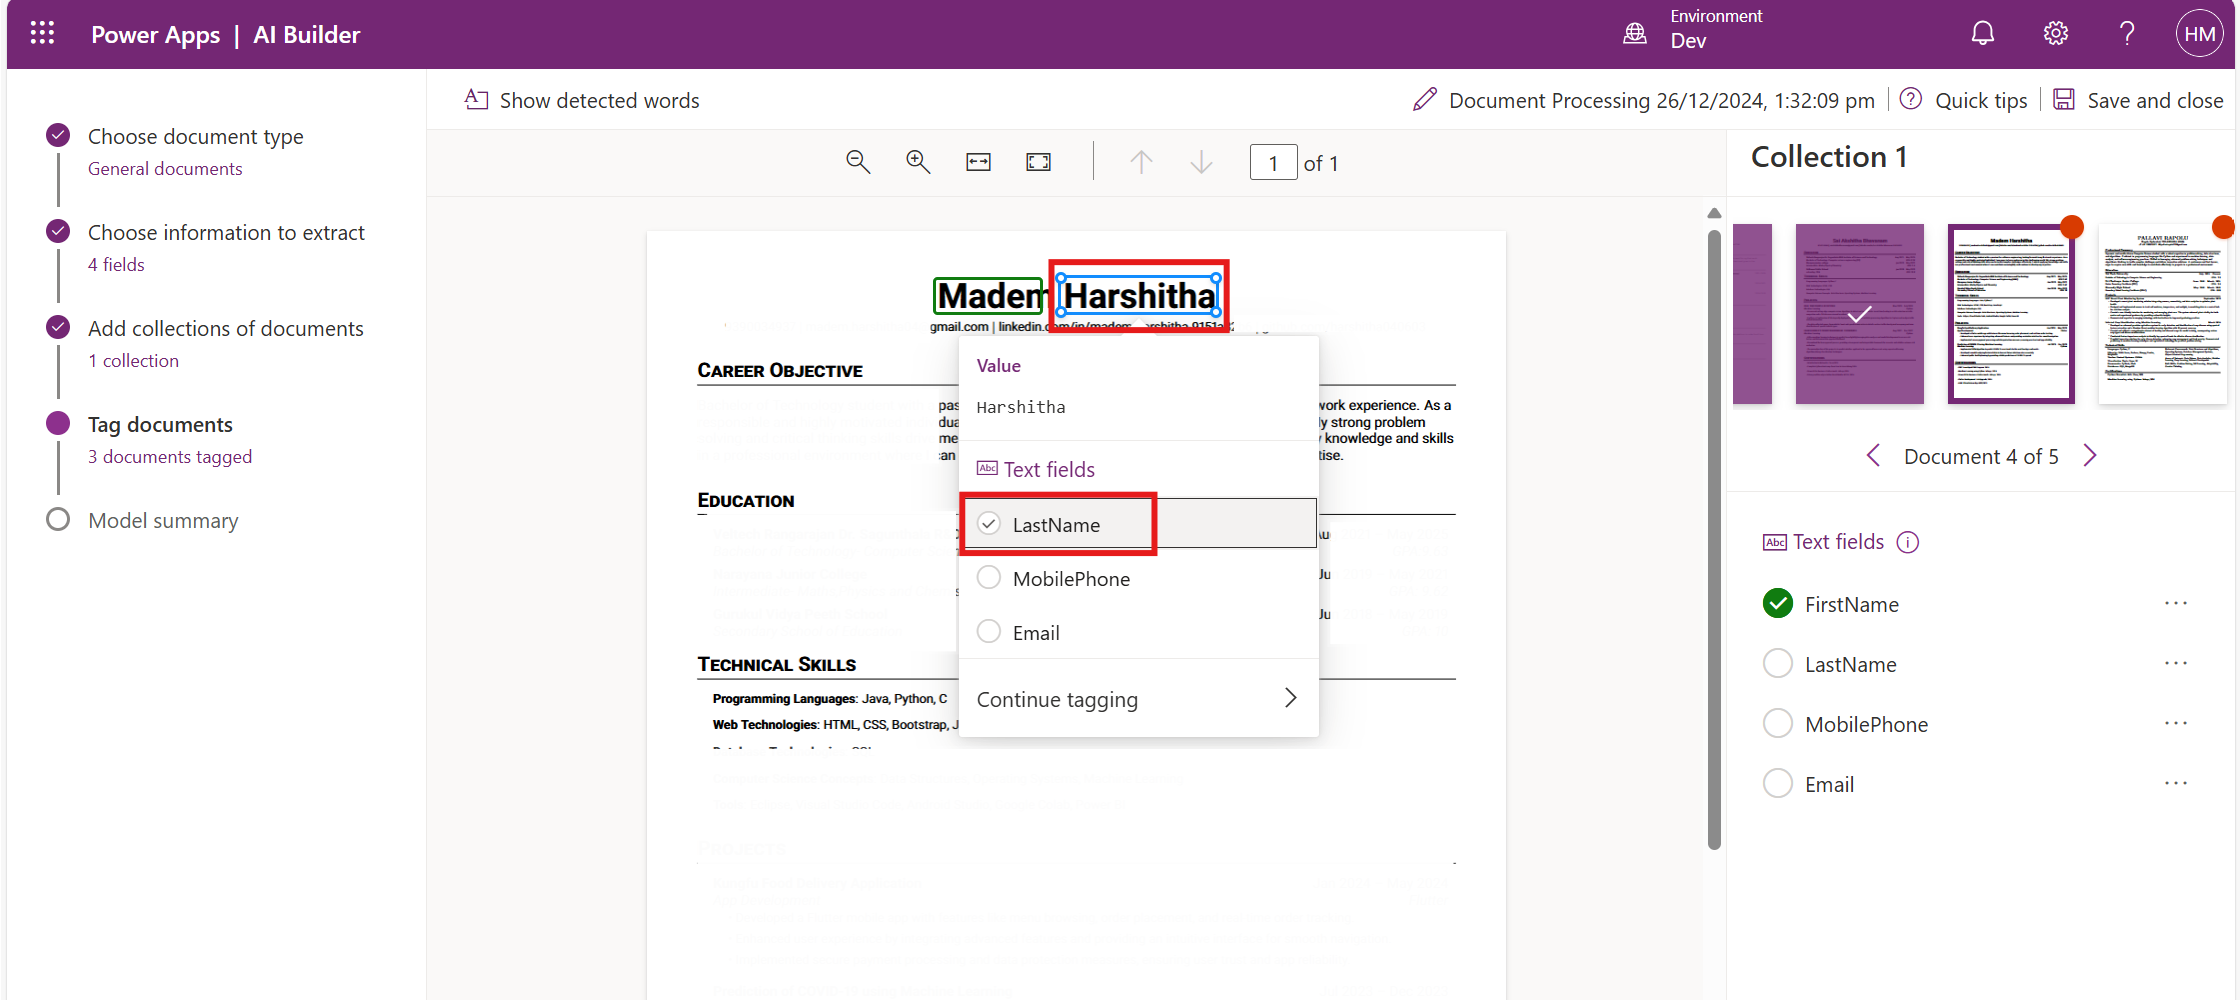
Tag the fields you want to extract from the document, such as First Name, Last Name, Email, and Phone. Then, map these fields to the corresponding variables you defined earlier.
Click Next.
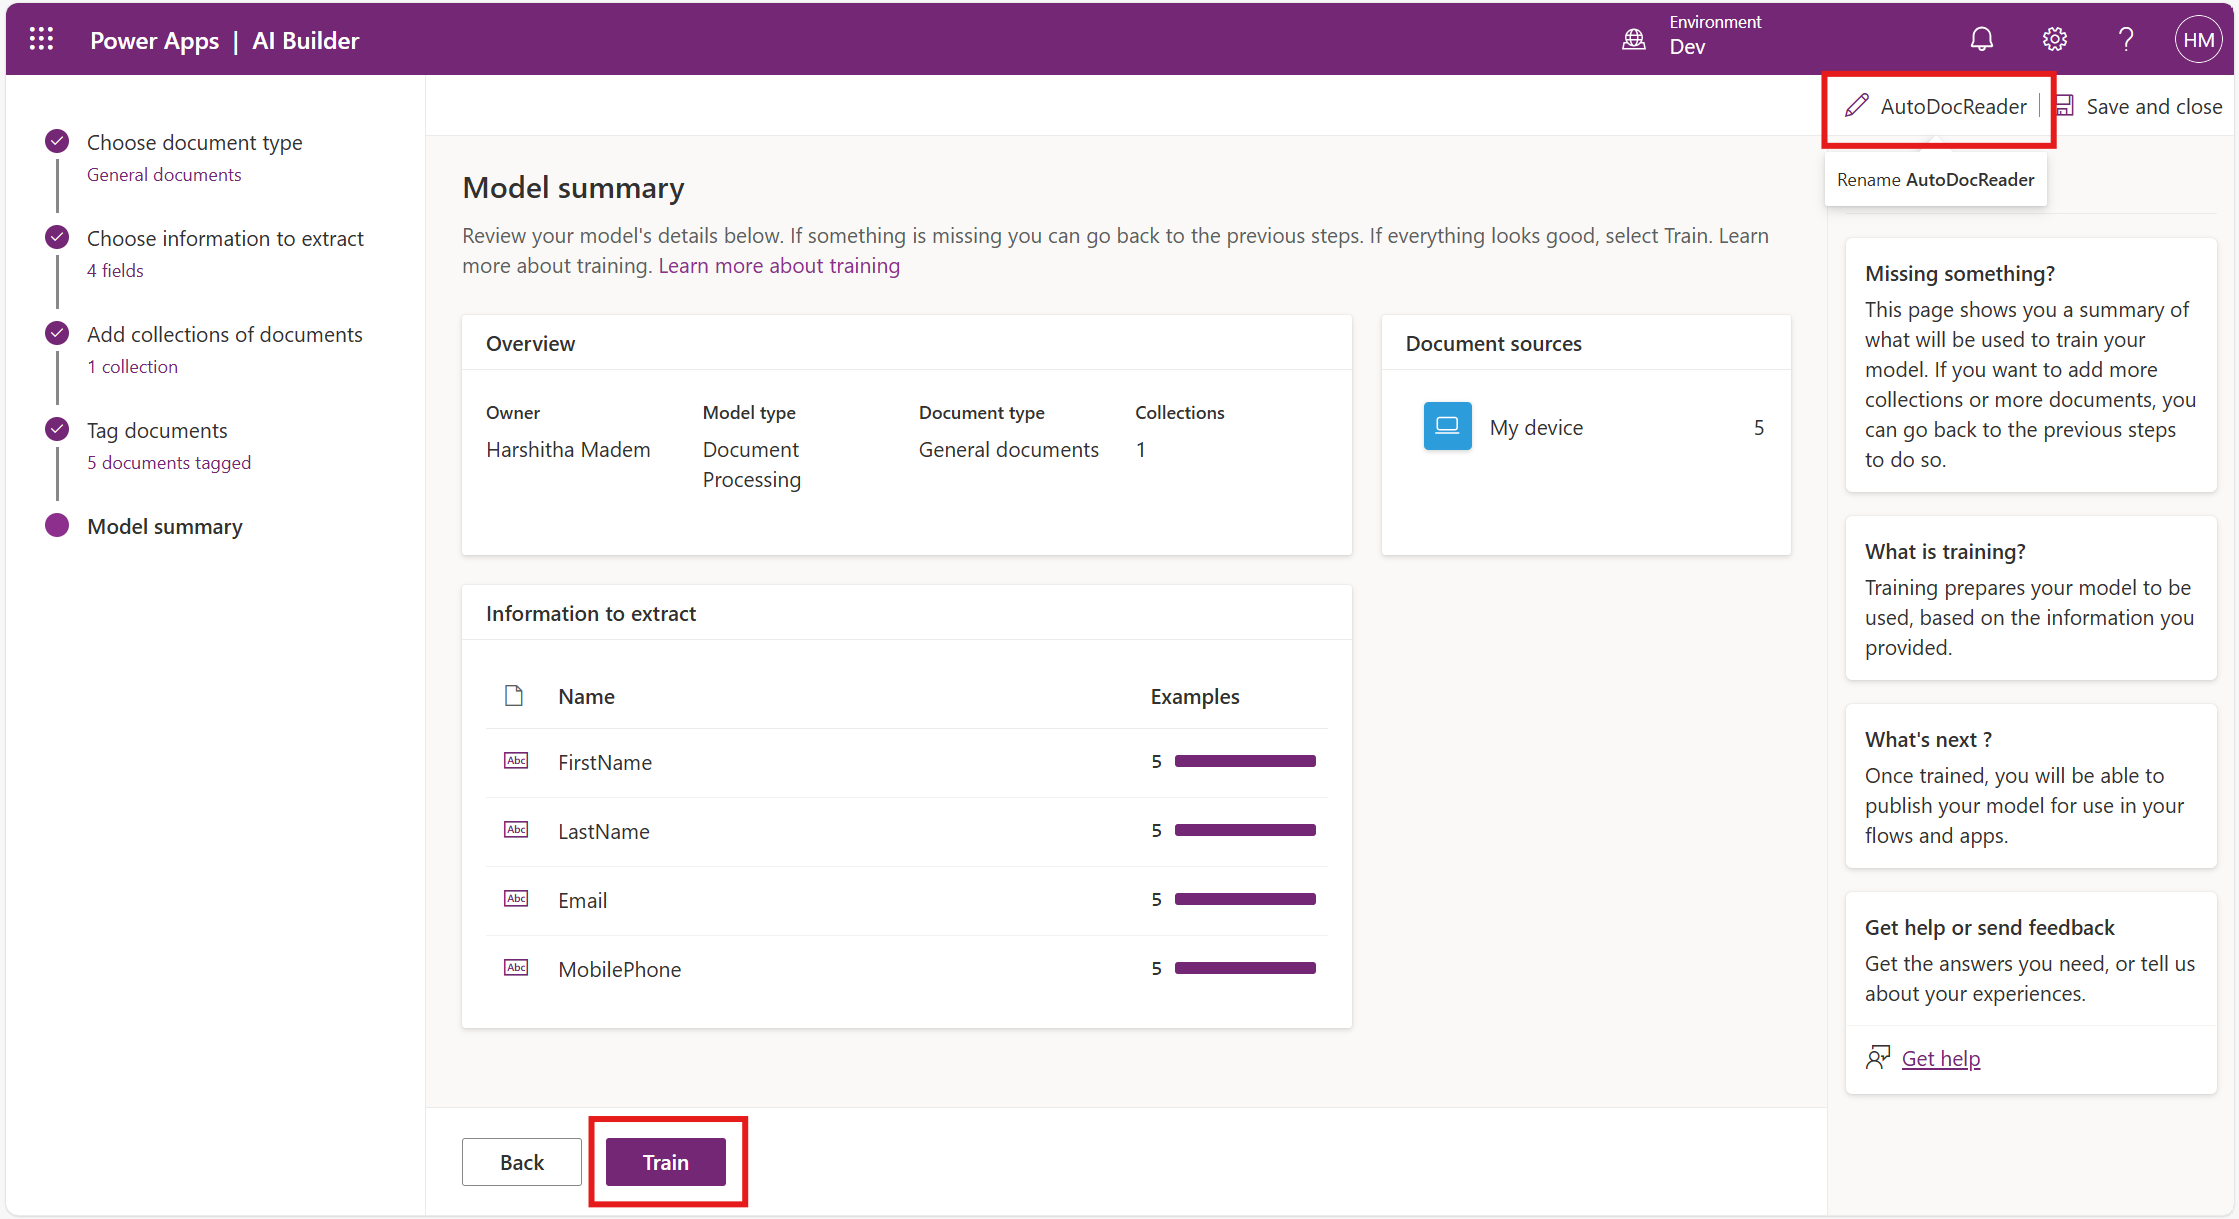
Rename the model as AutoDocReader and click Train.
This process takes around 20 minutes to complete.
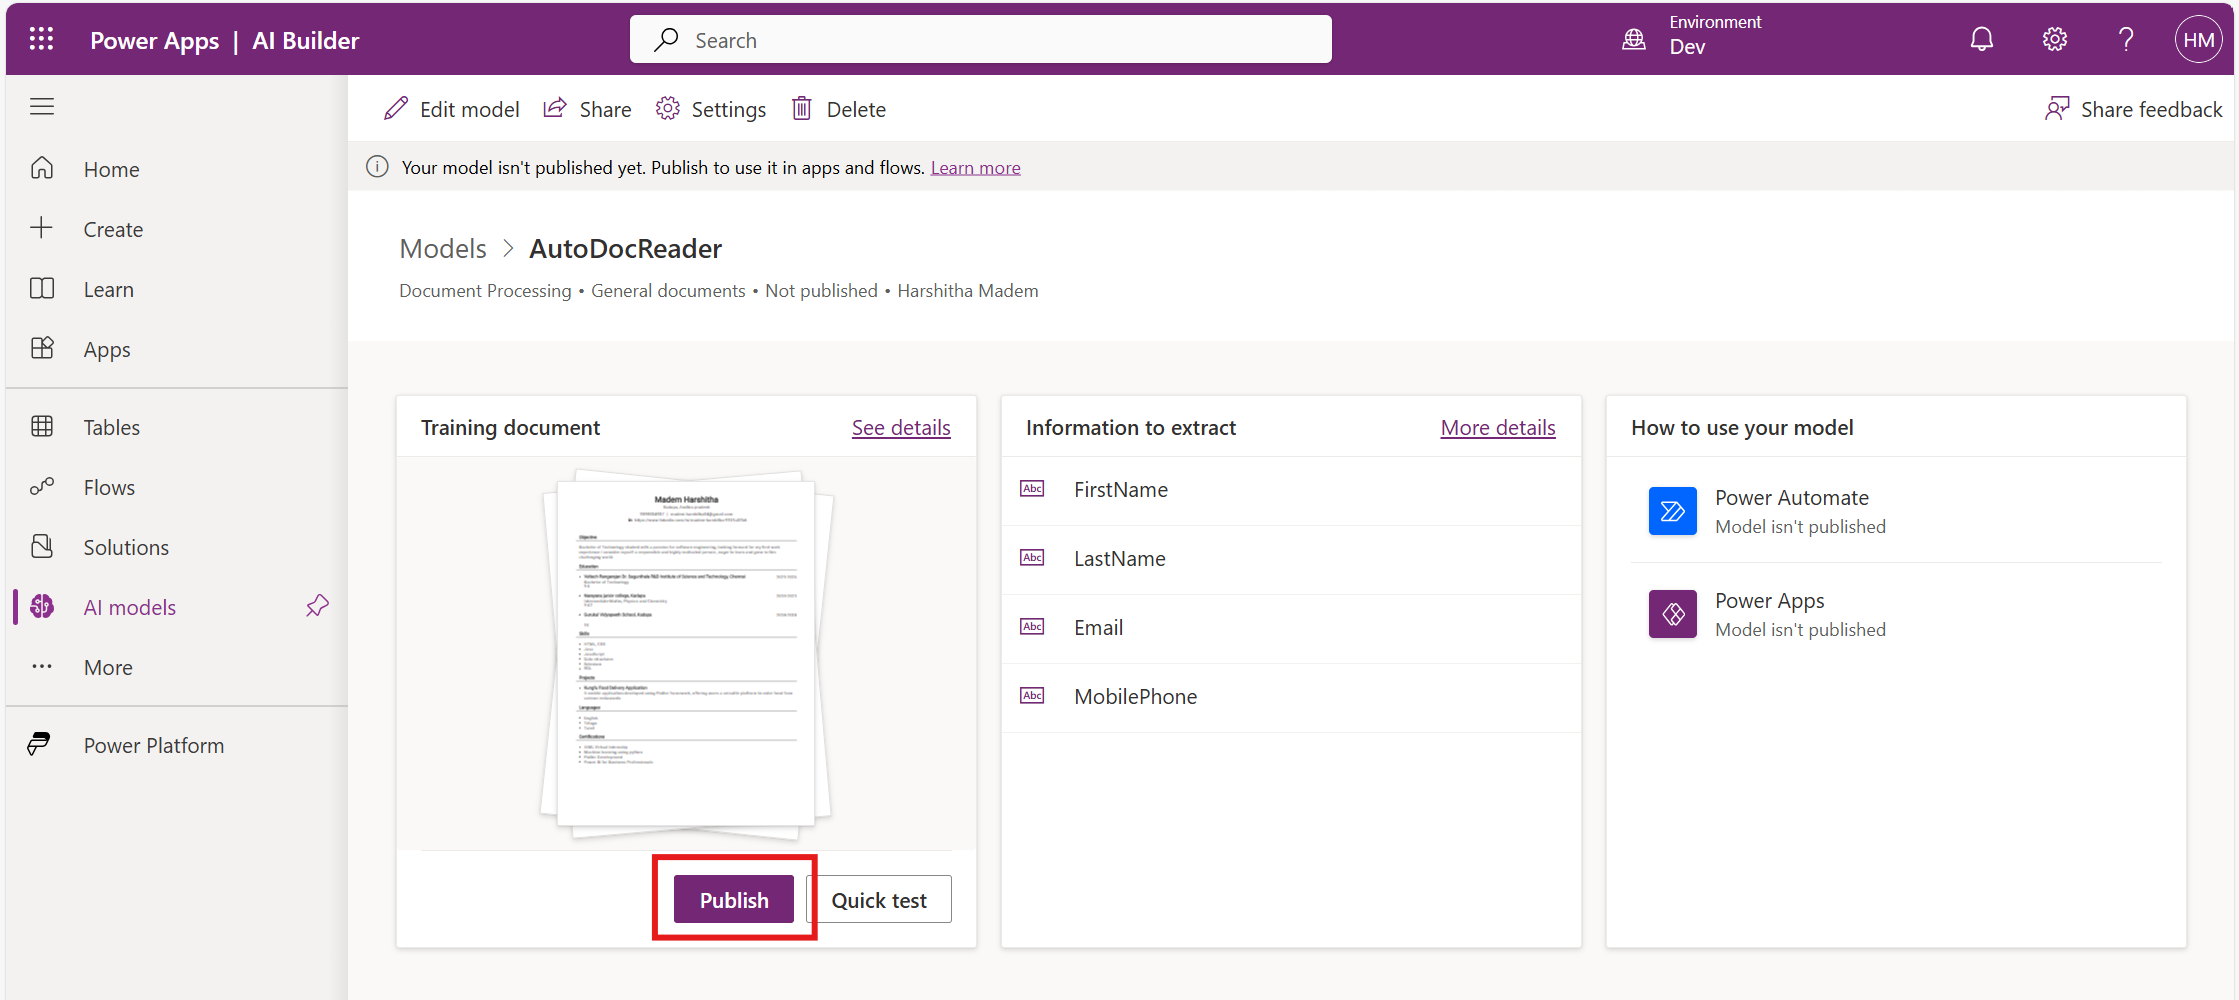
Click Publish.
Create a Canvas App and Power Automate Flow
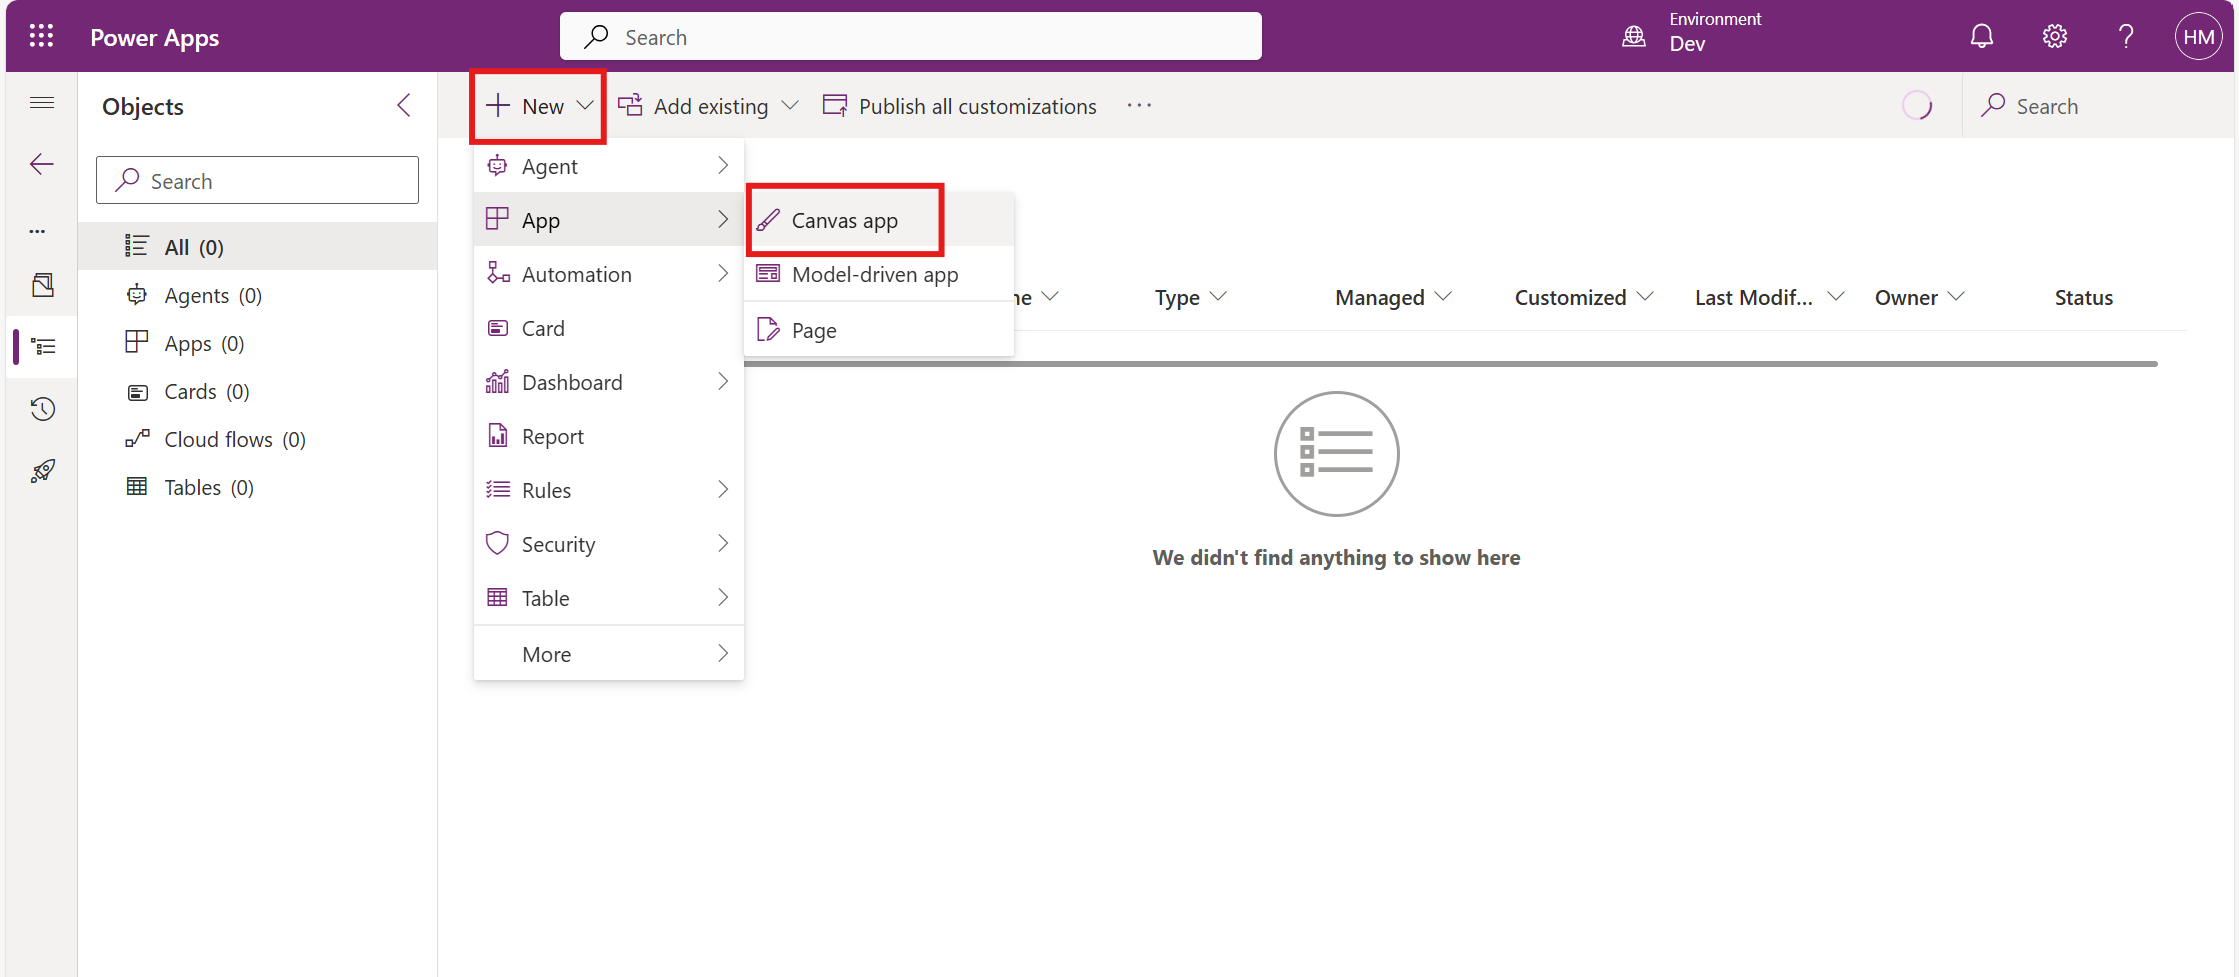
In the Power Apps portal, select the solution and click on New Canvas App.
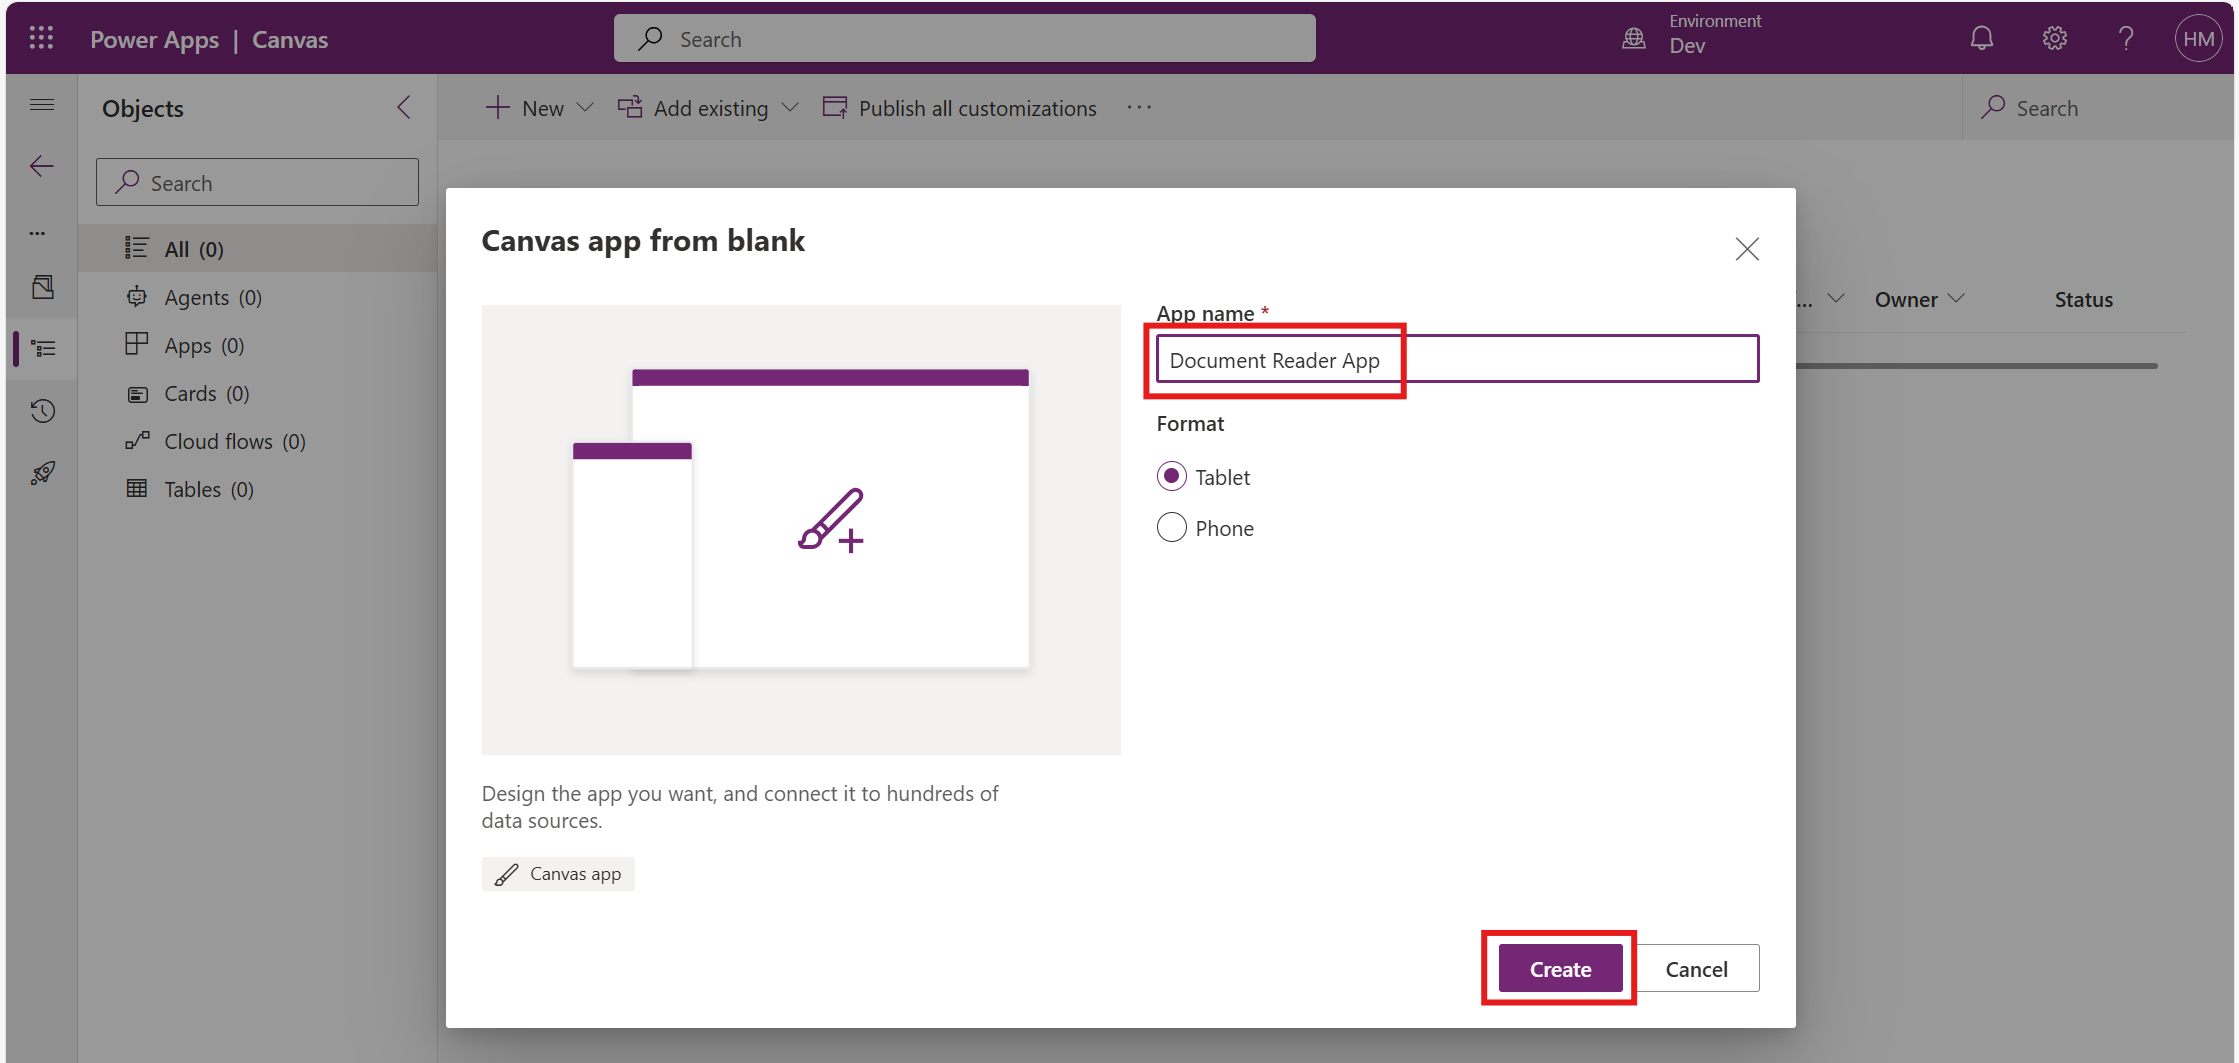
Give the app name as Document Reader App and click on Create.
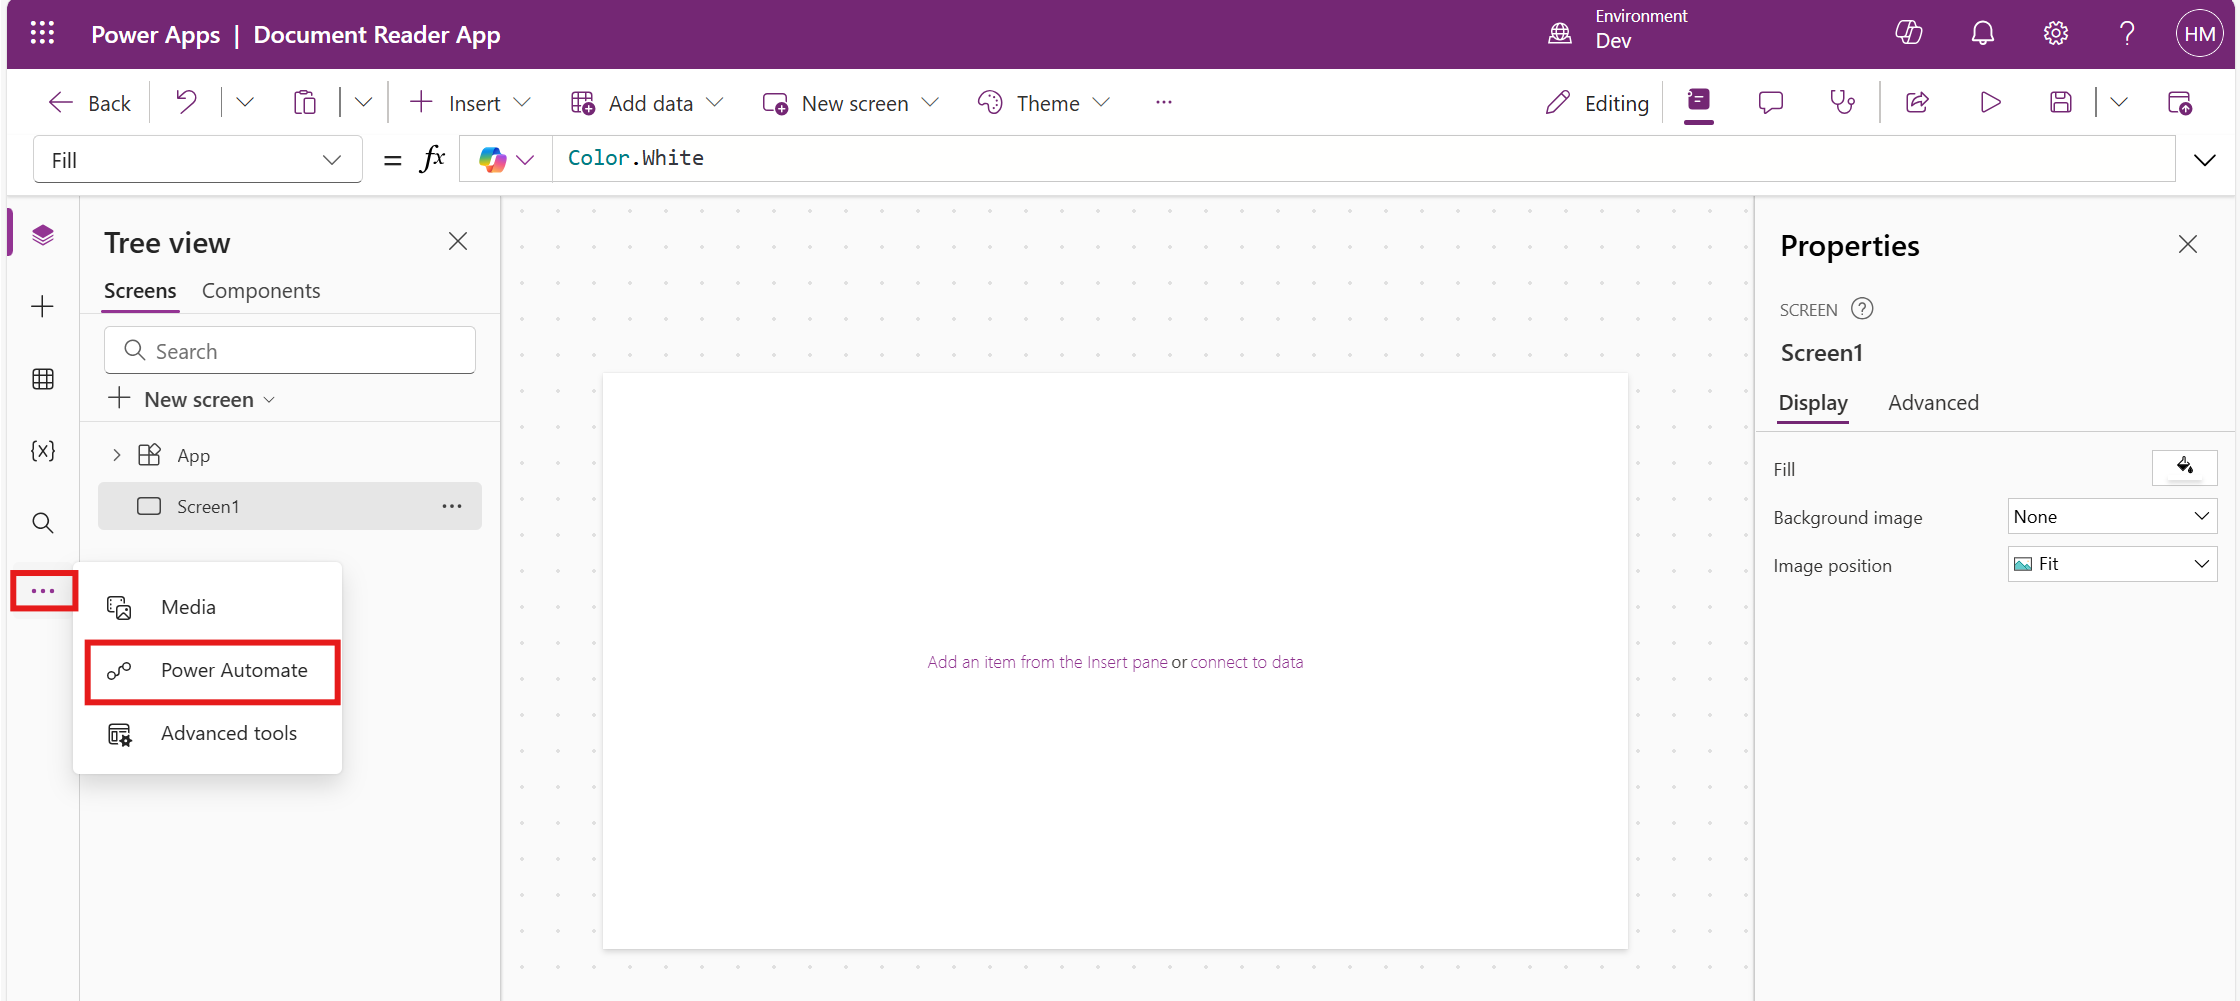
Click on the ellipsis and select Power Automate.
We use Power Automate to trigger the AI model and manage the process of sending image data for extraction. This means that when an image is uploaded in the app, the flow automatically works with the AI model to pull out the needed information and returns the results to be displayed in the app.
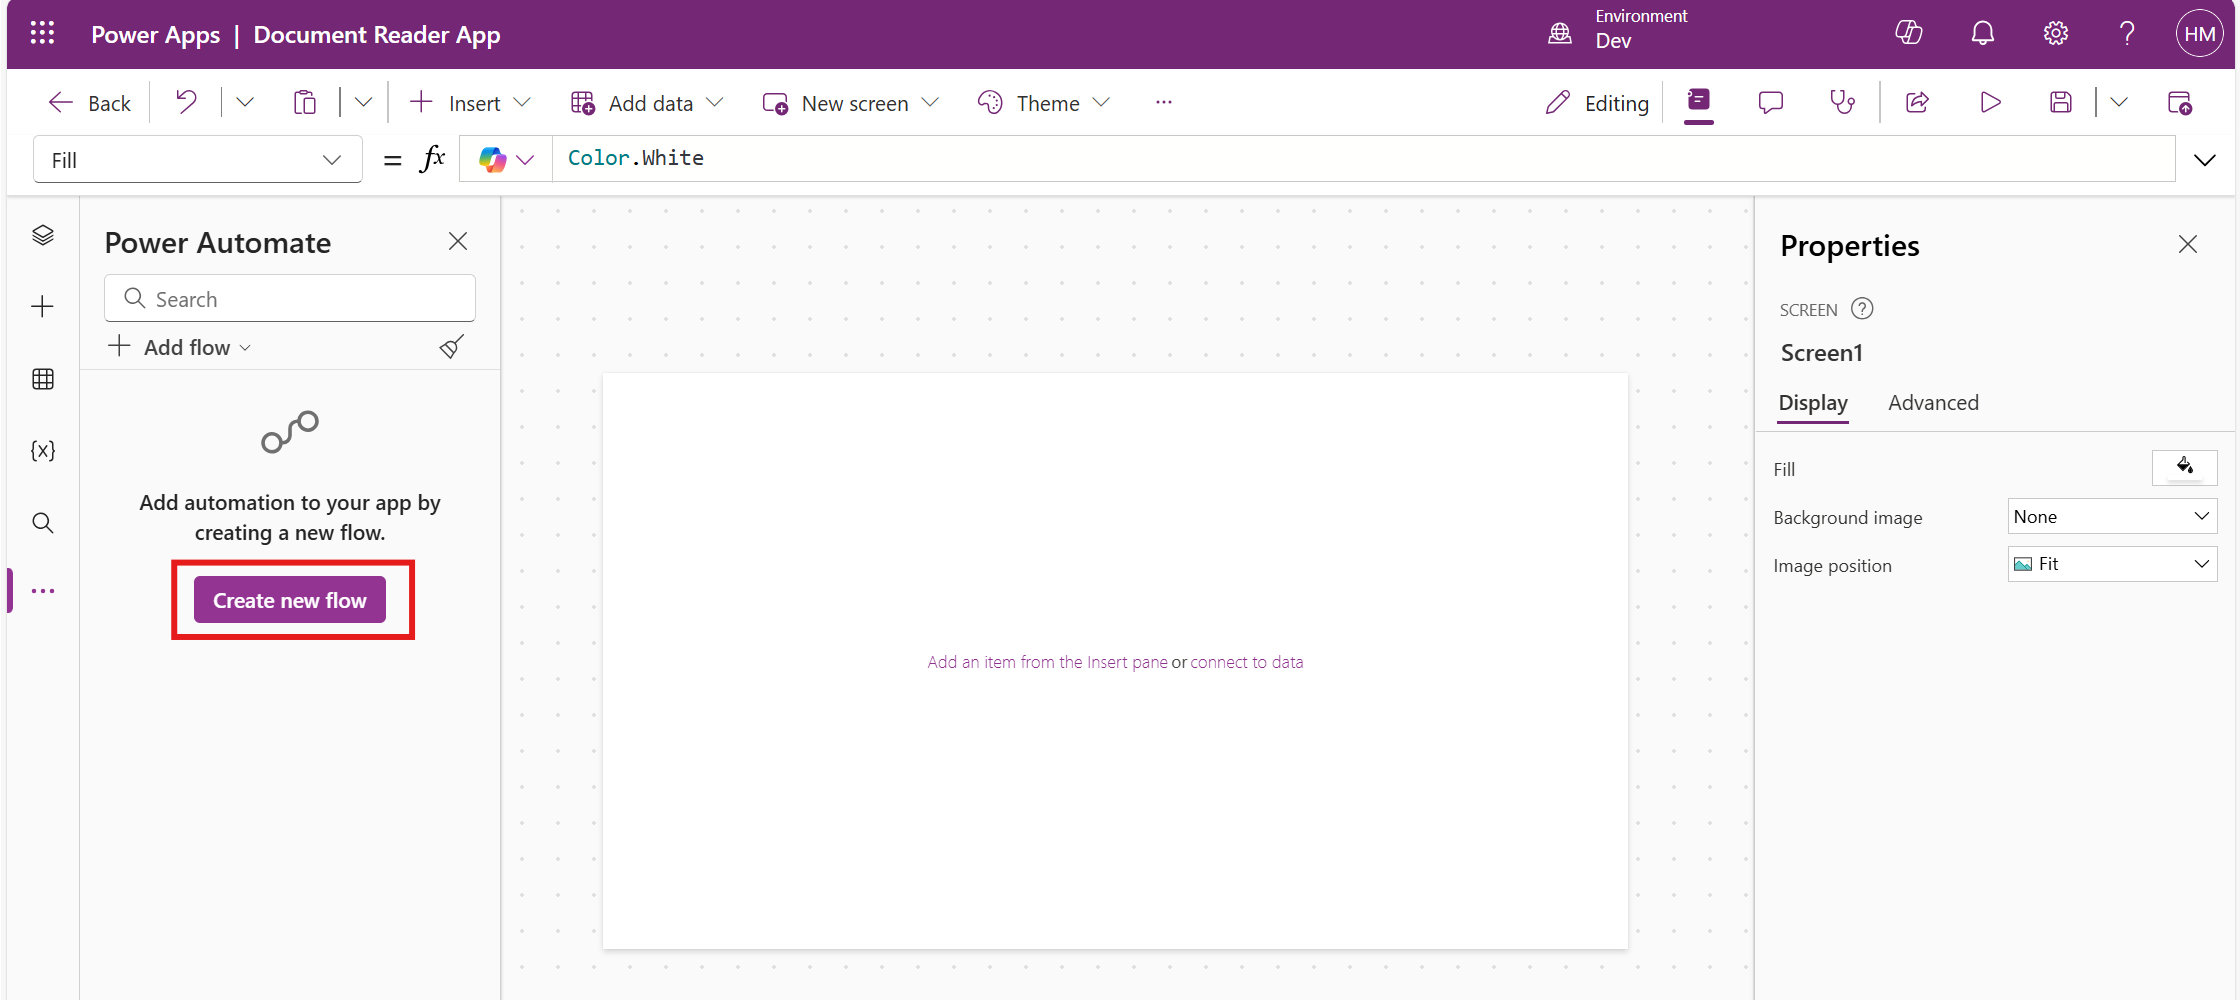
Click on Create new flow to create a flow from blank.
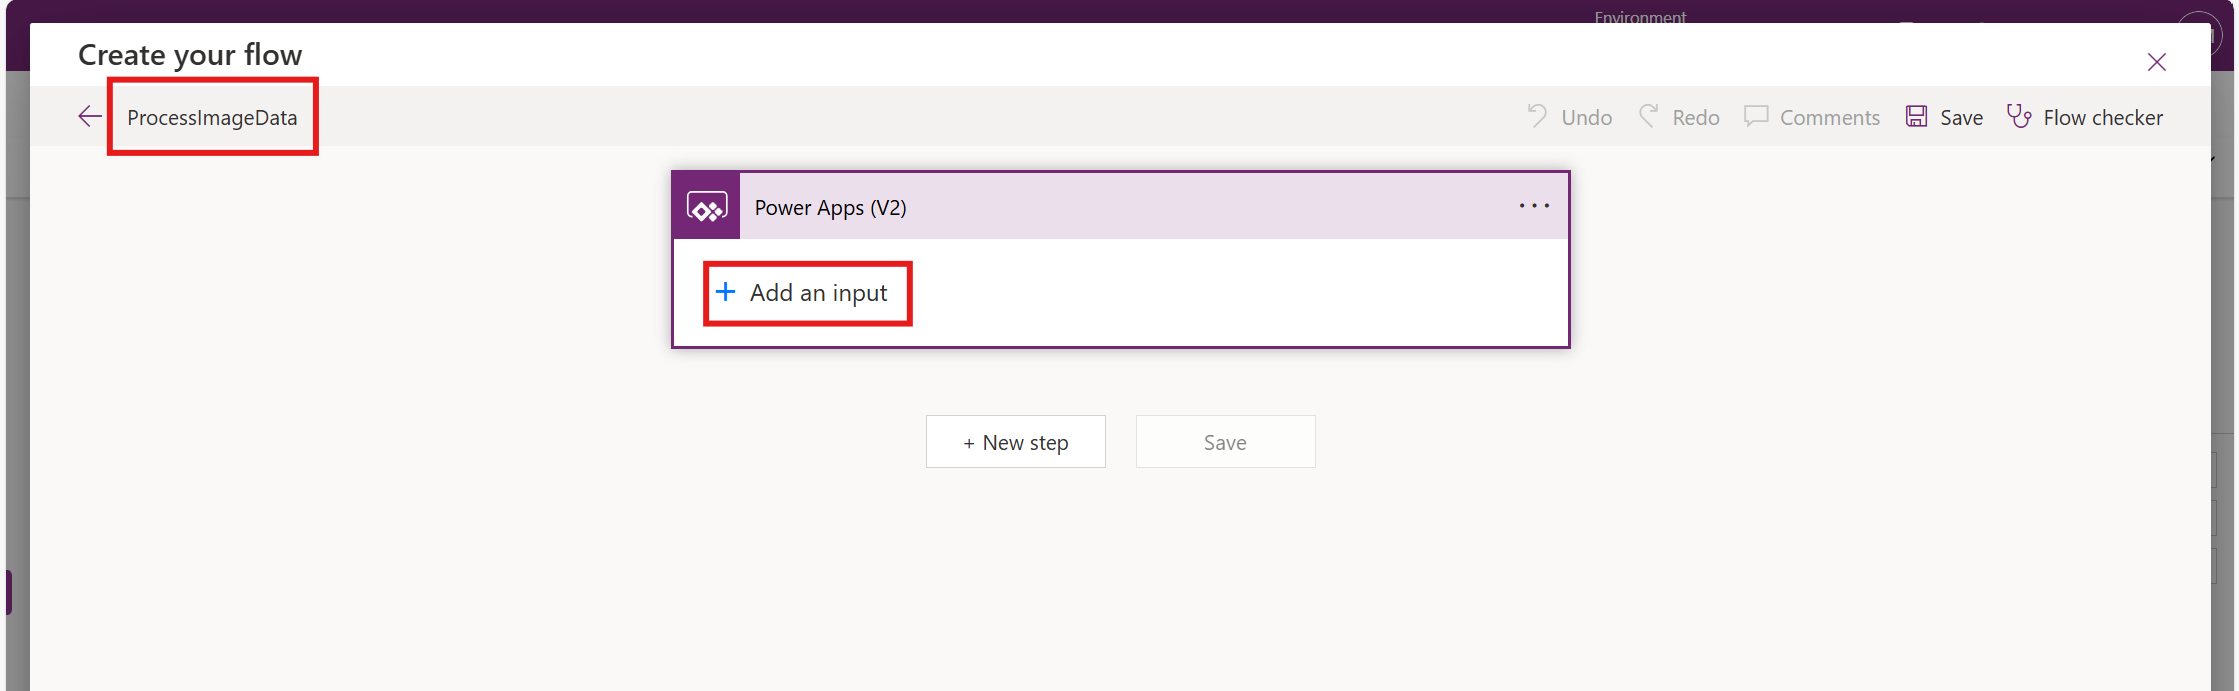
Name the flow appropriately (e.g., ProcessImageData) and click on Add an input.
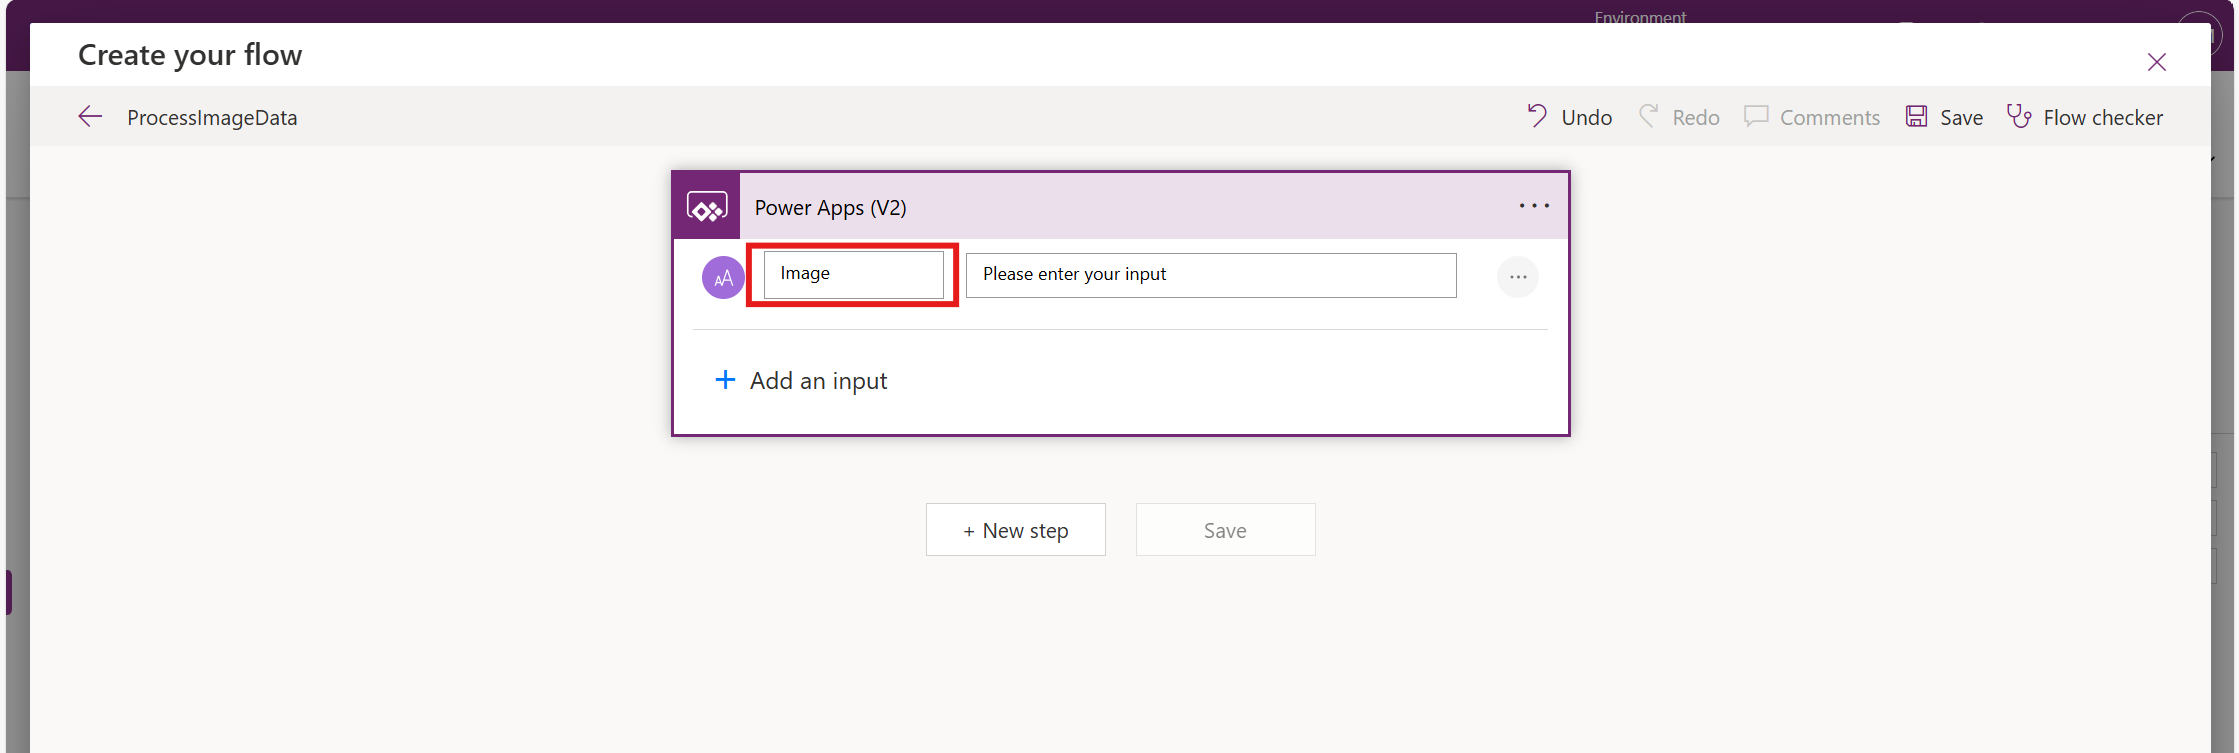
Select the input type as Text and rename it to Image.
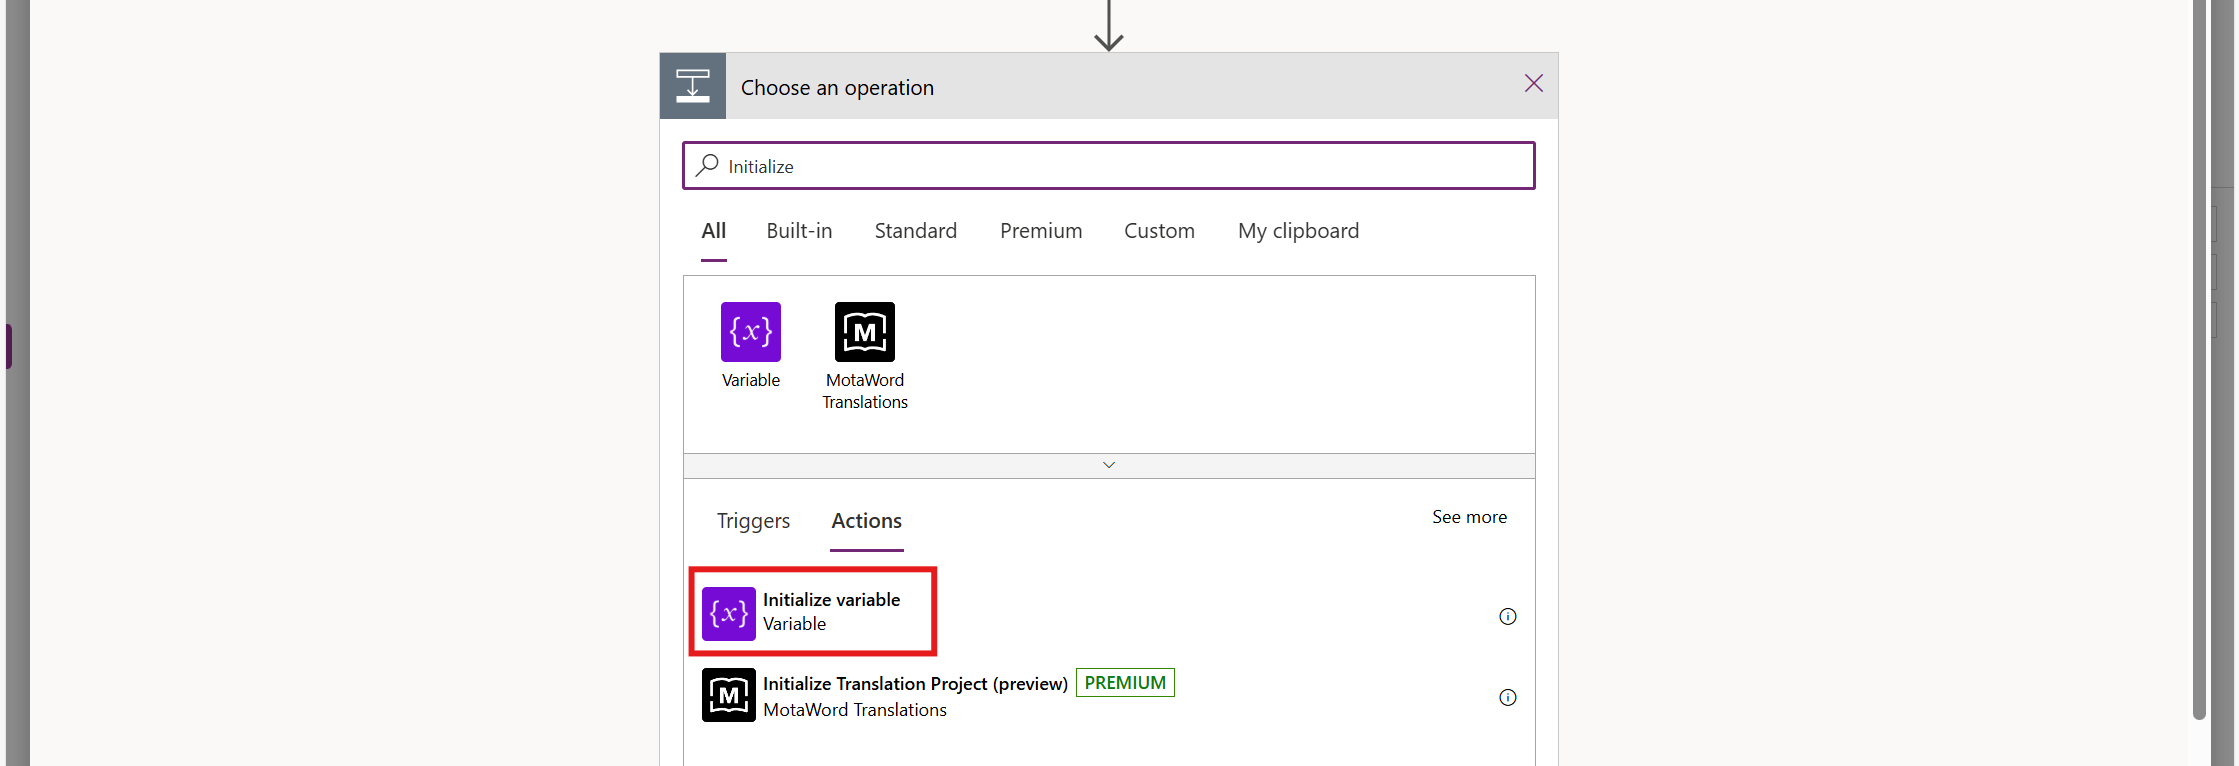
Click on the New step and select Initialize variable.
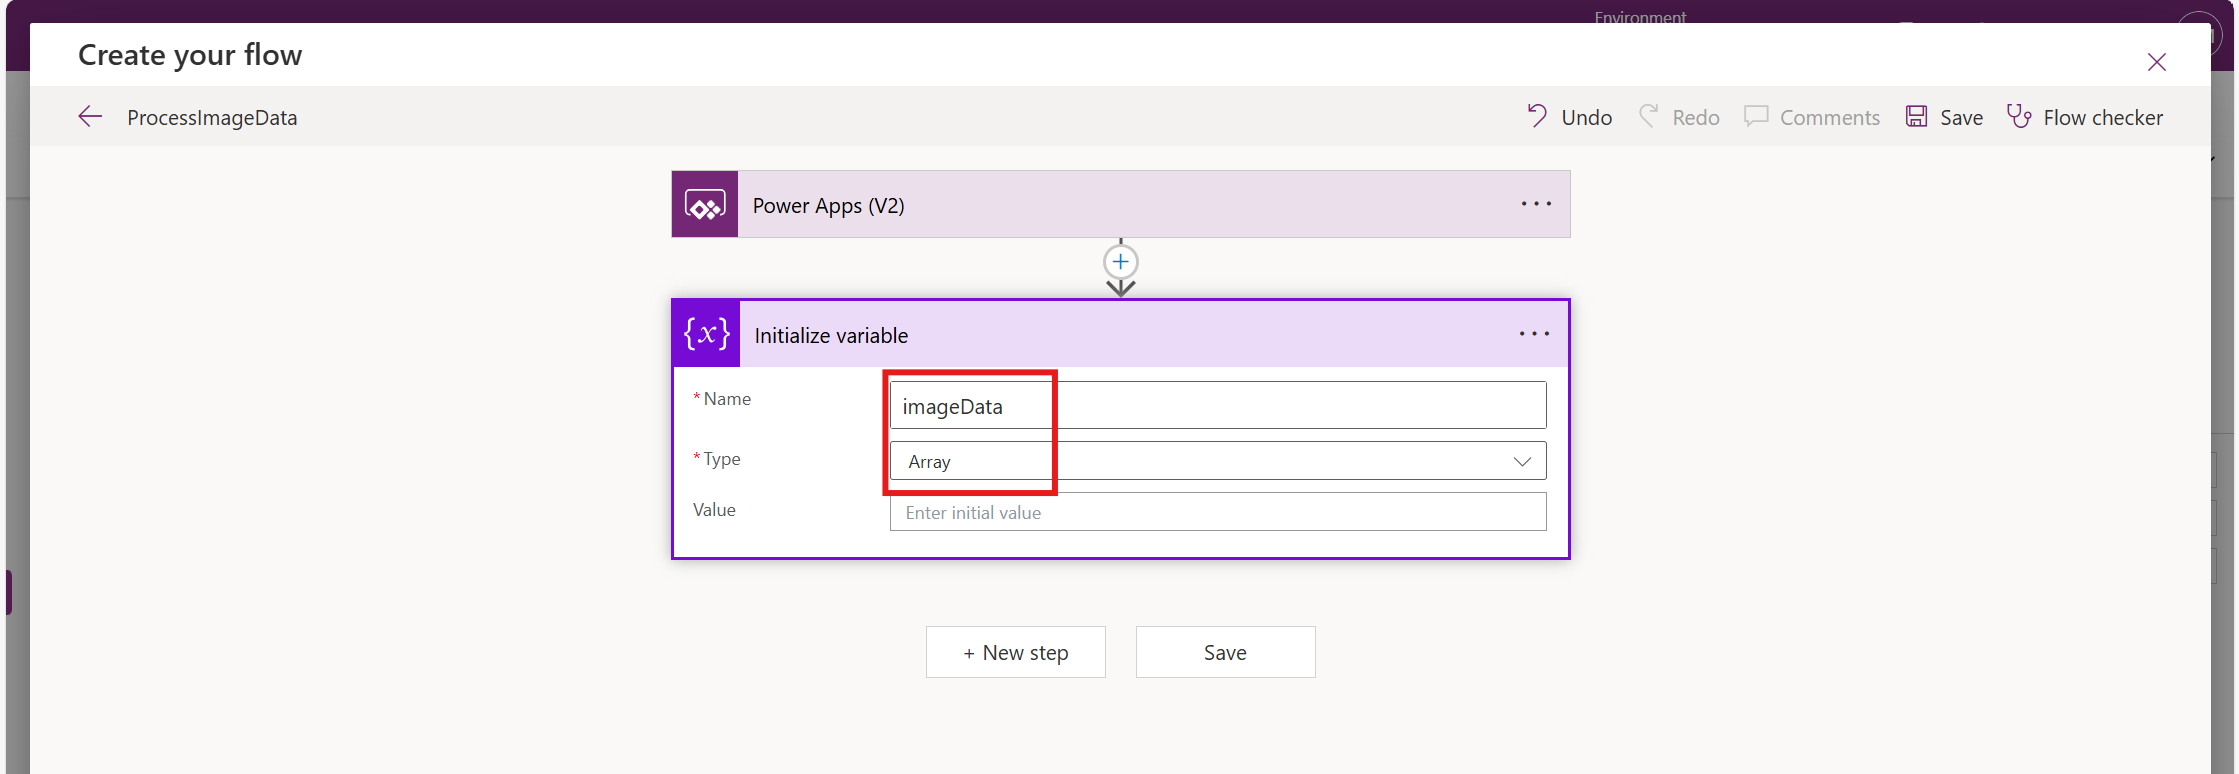
Name the variable as imageData andselect Array as the variable type.
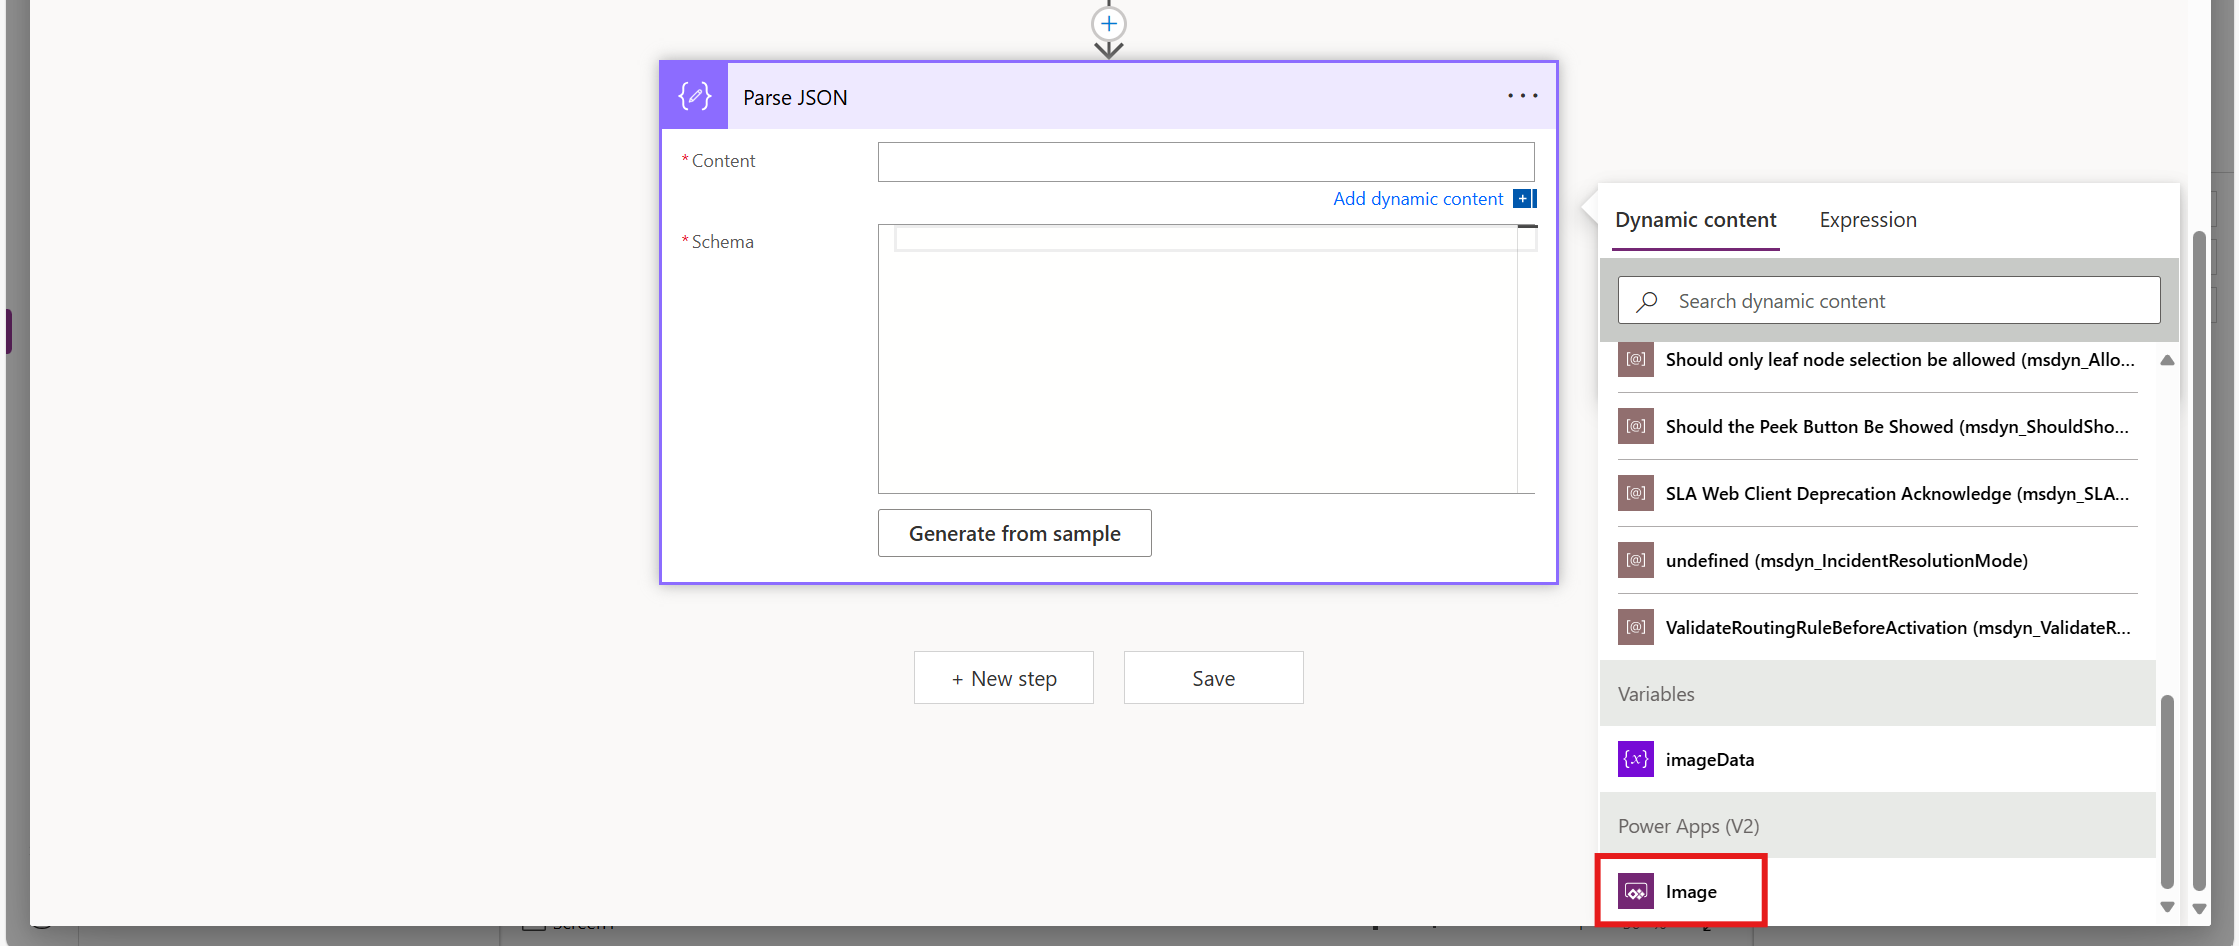
Select the Parse JSON connector and choose the dynamic value Image as the content input.
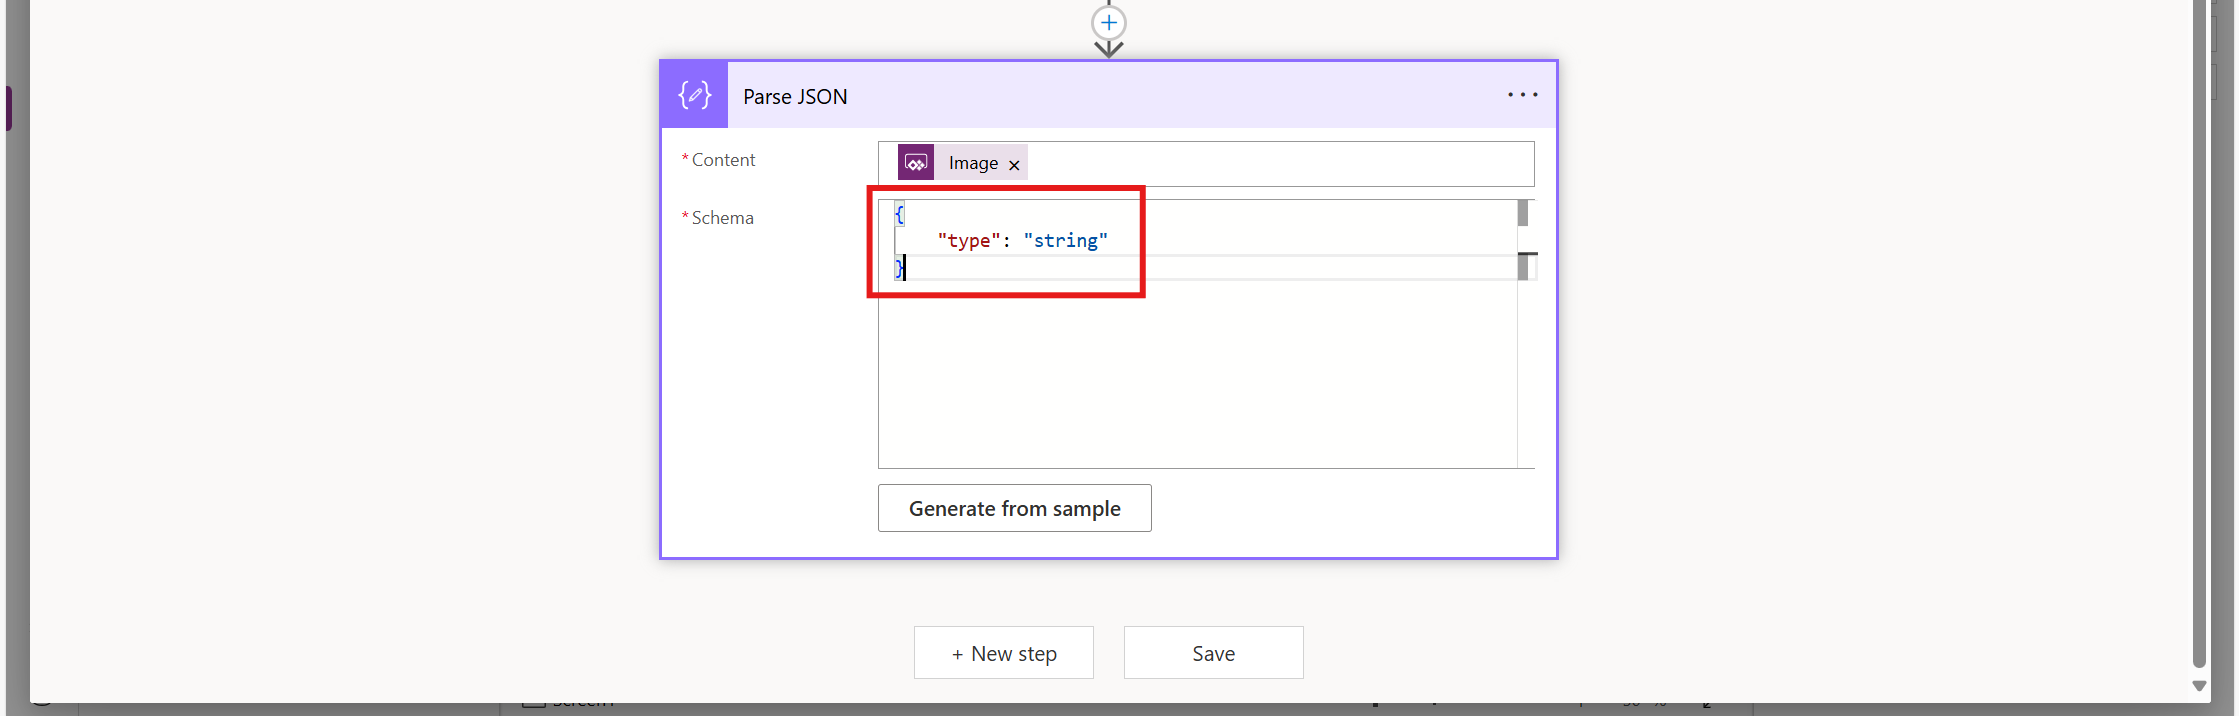
Provide the Schema for Parse JSON.
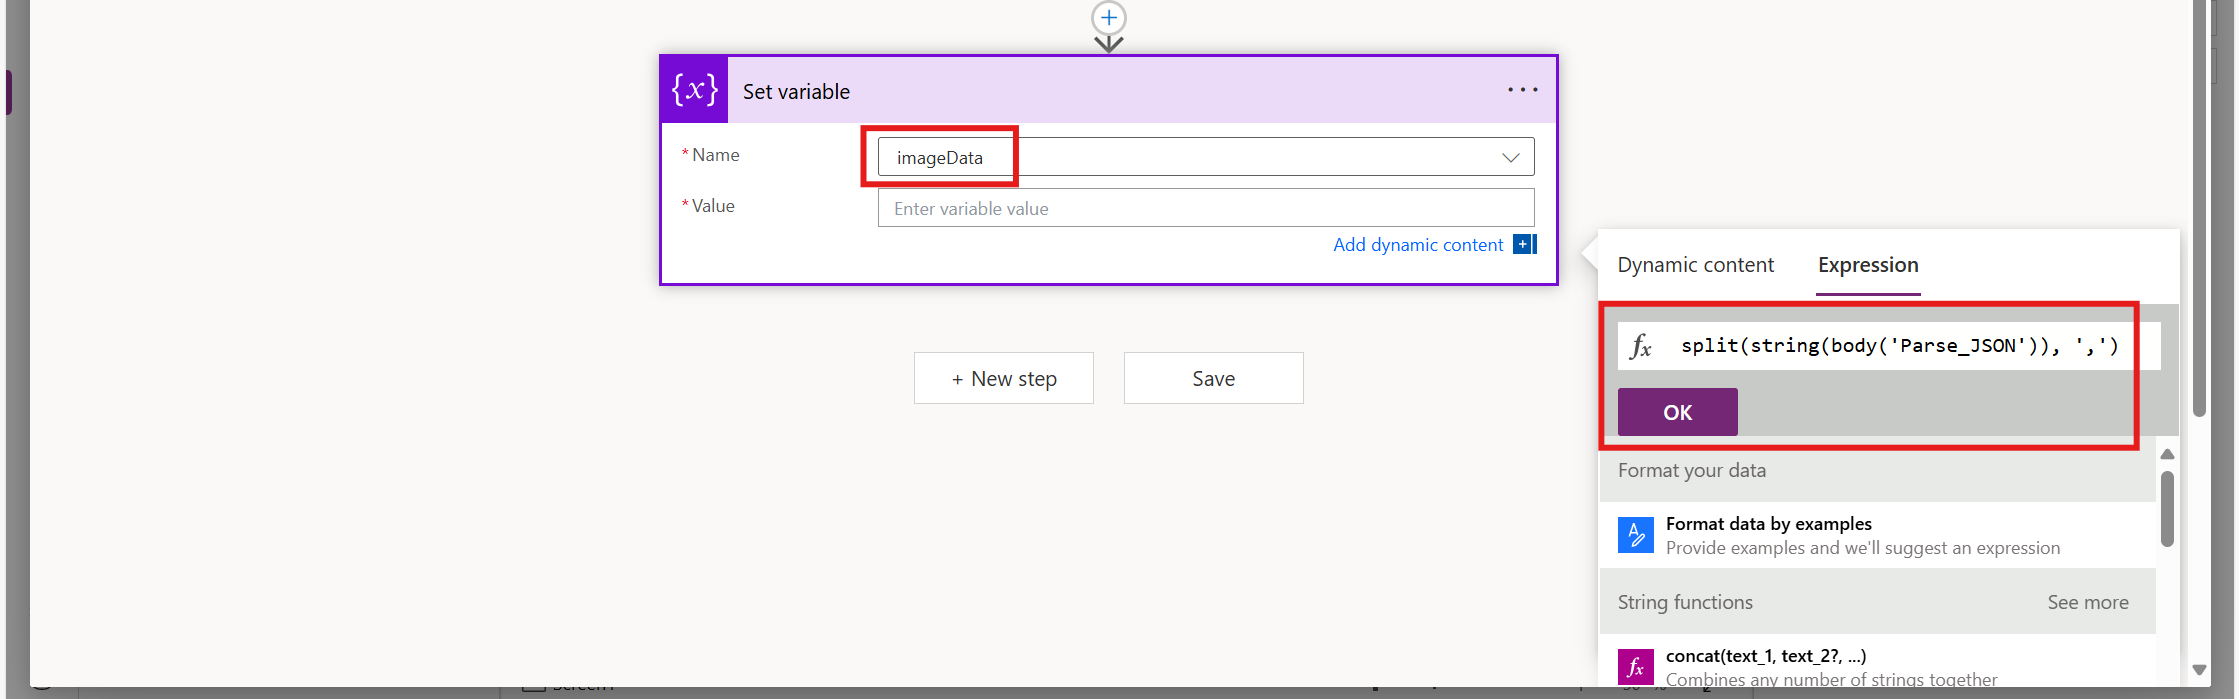
Add a Set variable connector, select imageData as the variable name, and use the following Power Fx formula in the Value field.
split(string(body('Parse_JSON')), ',')
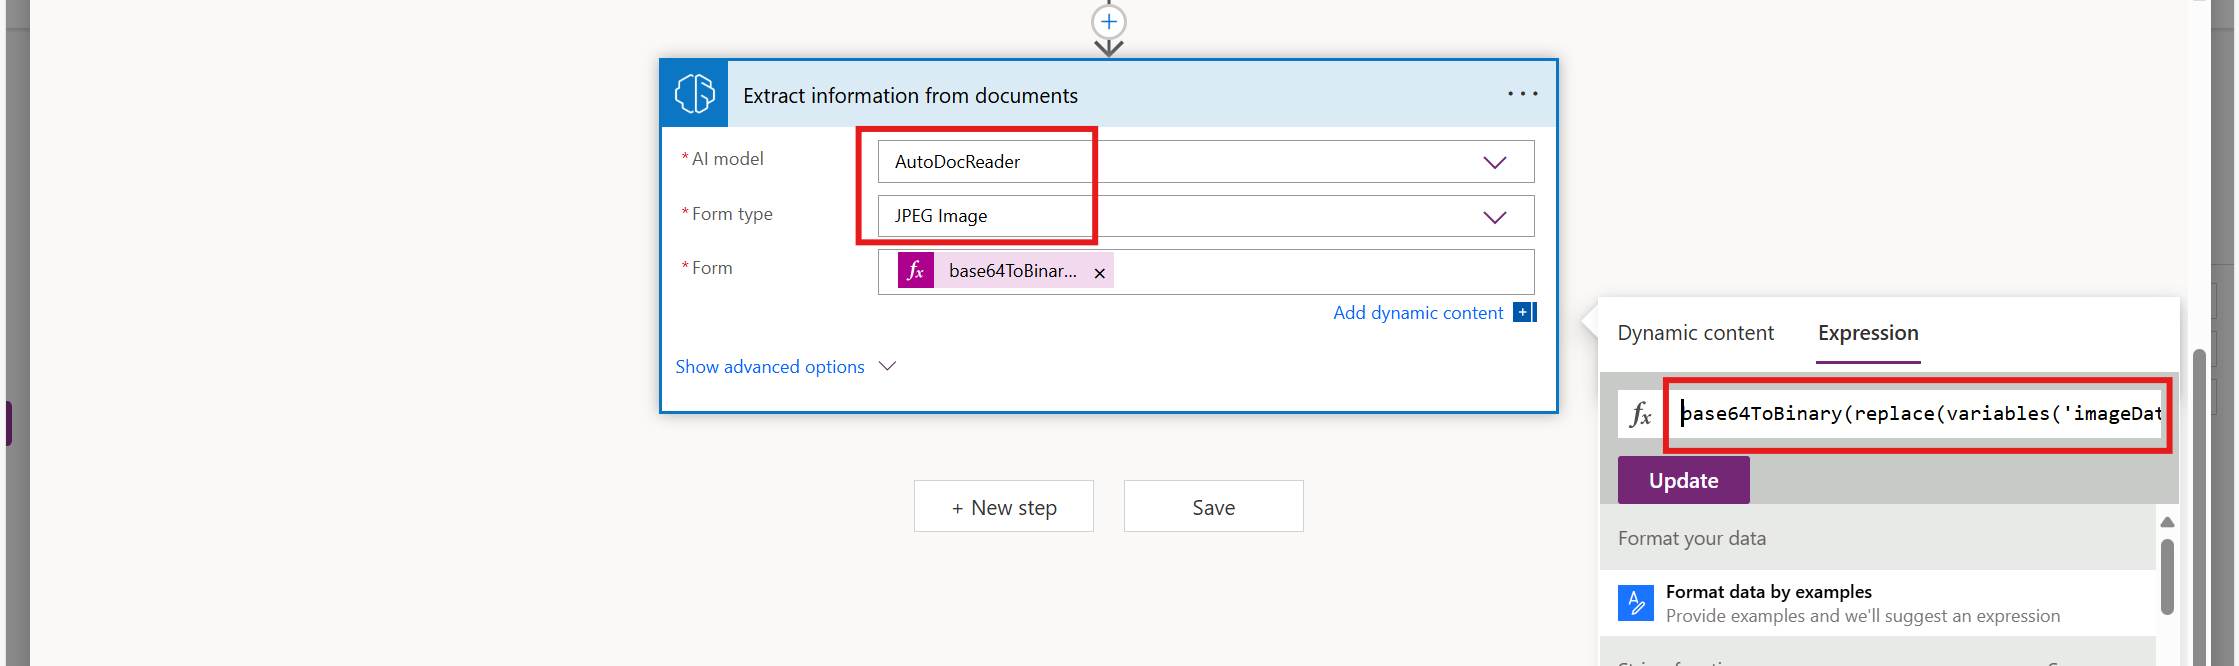
Add the Extract information from documents connector, select the AI model that was published earlier, and set the form type to JPEG image.
For the form field, use the following Power Fx formula:
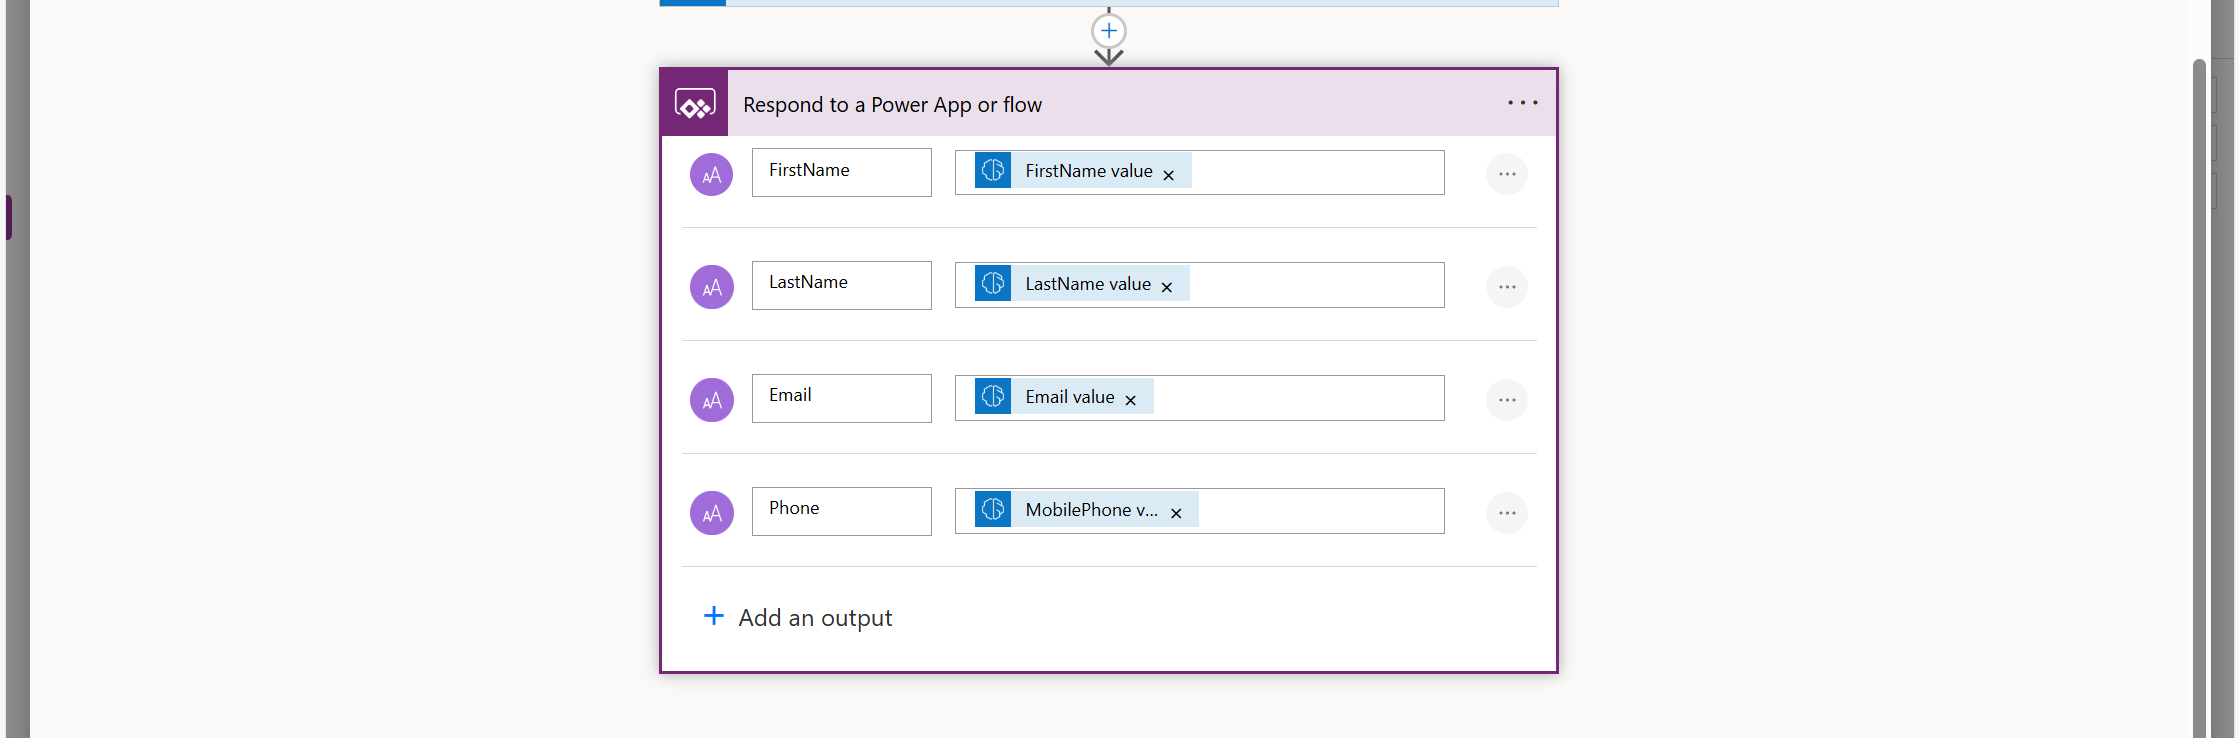
Select the Respond to Power App or Flow connector, and then map the text outputs for FirstName, LastName, Email, and Phone. Choose the appropriate values from the Extract information from documents connector.
Save the flow and go to the Canvas App.
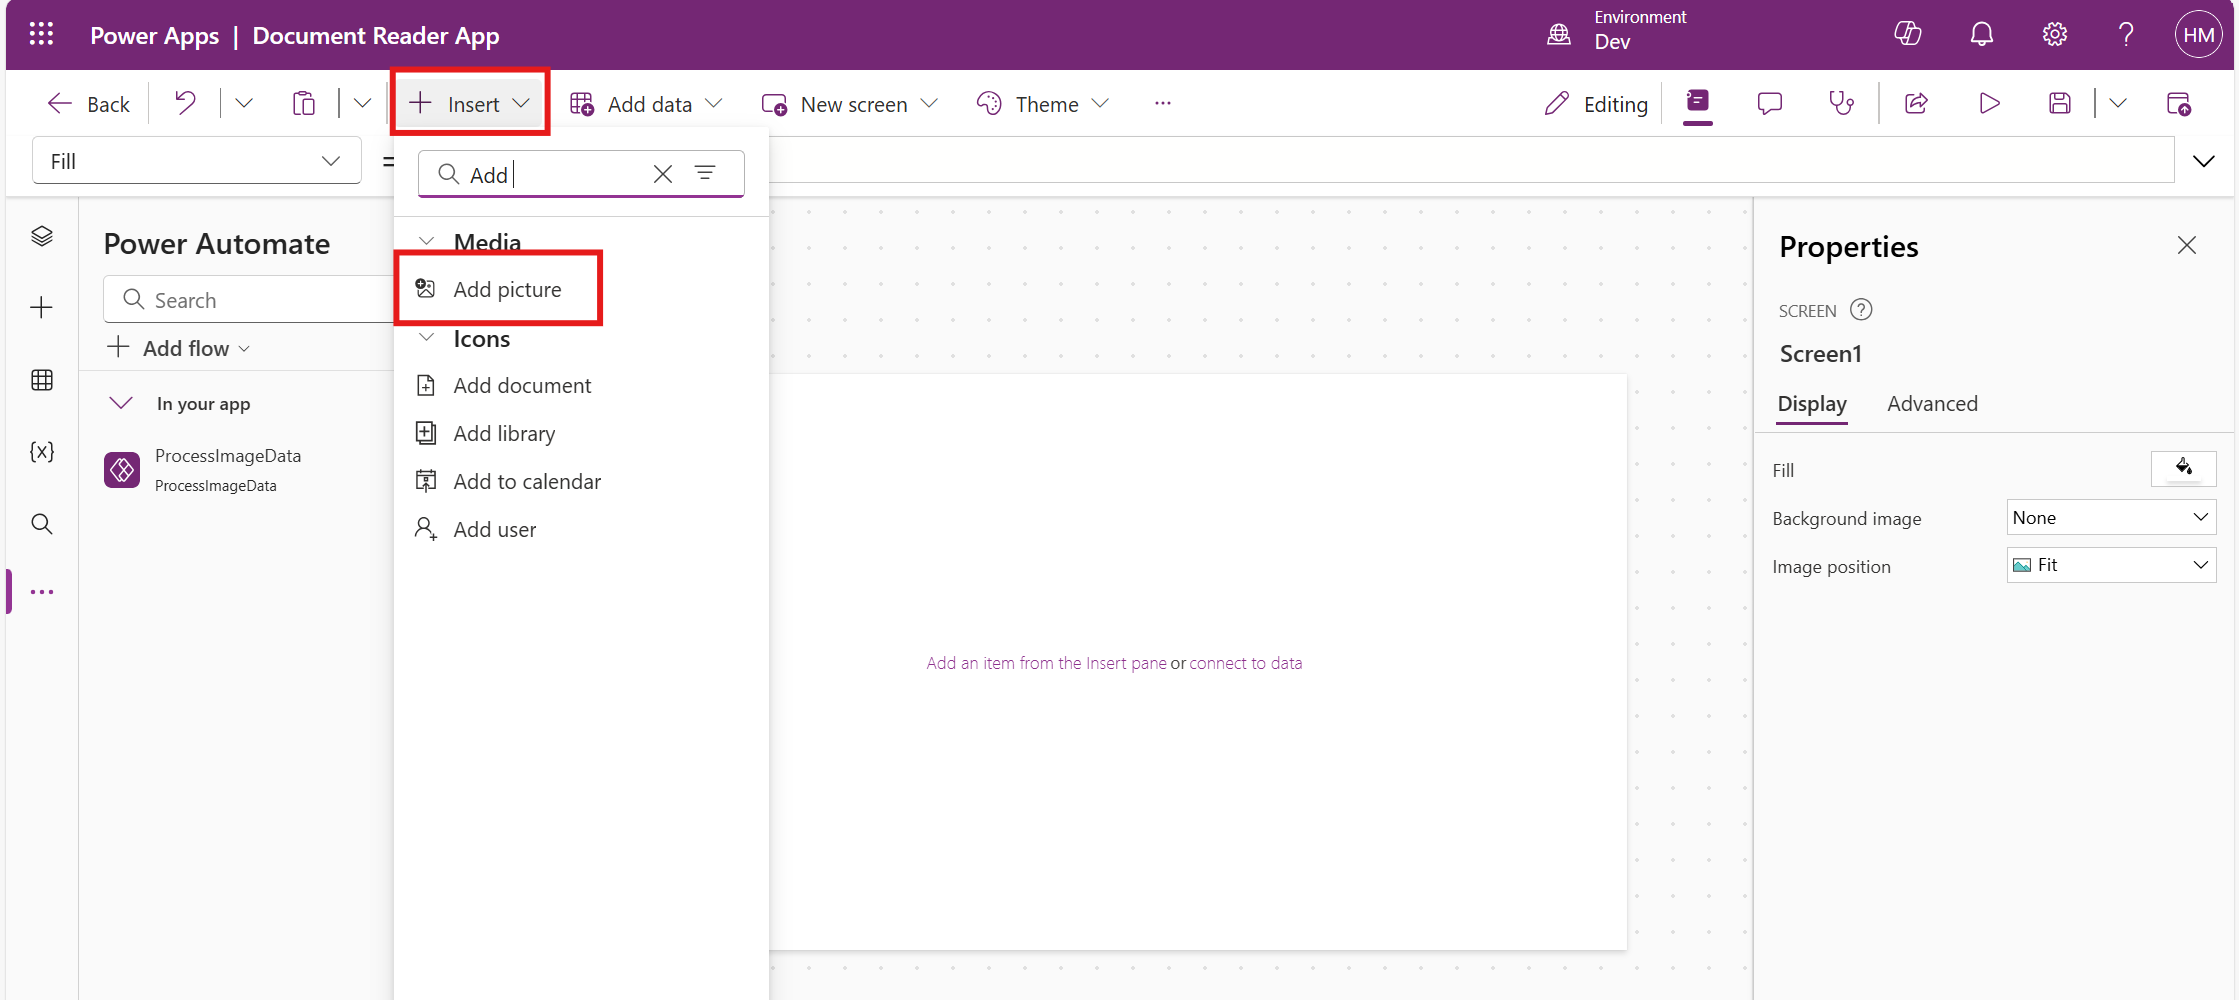
Click on Insert and select Add picture.
Select the AddMediaButton1 and use the following Power Fx formula in the OnSelect property.
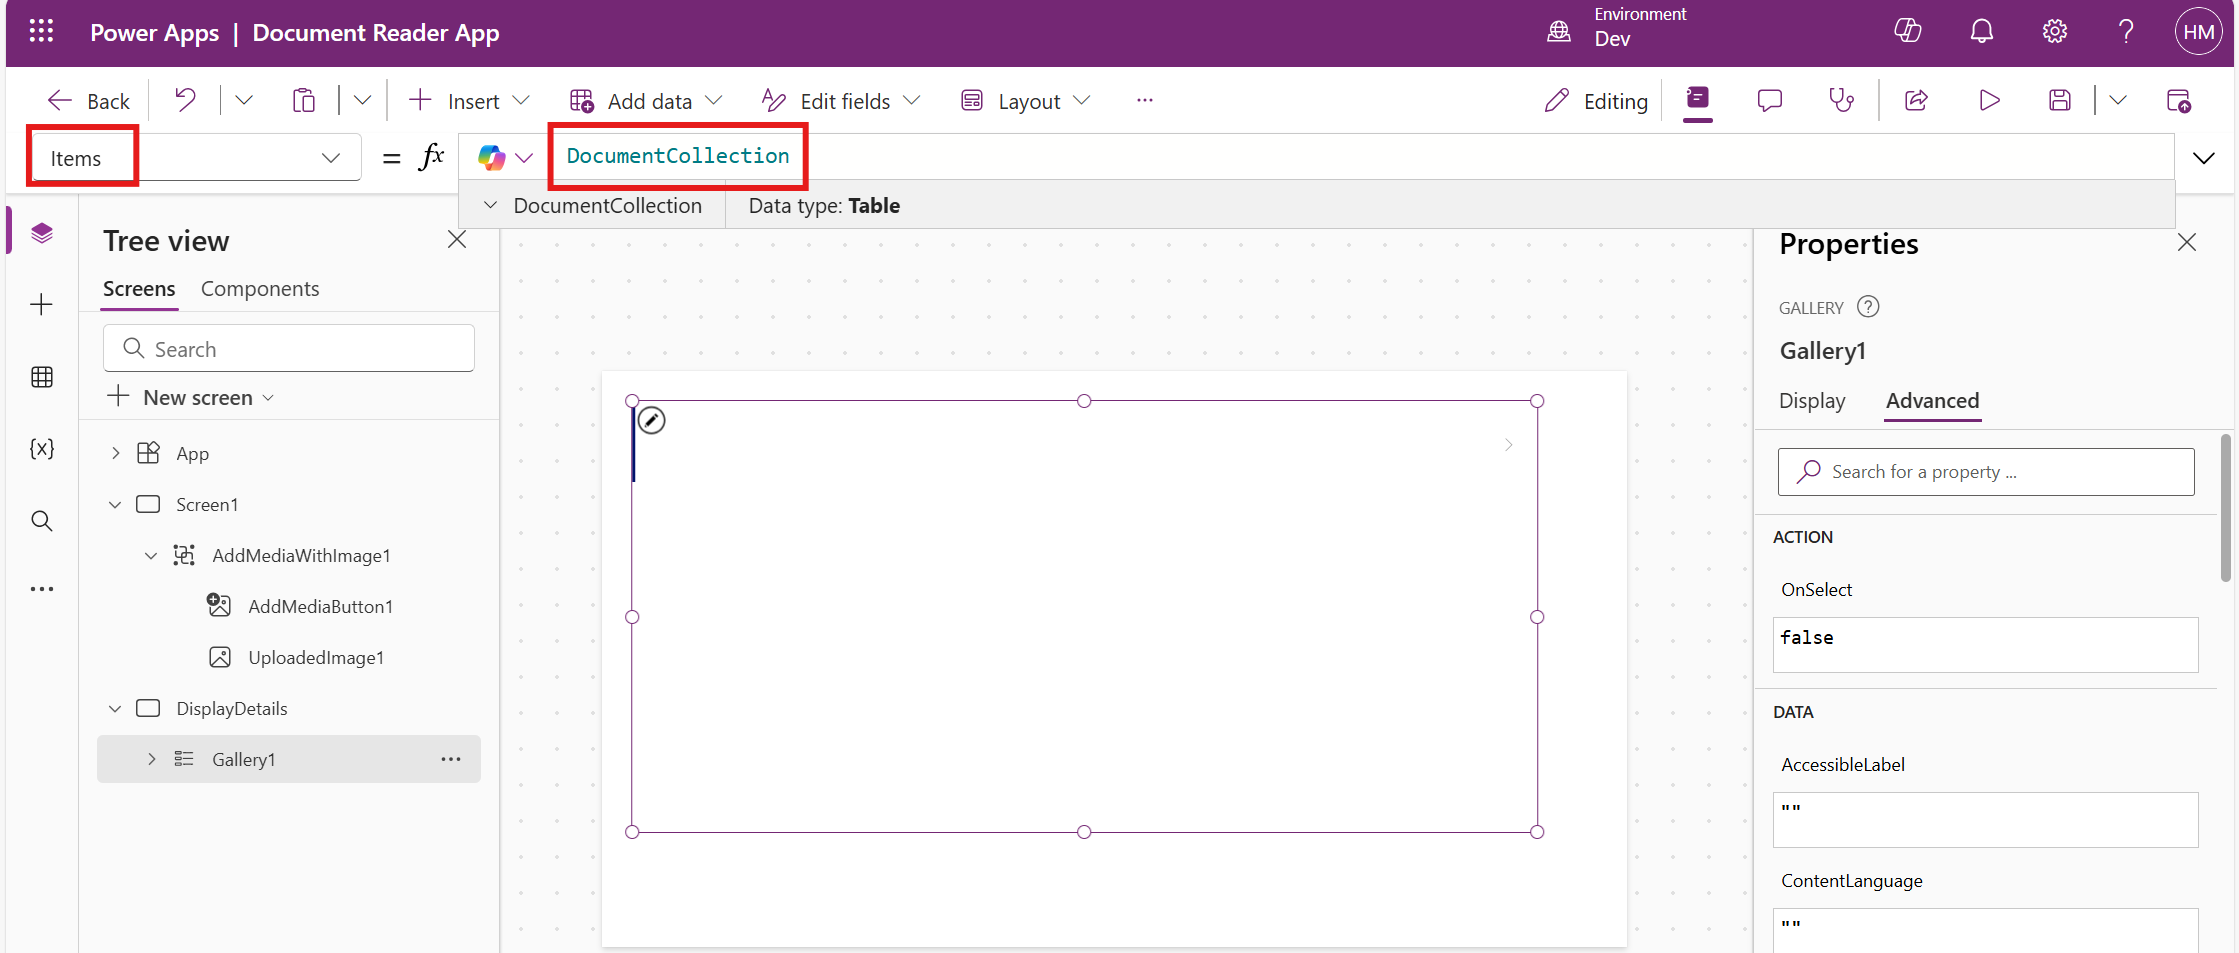
In the DisplayDetails screen, insert a vertical gallery and set its item property to DocumentCollection.
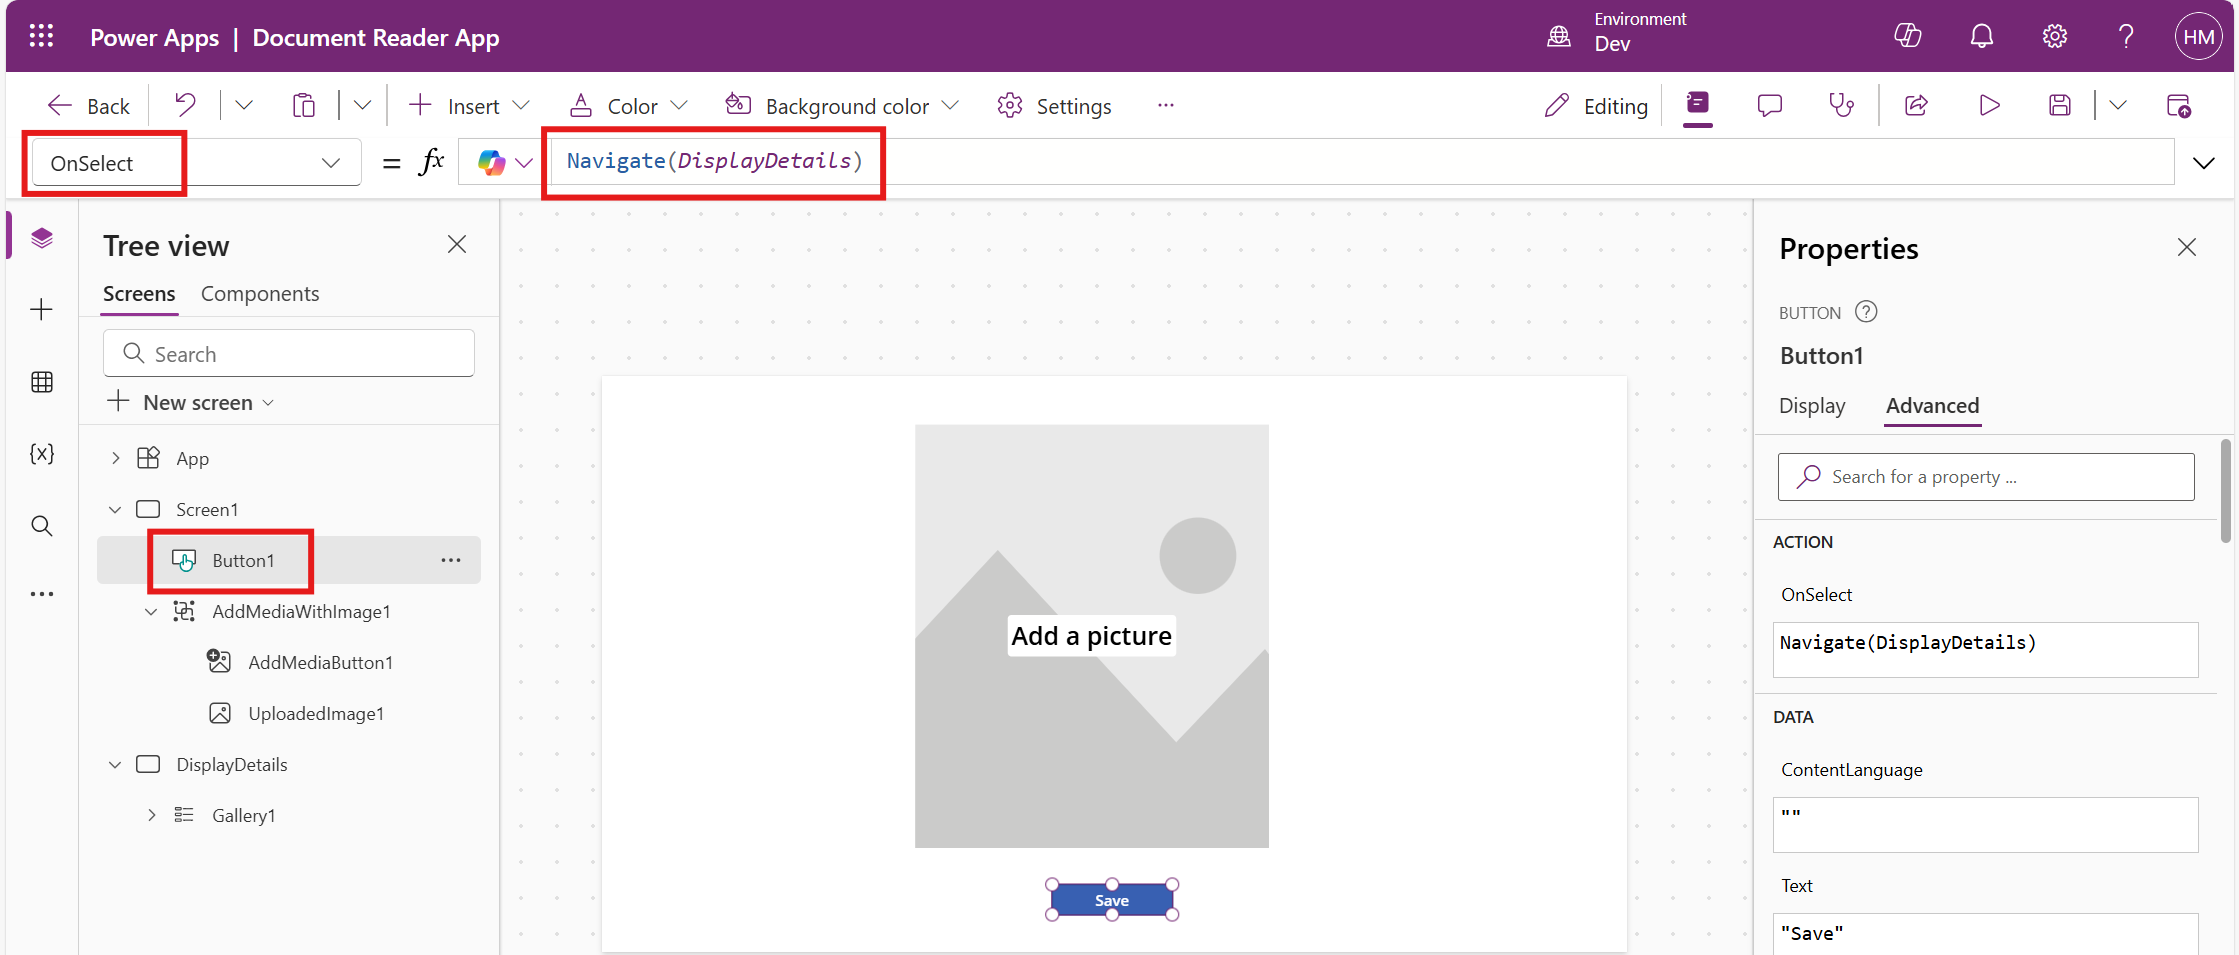
Insert a button and set its OnSelect property to navigate to the DisplayDetails screen.
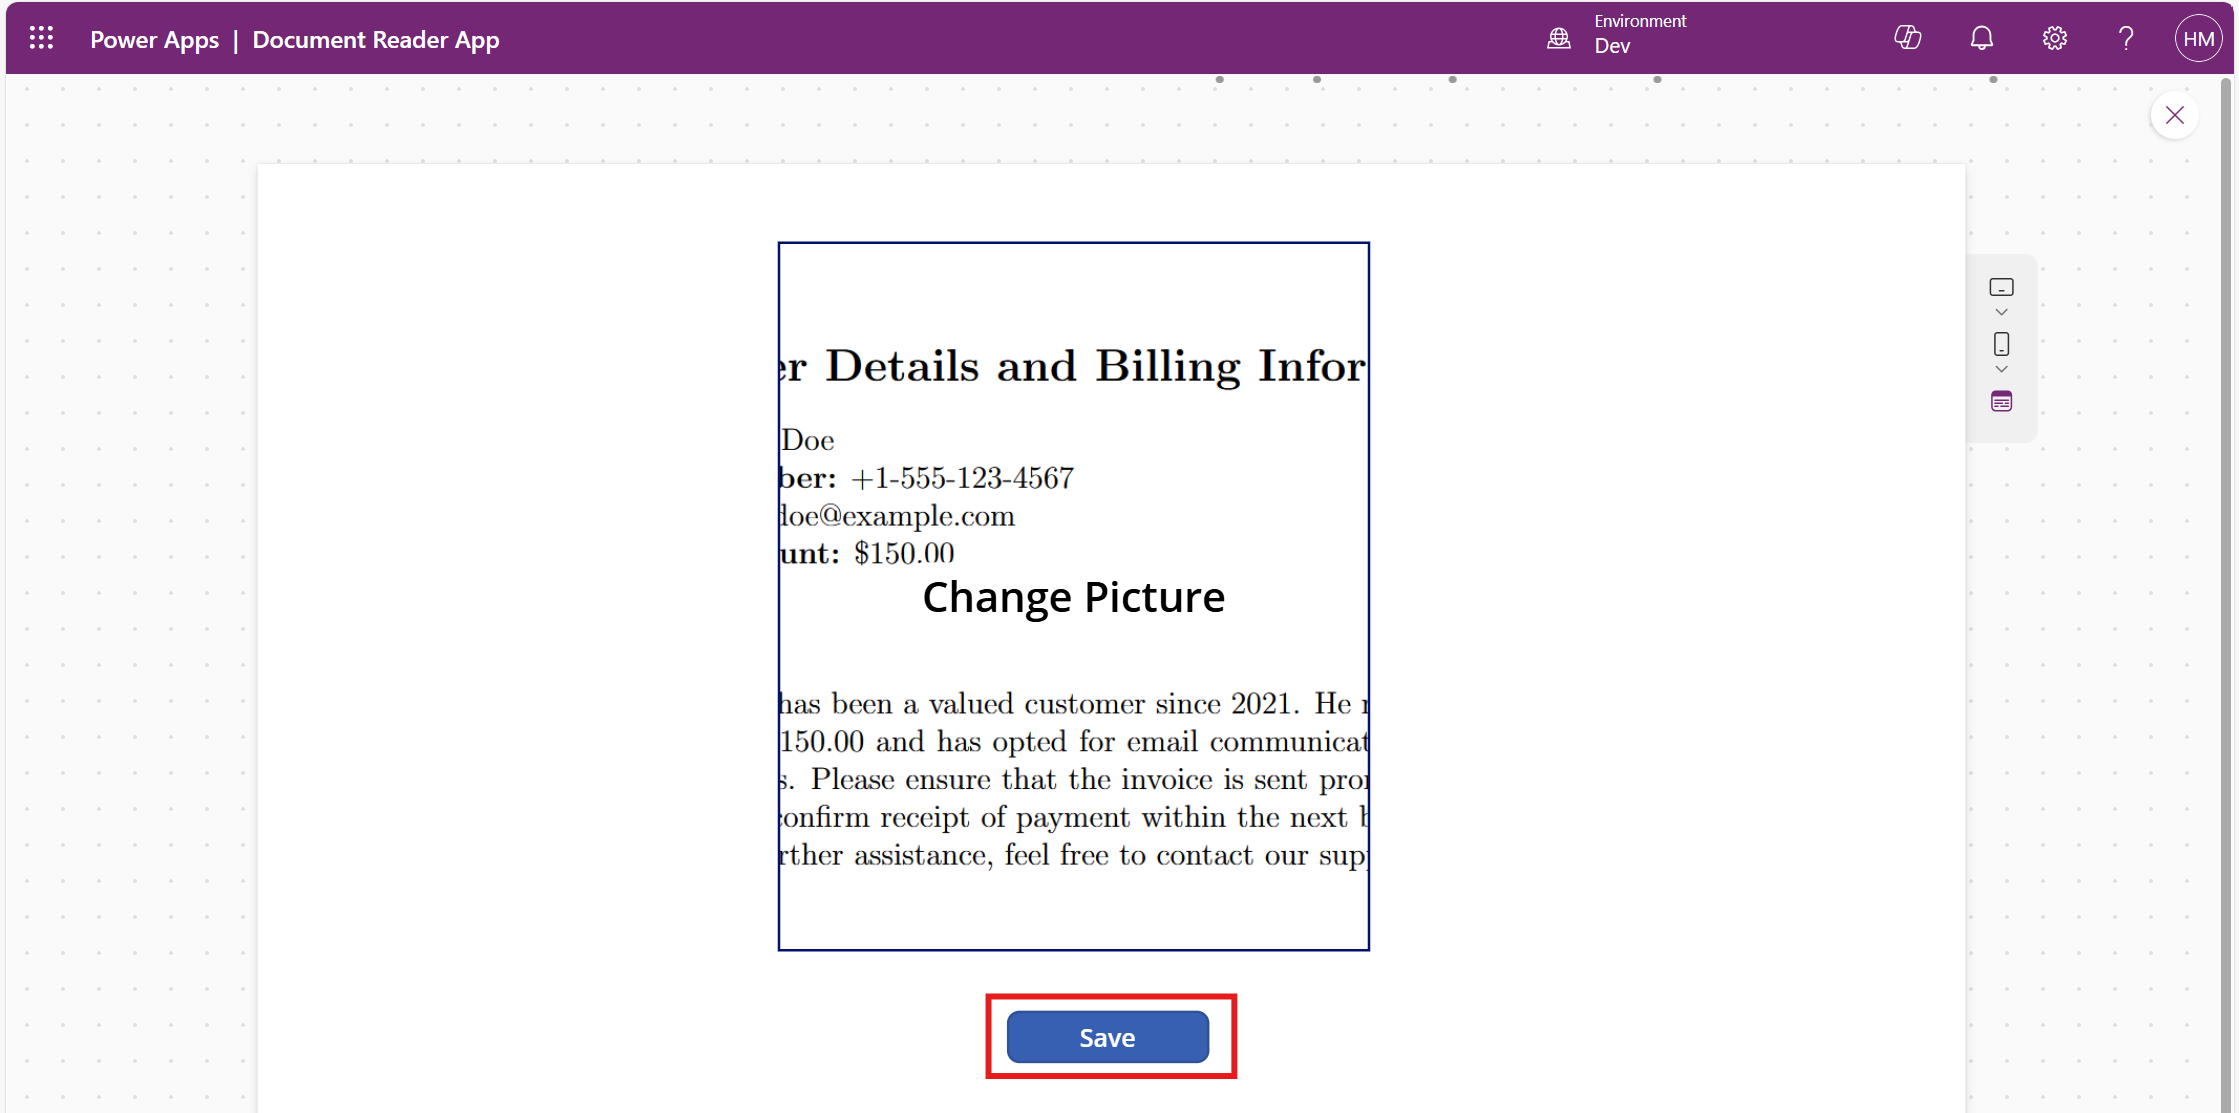
Test the output by selecting a picture and clicking the Save button.
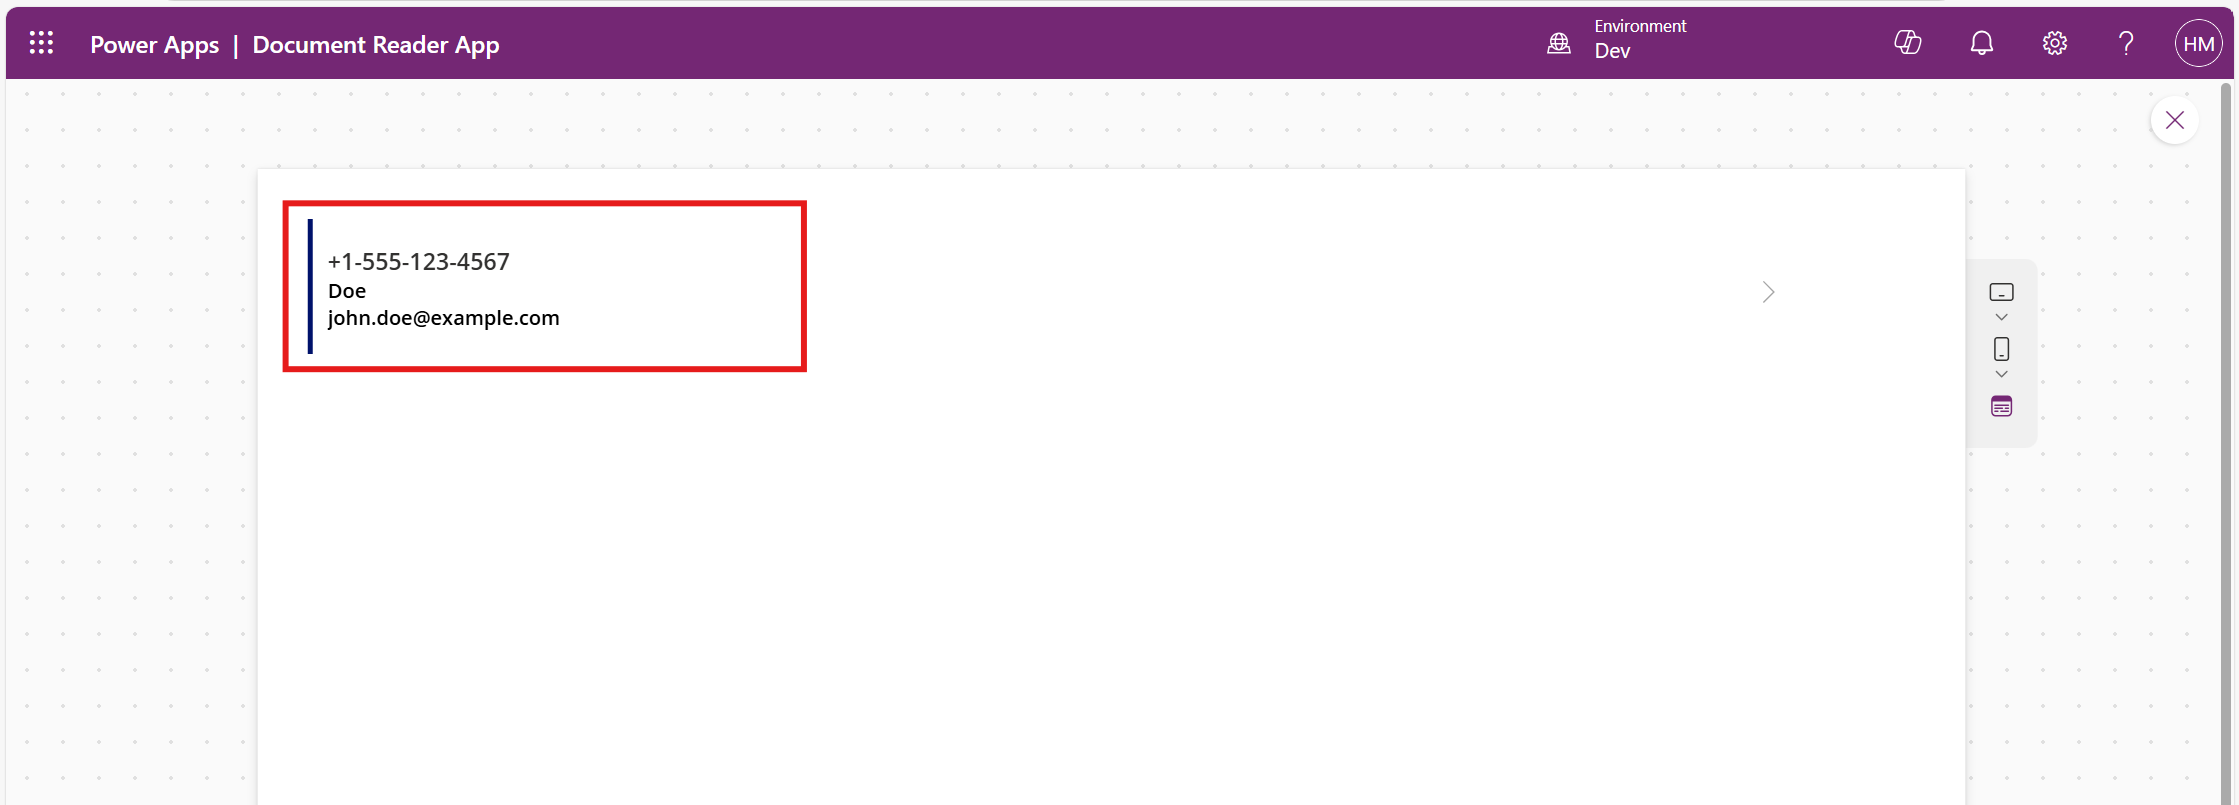
Now the details can be seen in the form.
Frequently Asked Questions:
1. What type of documents can be processed with the AI model in Power Apps?
The AI model supports various types of documents, such as general documents and images in formats like JPEG. You can specify the document type when creating the AI model.
2. How many documents are required to train the AI model?
To ensure accurate data extraction, you need to upload and tag at least five documents during the model training process.
3. Is it possible to integrate this solution with other data sources in Power Apps?
Yes, you can integrate the extracted data from the AI model with other data sources in Power Apps, such as SharePoint, Dataverse, or external APIs, to store or process the information further.
4. Can the AI model handle documents with handwriting or poor-quality images?
The AI model is optimized for printed text, and its accuracy may decrease with handwritten or low-quality images. You can improve results by providing clearer, high-quality documents during training.