Creating Virtual Tables in Power Apps using Share Point Connector
November 21, 2024
#Virtual Table#Power Apps
Harika Guddeti
What Are Virtual Tables?
Virtual tables in Dataverse are special tables where the data remains in an external data source (e.g., SharePoint). These tables provide real-time access to the external data within Dataverse without needing to import it, ensuring data stays consistent and secure. It enables users to interact with external data seamlessly within Power Apps, Power Automate, and Dataverse without storing a copy in the Dataverse environment.
Benefits of Virtual Tables with SharePoint
Compliance-Friendly: Maintains data in its source location, adhering to data residency and compliance requirements.
Integration Flexibility: Build apps and flows that leverage SharePoint data within Dataverse environments.
Data Representation: Virtual tables act as a bridge between the application and external data sources. They represent data in a structured format, making it easy to work with.
CRUD Operations: Users can perform Create, Read, Update, and Delete (CRUD) operations on virtual tables, similar to working with regular tables. The operations are translated into calls to the external data source.
In this Blog, we’ll explore what virtual tables are, why they’re beneficial, and how to create one using a SharePoint connector.
We are creating a virtual table in Dataverse to connect a SharePoint list that tracks project statuses. This virtual table will allow real-time access to SharePoint data directly within Power Apps, enabling seamless integration and interaction without data duplication.
Setting up Virtual Table using Share point Connector
Need help with your business solution?
Our team can help you implement the right solution for your organization.
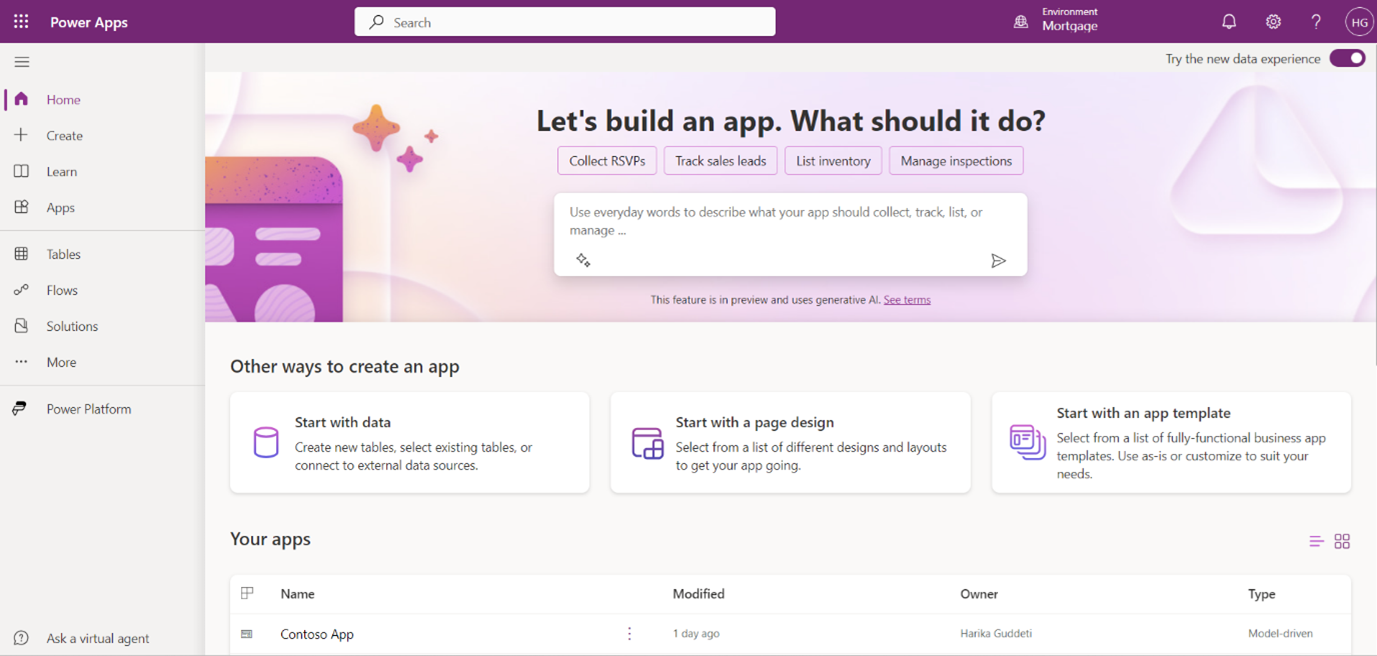
Firstly, go to Power Apps Studio and log in with your organizational account.
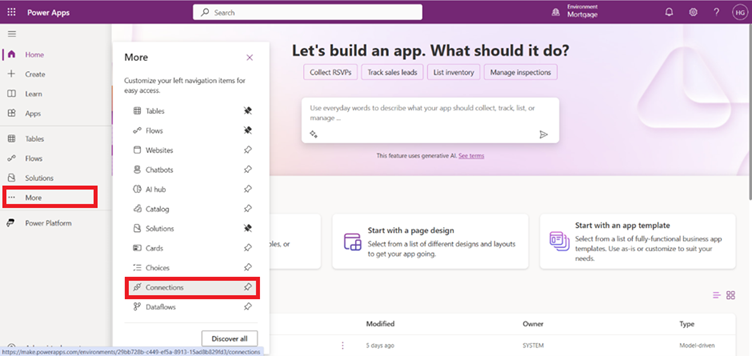
In the left navigation pane, click on More and select Connections.
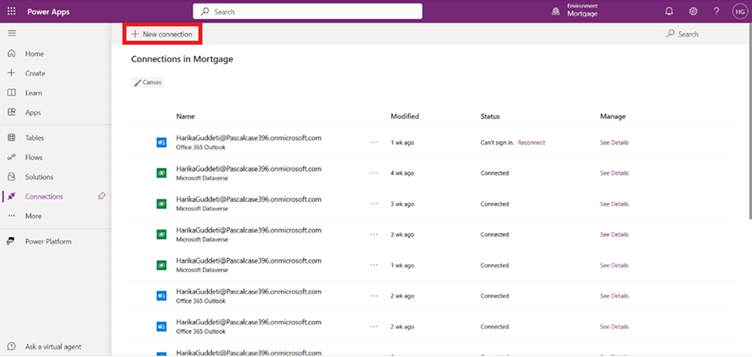
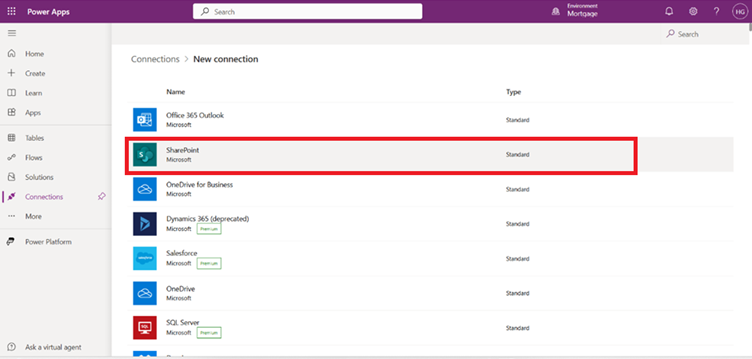
Now Click on + New Connection.
From the connections choose SharePoint from the available connectors.
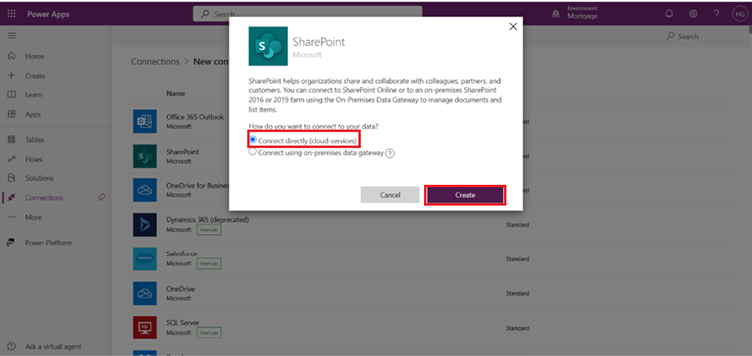
Select Connect directly, enter the SharePoint site URL, and authenticate using your credentials and click on create.
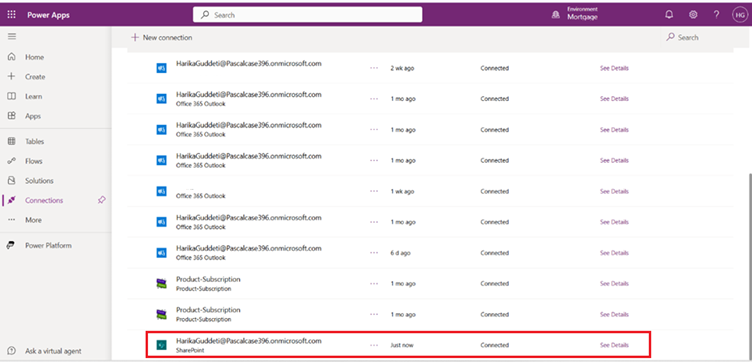
Now you can find SharePoint connector under Connections.
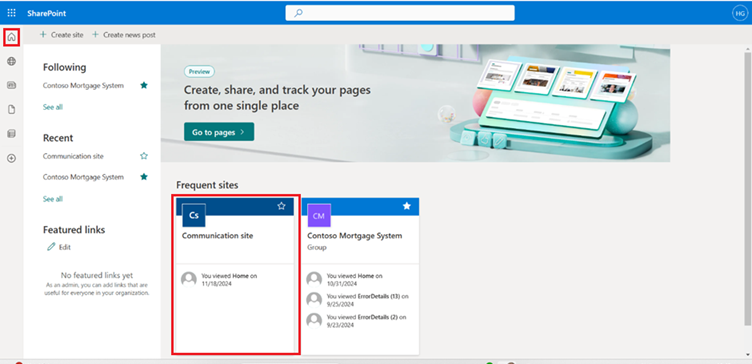
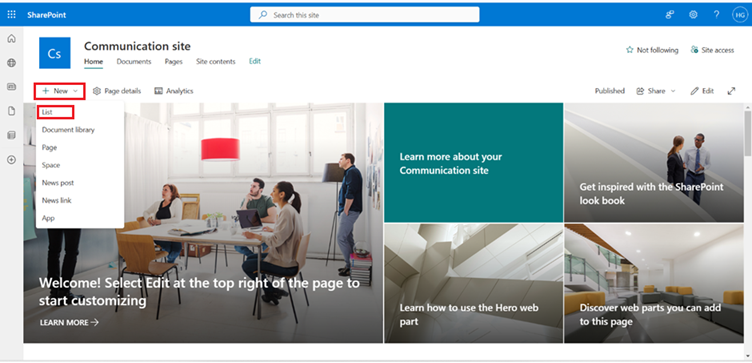
Go to SharePoint and choose the Communication Site you want to work with.
On the site homepage, click on New and select List from the dropdown menu.
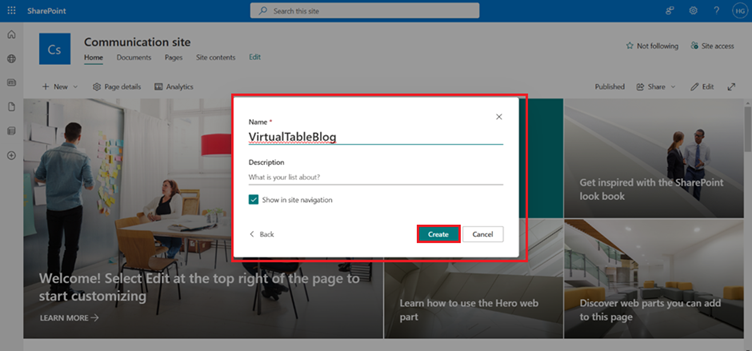
Enter a name for the list and click on Create.
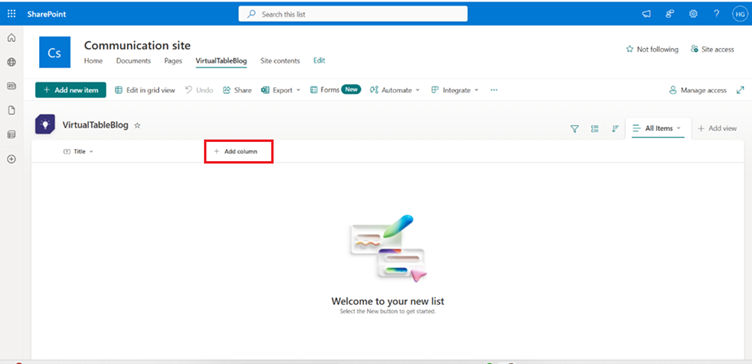
On the newly created list page, click on + Add Column to start adding new columns.
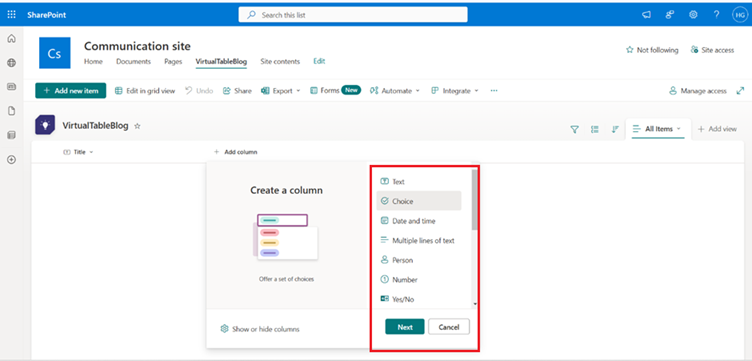
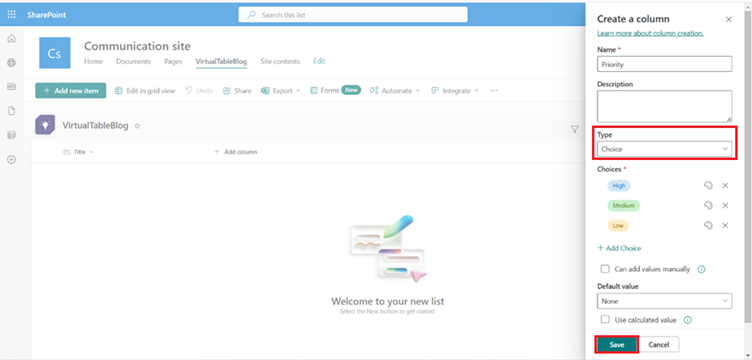
Choose the column type from options like Text, Choice, Date and Time, Multiple lines of text, etc.
Add the required columns:
Create a column named Priority of Choice data type.
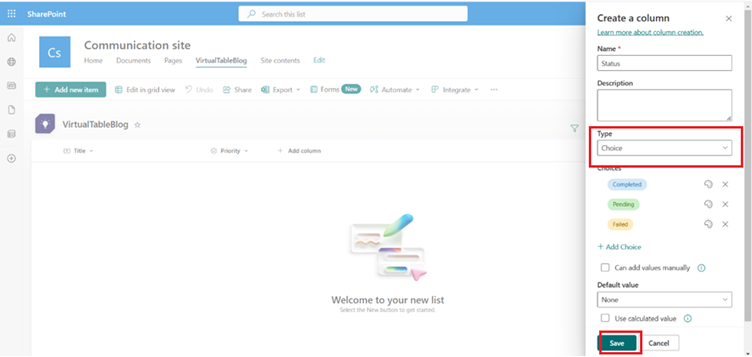
Create a column named Status of Choice data type.
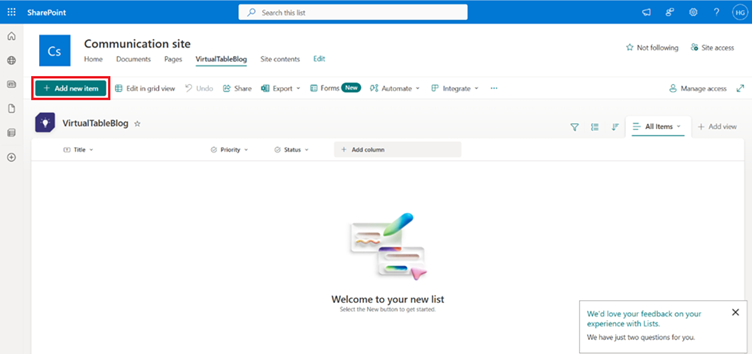
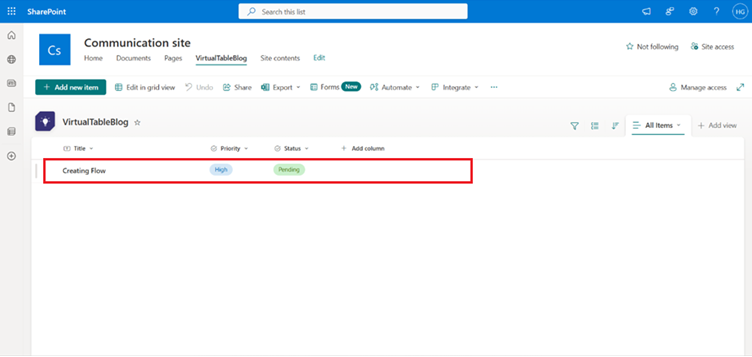
After adding all the necessary columns, click on New to add a new item to the list.
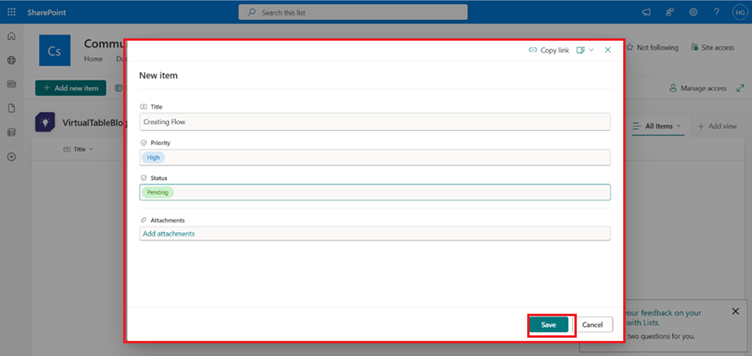
Fill in the details for the item, including values for the columns you created and click on save.
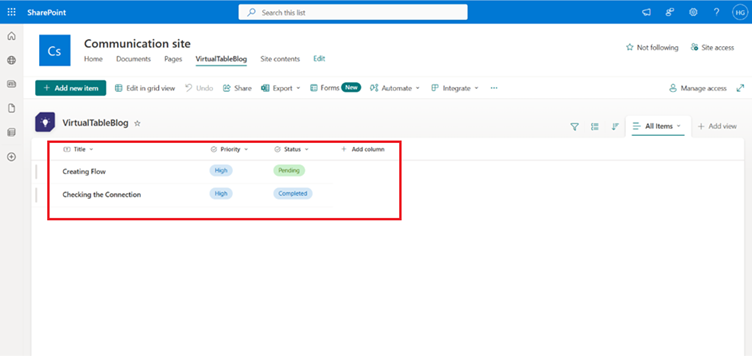
Your SharePoint list is now ready and populated with the required fields and data.
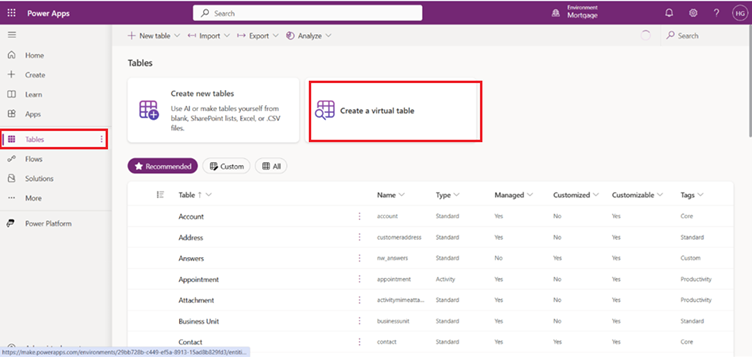
Now in power apps, on the left pane, choose Tables, then click on Create Virtual Table.
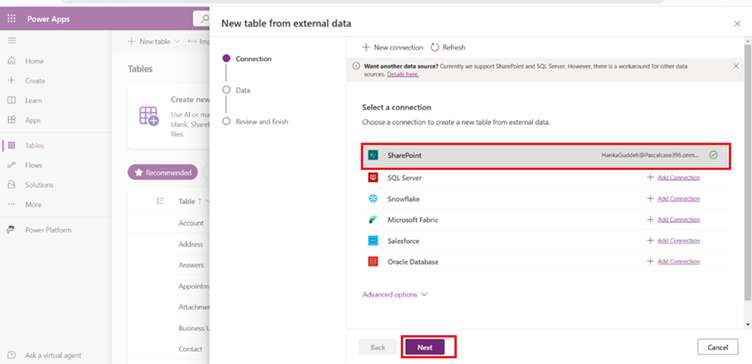
Select the SharePoint connection and click Next.
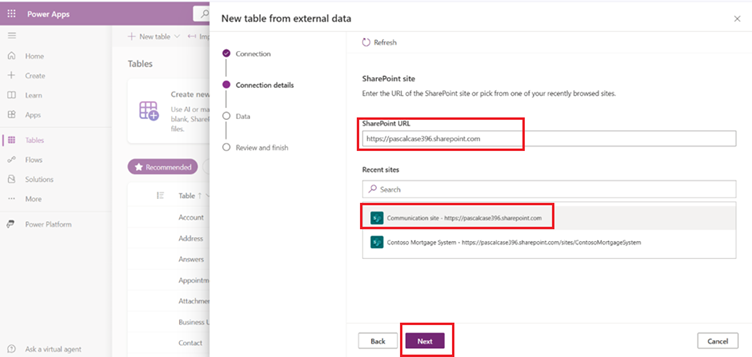
From the list of SharePoint sites, choose the Communication Site you created earlier and click Next.
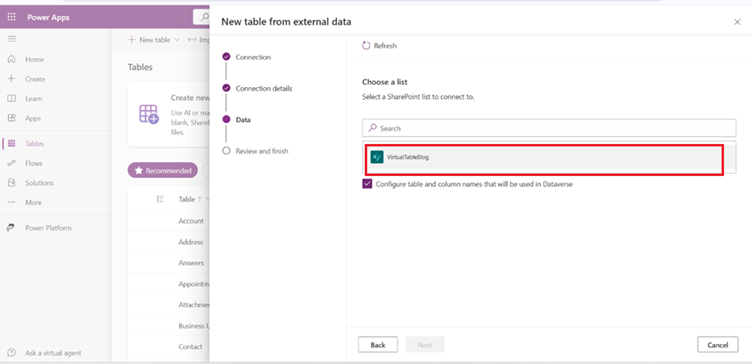
Select the list you created in SharePoint and click Next.
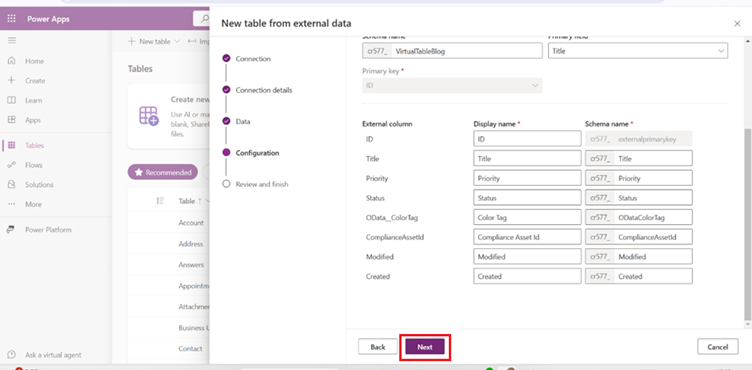
Review the configuration details displayed on the screen and click Next.
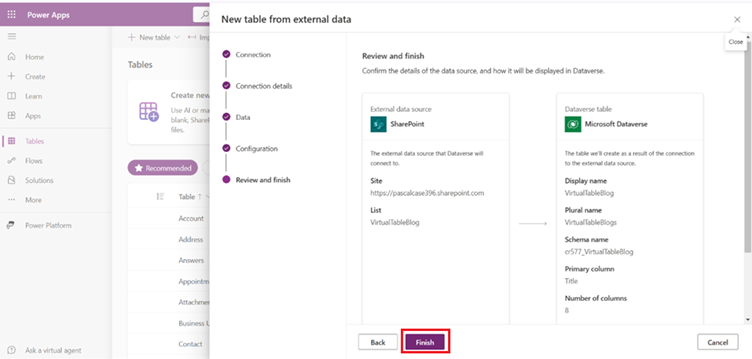
Finally, review the summary of the virtual table setup and click Finish to complete the process.
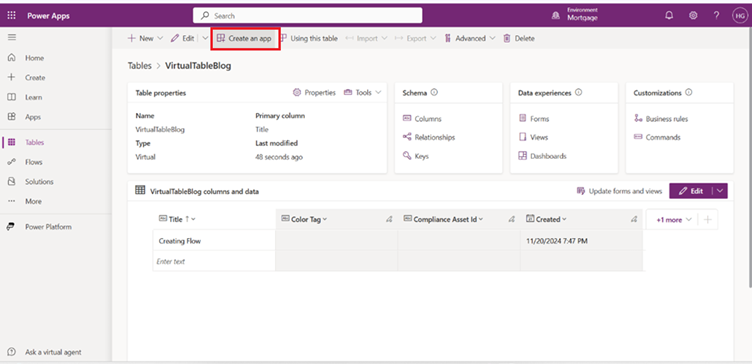
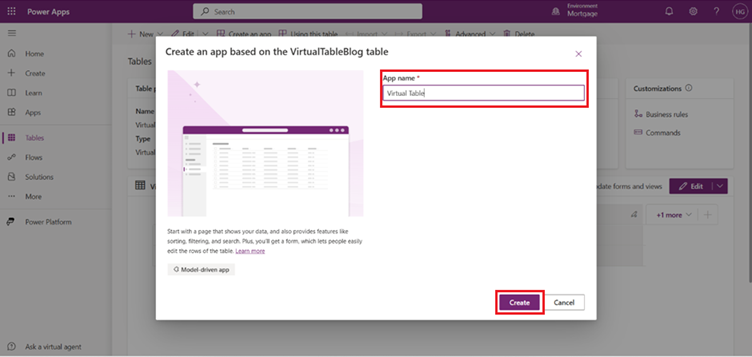
After the virtual table is created, click on Create an App.
Provide a name for your app and Click Create to generate the app.
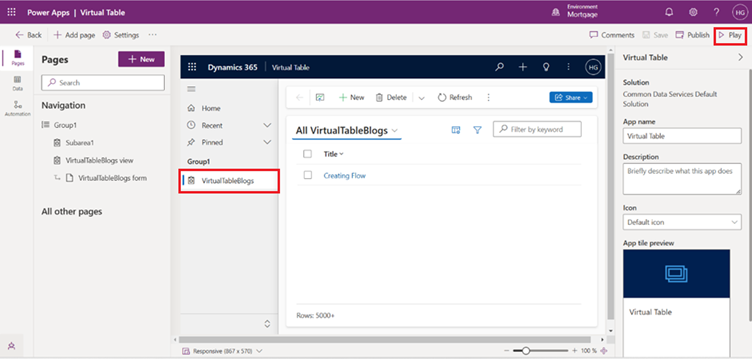
Now the app is created and play the app to open in the Dynamics 365.
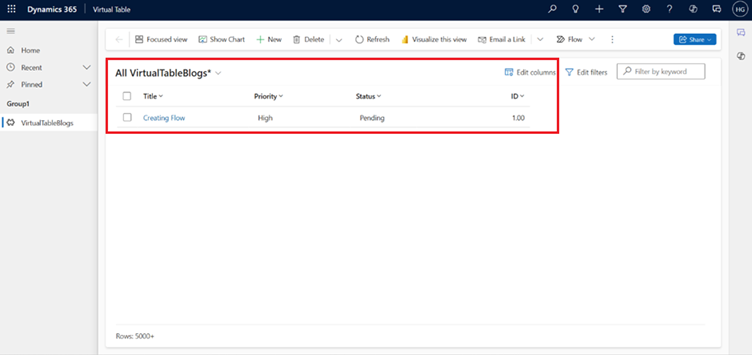
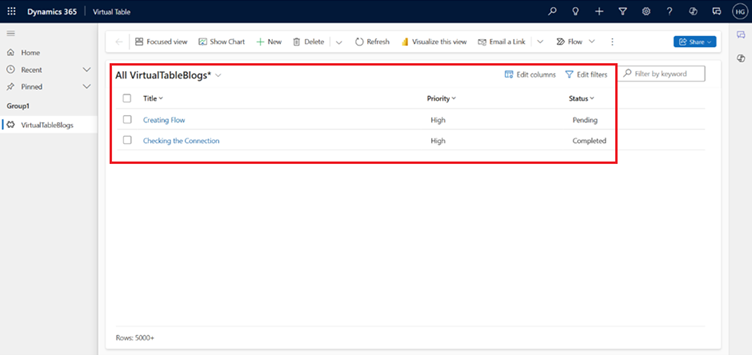
In Dynamics 365 navigate to the virtual table you created. Now you can see the items that were previously added to the SharePoint list.
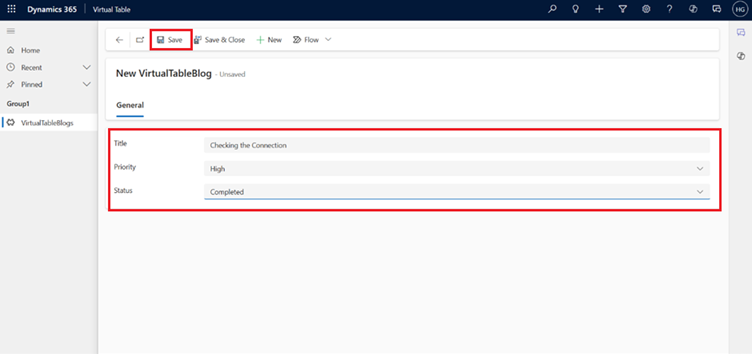
Now Click on New, fill the form with the required details, and click Save to add the item.
Now the item is created in in Dynamics 365.
The items created in CRM will also appear in the SharePoint list.
In conclusion, by integrating SharePoint with Dataverse through virtual tables, you can seamlessly manage and view data across platforms like Dynamics 365 and SharePoint without the need for duplication. This integration ensures real-time data synchronization, where items created in Dynamics 365 are reflected in SharePoint and vice versa, streamlining data management and improving efficiency. By following the steps outlined, you can easily create and manage virtual tables, add new records, and keep both systems synchronized for better data accessibility and collaboration.
Frequently Asked Questions (FAQs)
1. How are changes in SharePoint reflected in the virtual table?
Changes made in SharePoint are reflected in the virtual table in real-time. Since the virtual table is connected live to SharePoint, updates, additions, and deletions sync automatically. This ensures the data in Dataverse is always up-to-date.
2. Can I use virtual tables in Power Automate?
Yes, virtual tables can be used in Power Automate. You can automate workflows by creating triggers based on actions in the virtual table. This allows seamless integration between Dataverse and other systems.
3. Do I need a special license for virtual tables?
Yes, you need a Dataverse license to use virtual tables. The license is typically included with Power Apps, Power Automate, and Dynamics 365 plans. Additional licenses may be required for premium connectors.
4. What data types can be used in virtual tables?
Virtual tables support data types like text, choice, date and time, number, Boolean, and lookup. These data types allow mapping from SharePoint or other external systems into Dataverse. They ensure data consistency across platforms.
5. How do I view virtual table data in Dynamics 365?
Once set up, virtual table data can be viewed in the relevant tables section of Dynamics 365. You can interact with the data as if it were native to Dataverse. This enables seamless integration of external data into Dynamics 365.
6. Can I create custom forms for virtual tables?
Yes, you can create custom forms for virtual tables in Power Apps. These forms allow you to display and edit data from the virtual table in a user-friendly way. Data is always real-time, reflecting the external system (e.g., SharePoint).