Implementing Catalog Manager: A Step-by-Step Guide in Power Apps
October 16, 2024
#Power Apps#Catalog
Soumya Das
Setting Up and Implementing Catalog Manager in Power Apps
We talked about the installation process in the previous article (link to the first article). In this blog, we will see the initial setup and implementation process.
Initial Set-up & Authentication:
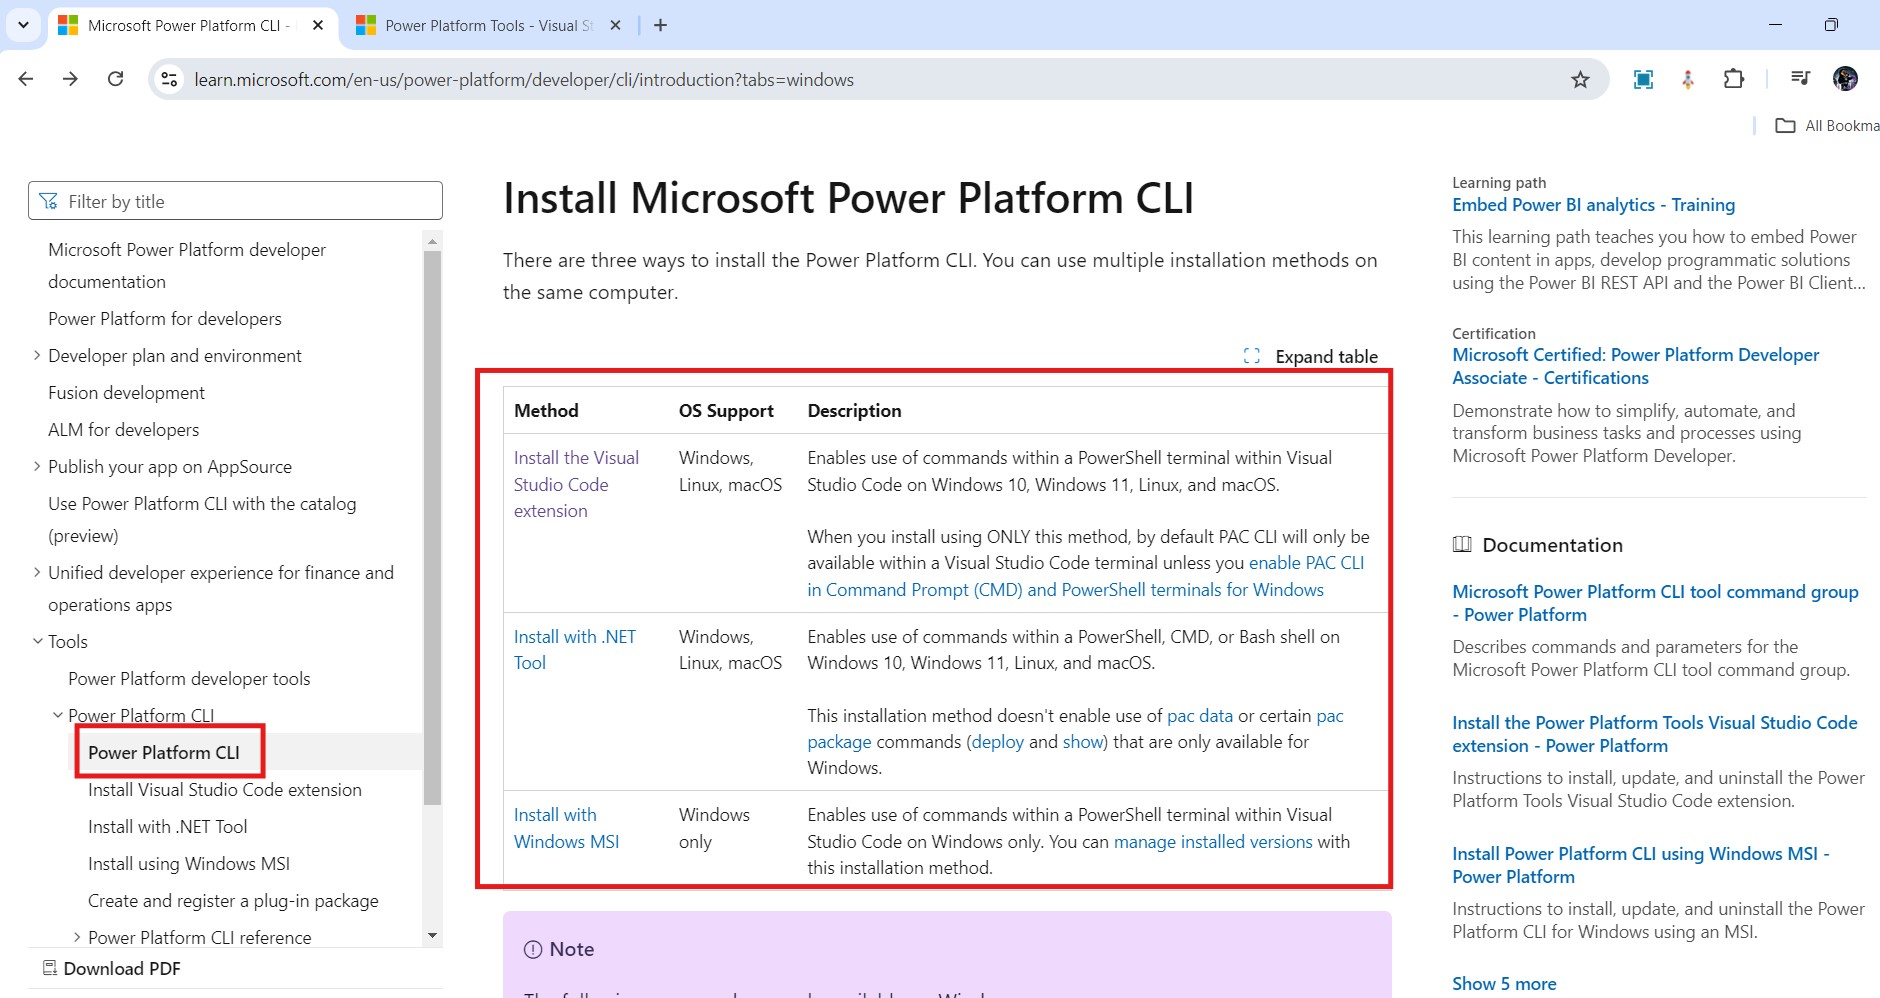
a. At first, install the Power Platform CLI as a pre-requisite before using Catalog Manager.
You will find the installation link in the official documentation here.
In case you do not have the visual studio installed, you can download it here.
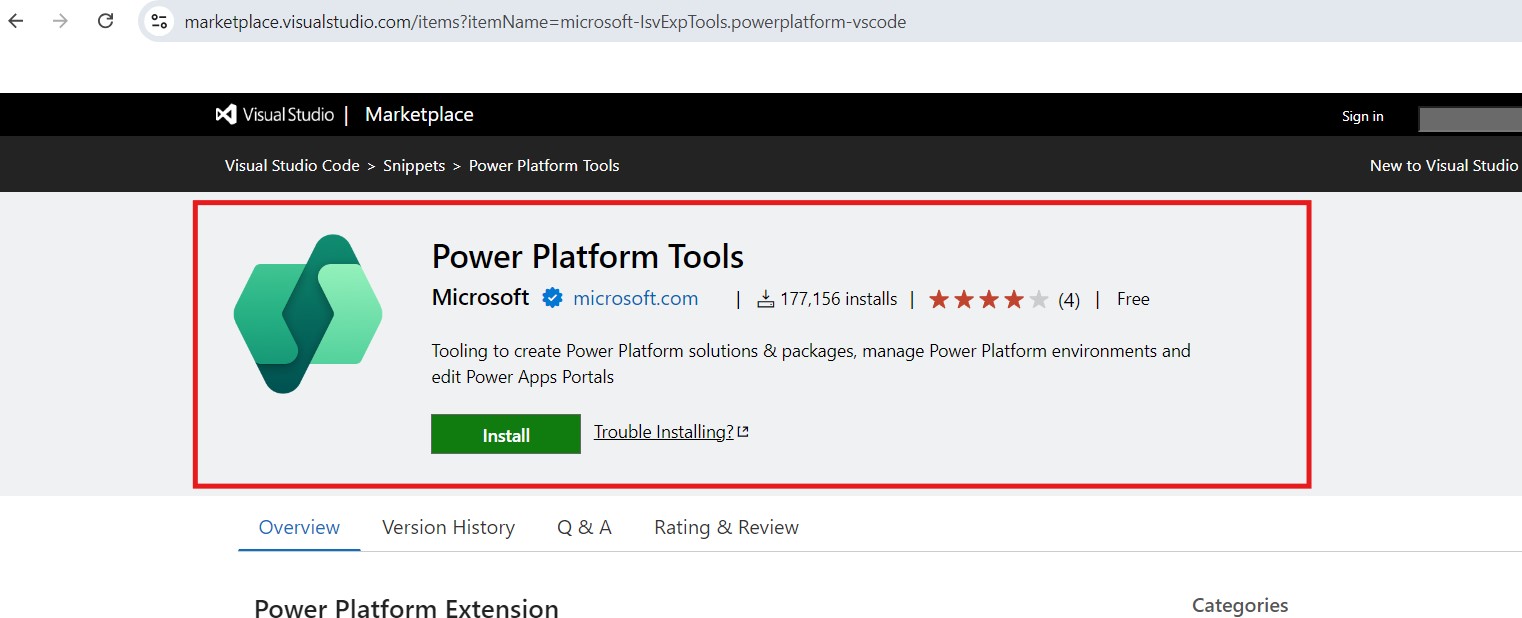
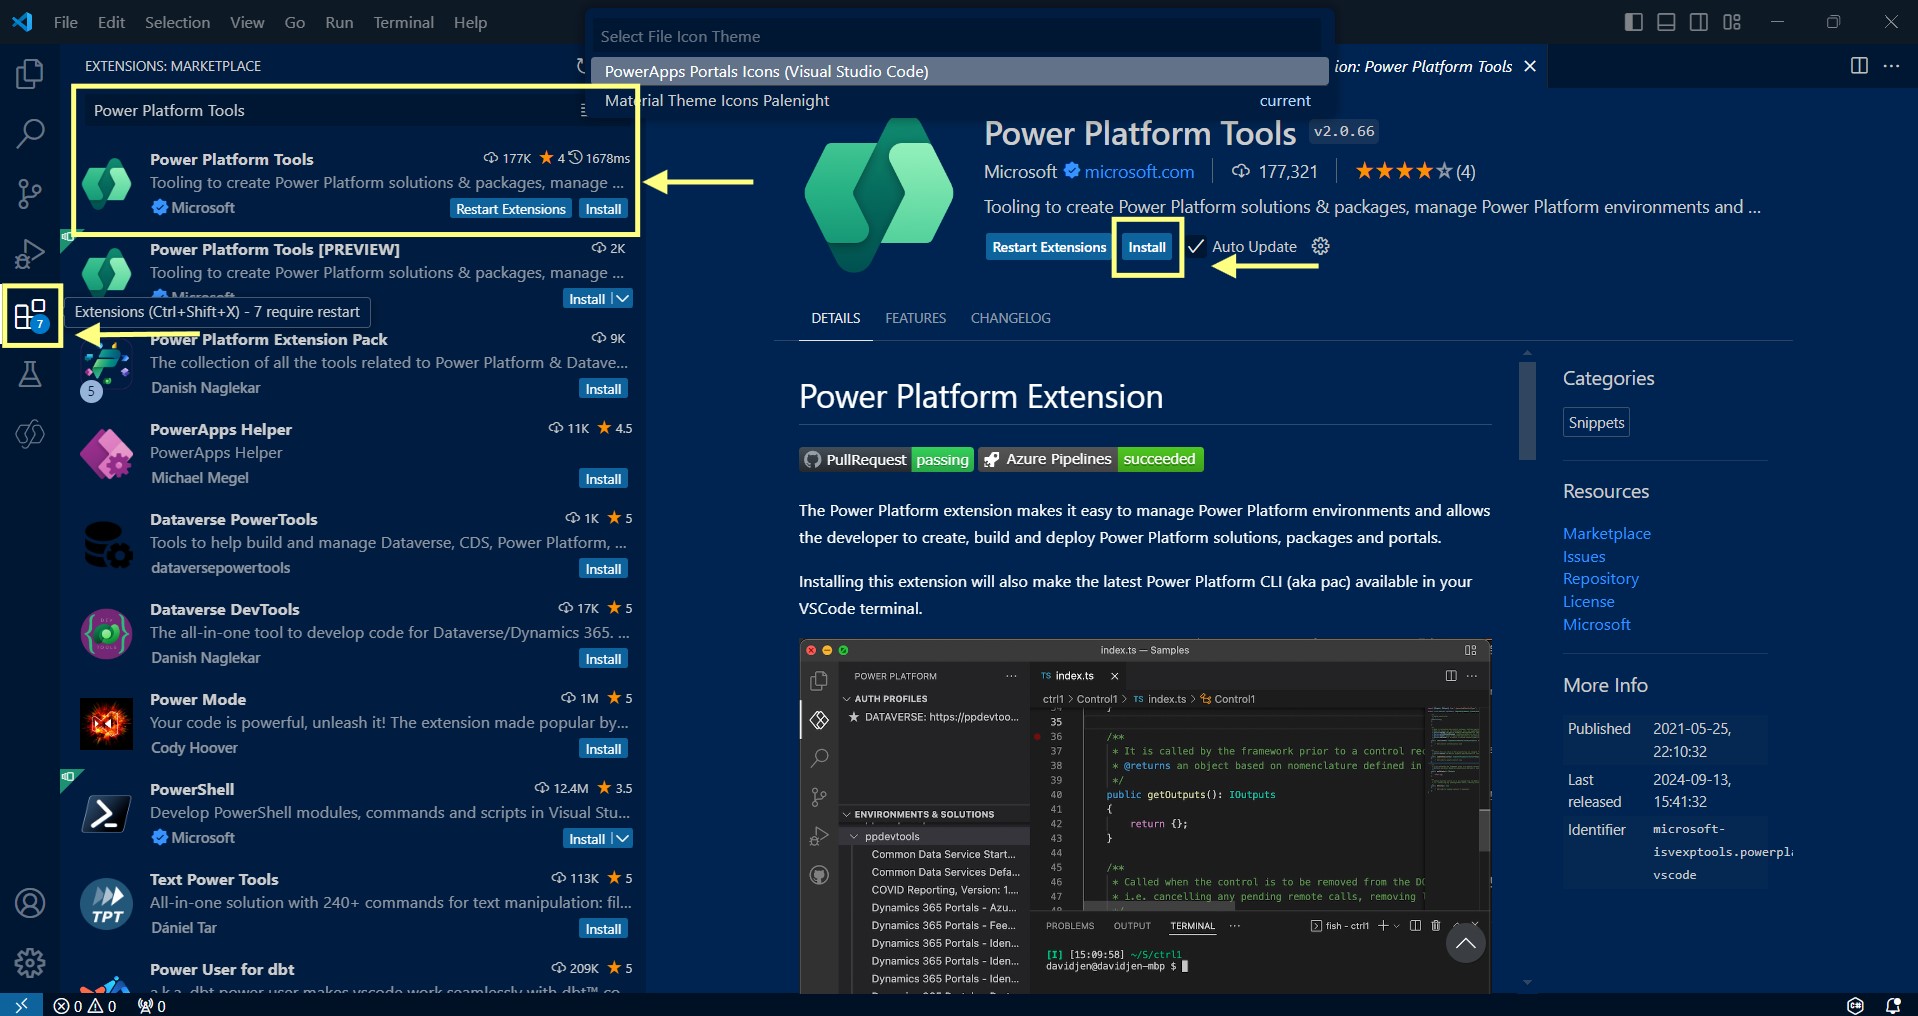
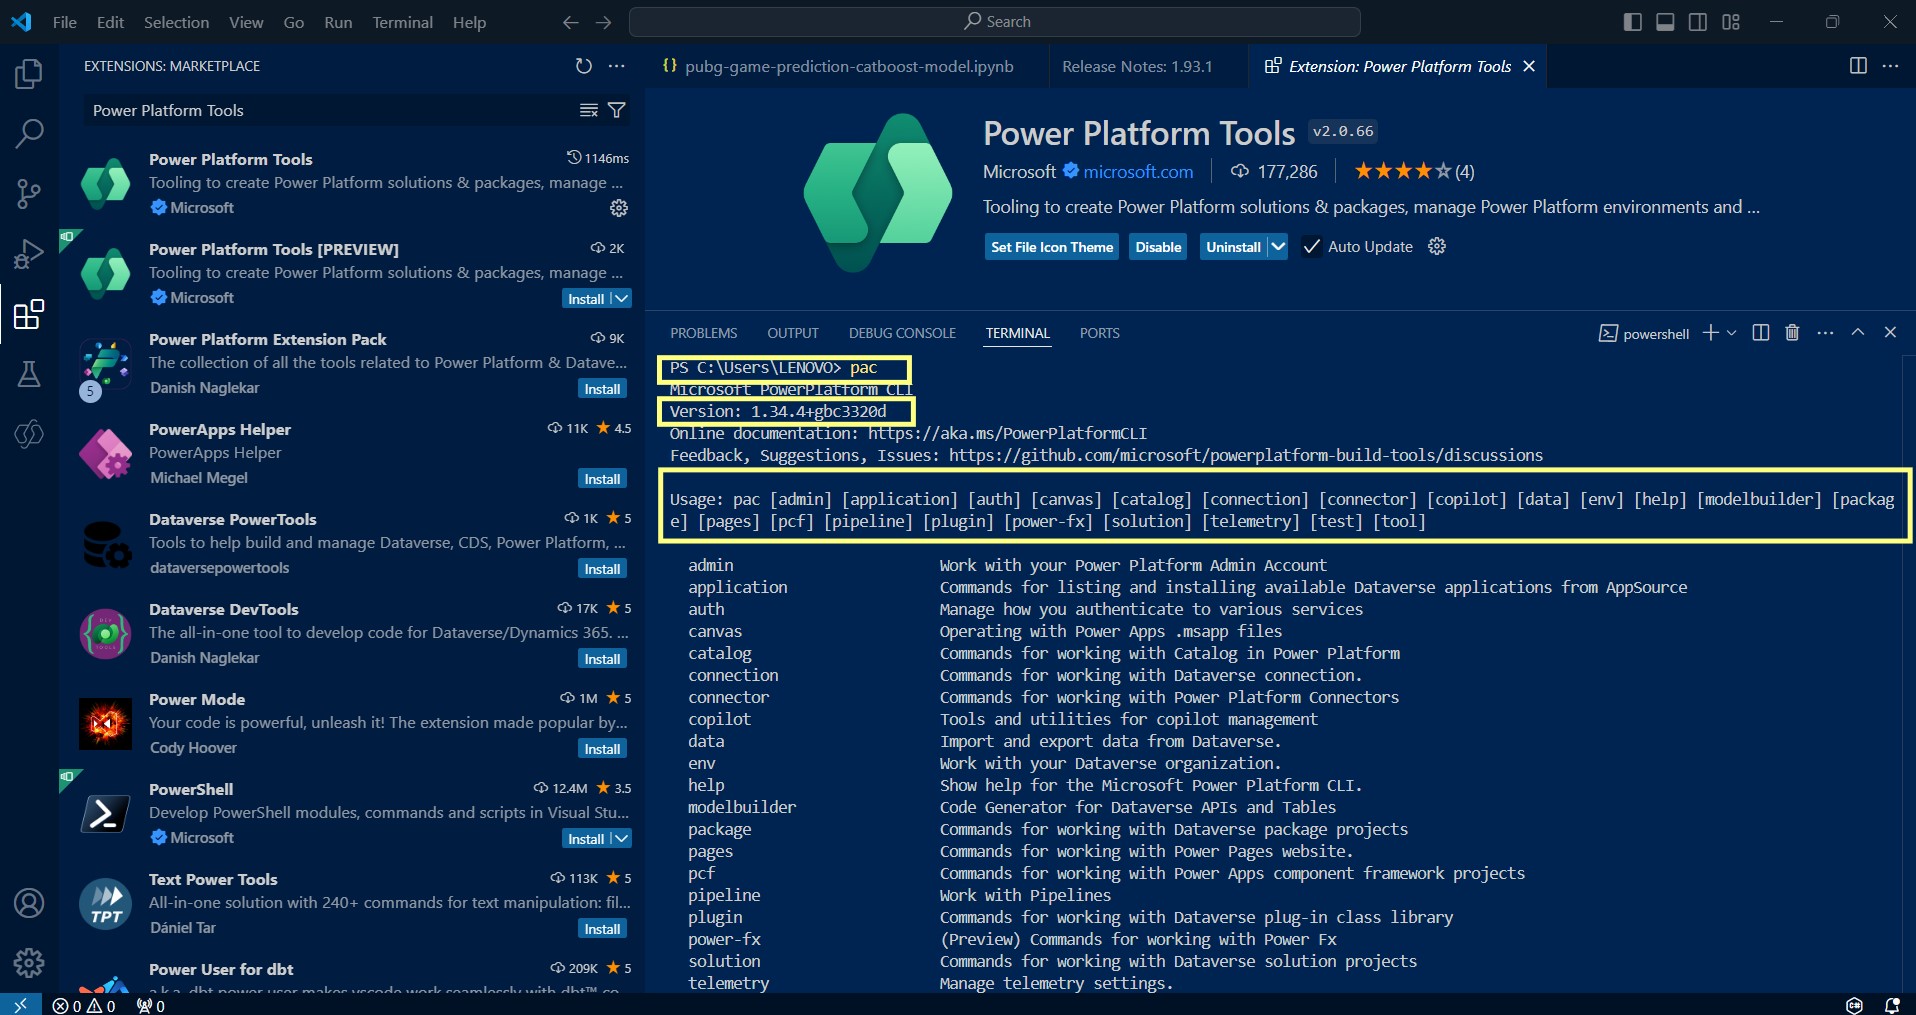
If you are using Visual Studio as your coding interface, go to extensions > Search for “Power Platform Tools” and Install it.
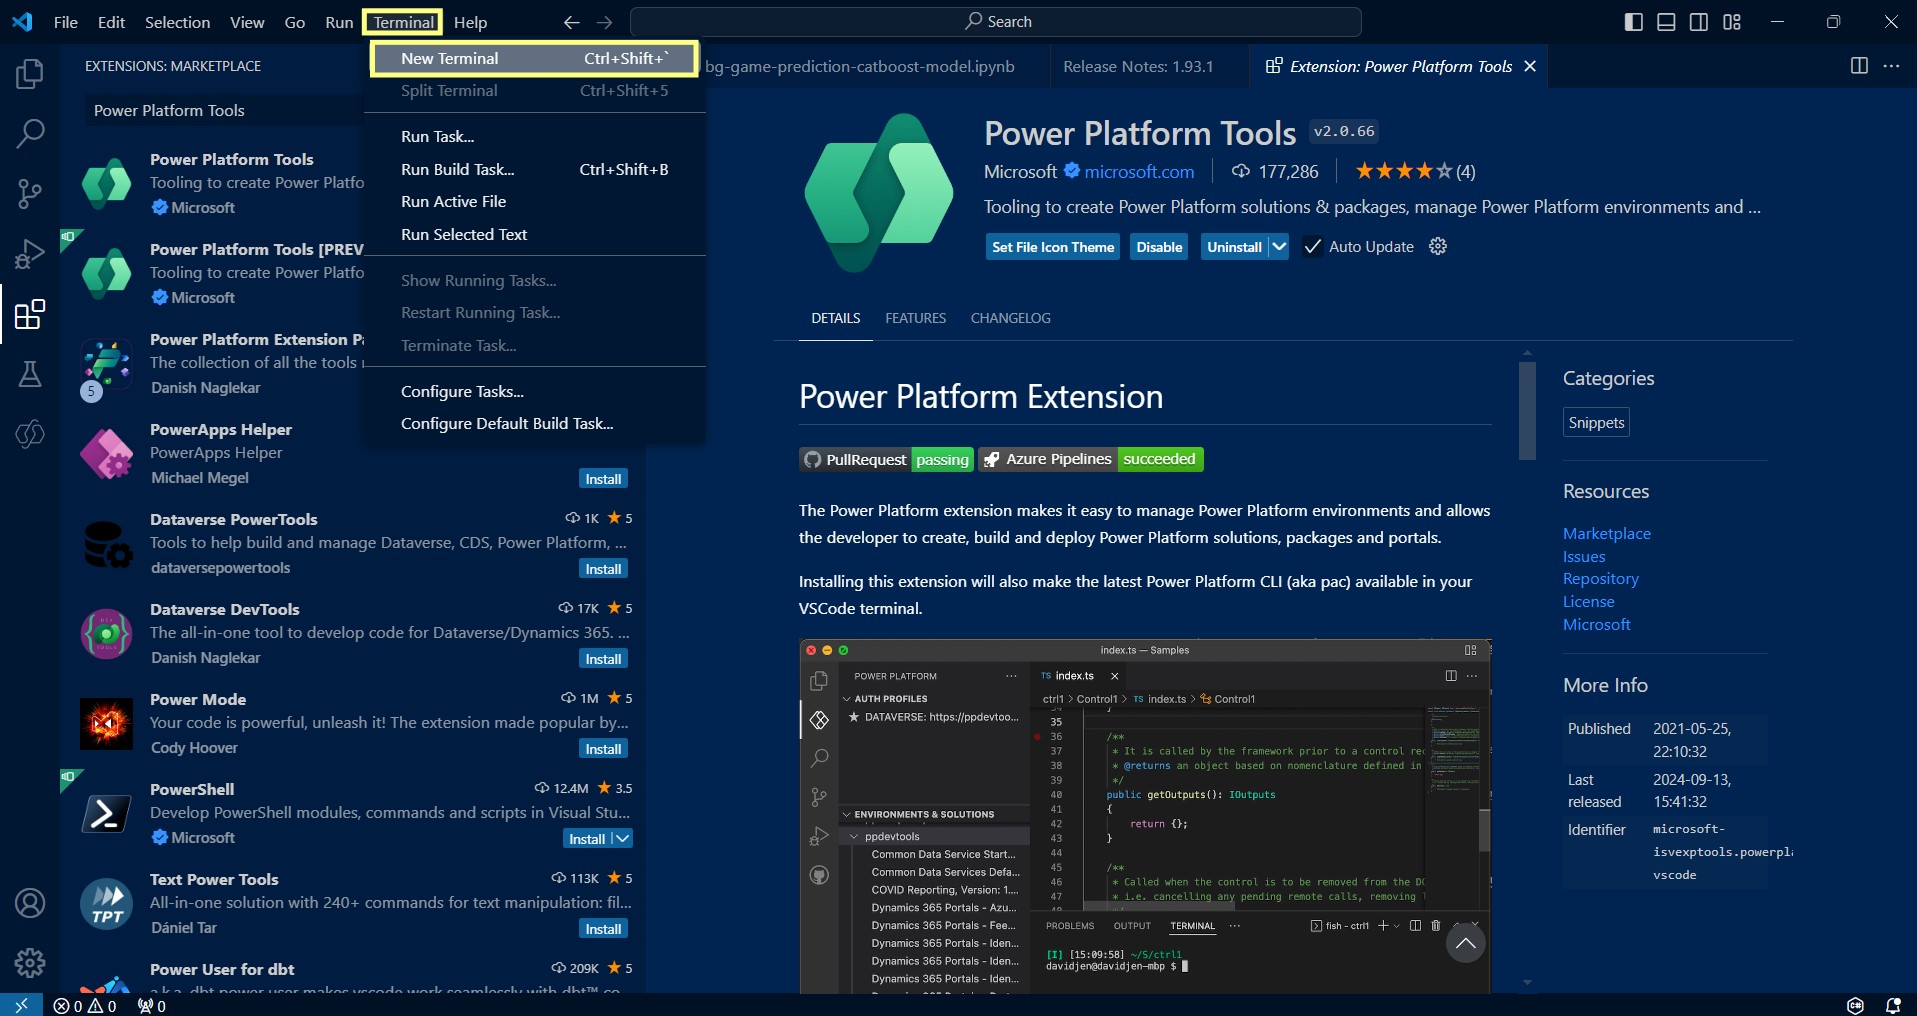
In case you don’t see a Terminal Window, go to Terminal Tab and click on New Terminal.
Need help with your business solution?
Our team can help you implement the right solution for your organization.
Execute the command pac (type pac on terminal window and press enter), and confirm its version and Usage commands are visible.
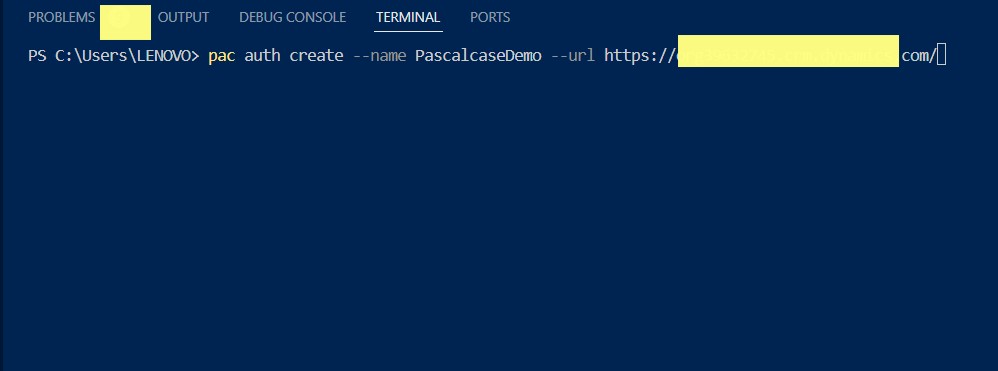
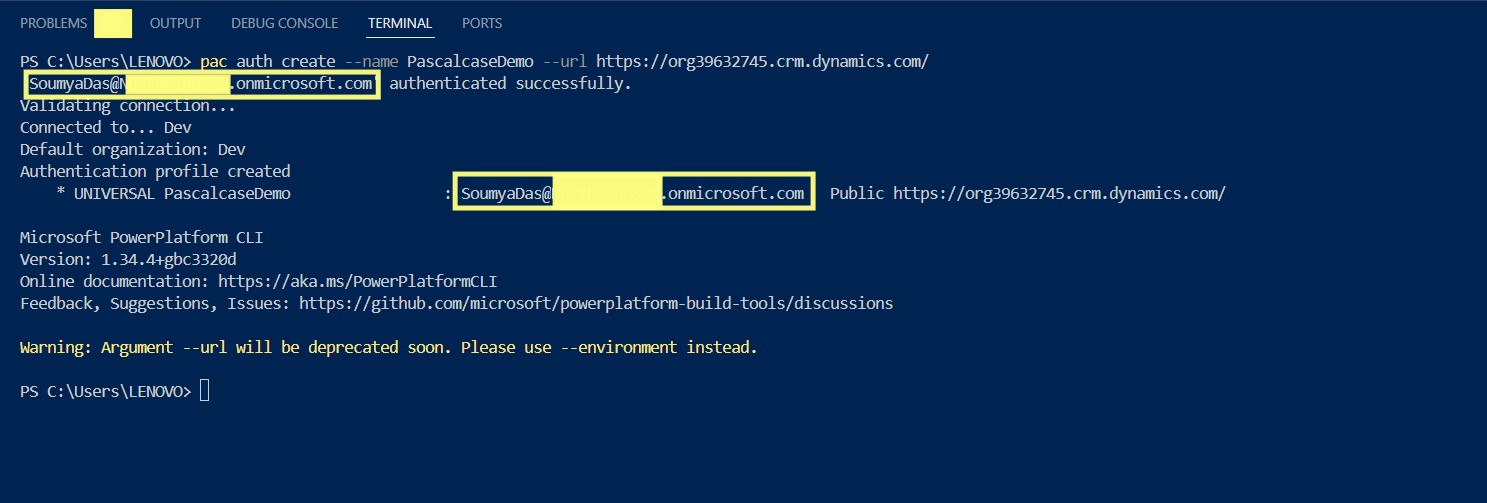
b. Establish connection for the Power Platform environment using a name for your connection along with the url of your environment.
Use the format pac auth create --name <name of your environment> --url <url of environment>
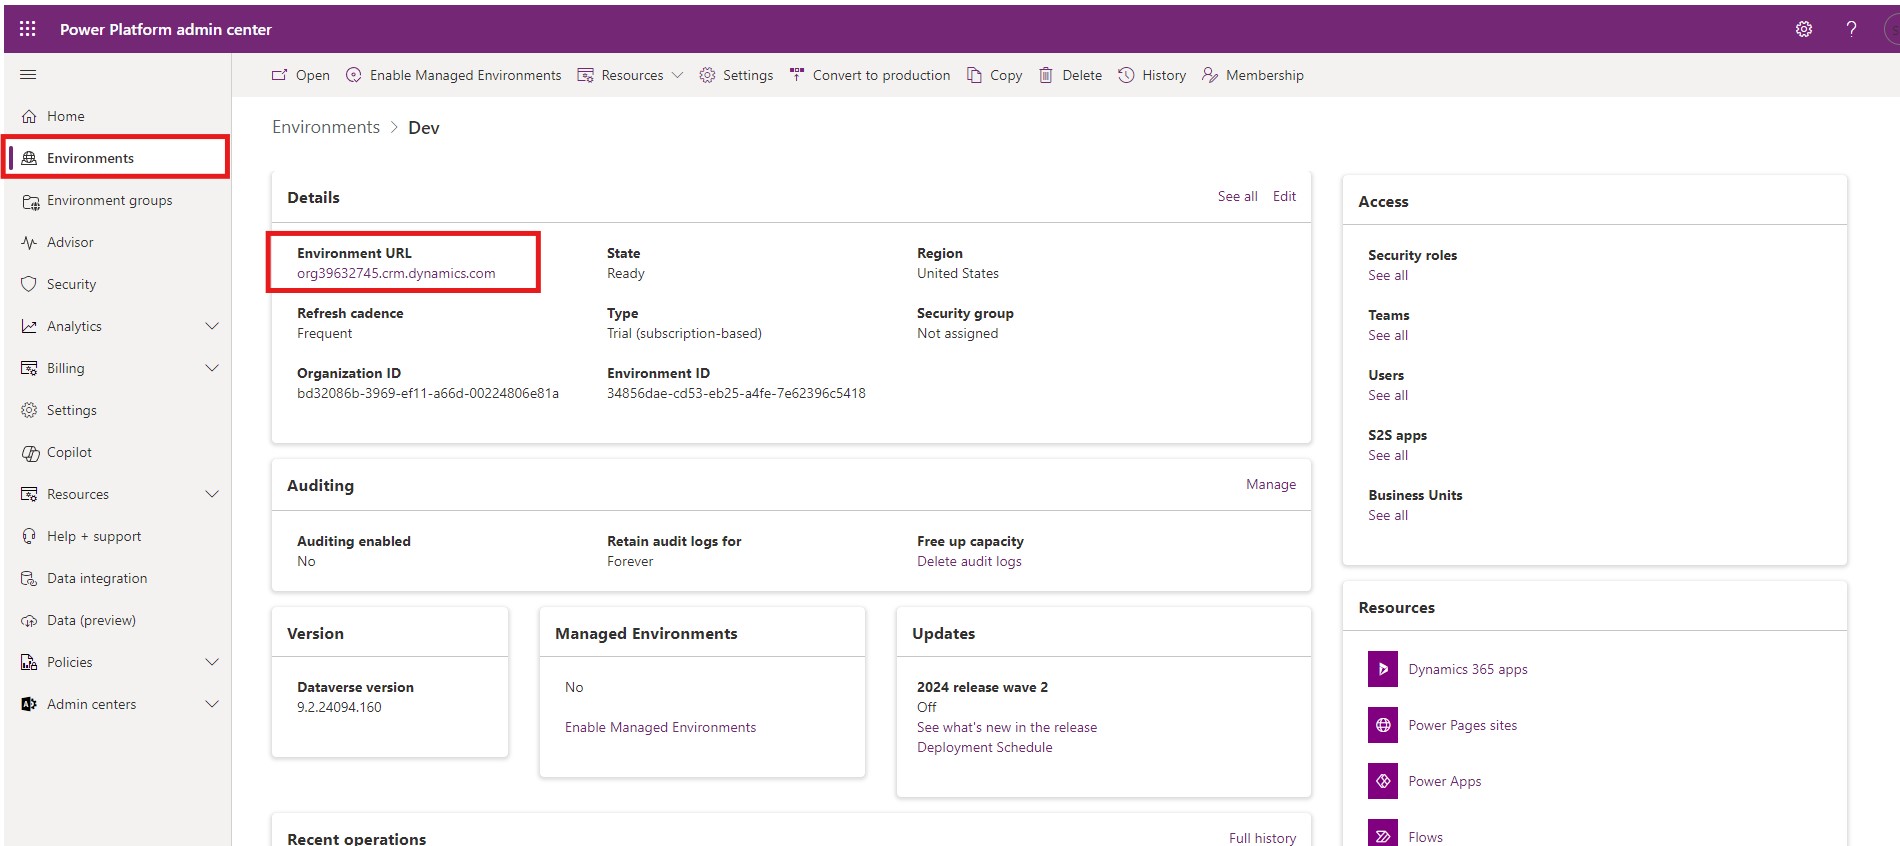
To find the url of your environment, go to admin.powerplatform.microsoft.com > Environments > Click on your environment > Copy the url.
Once copied, execute the above code on your terminal:
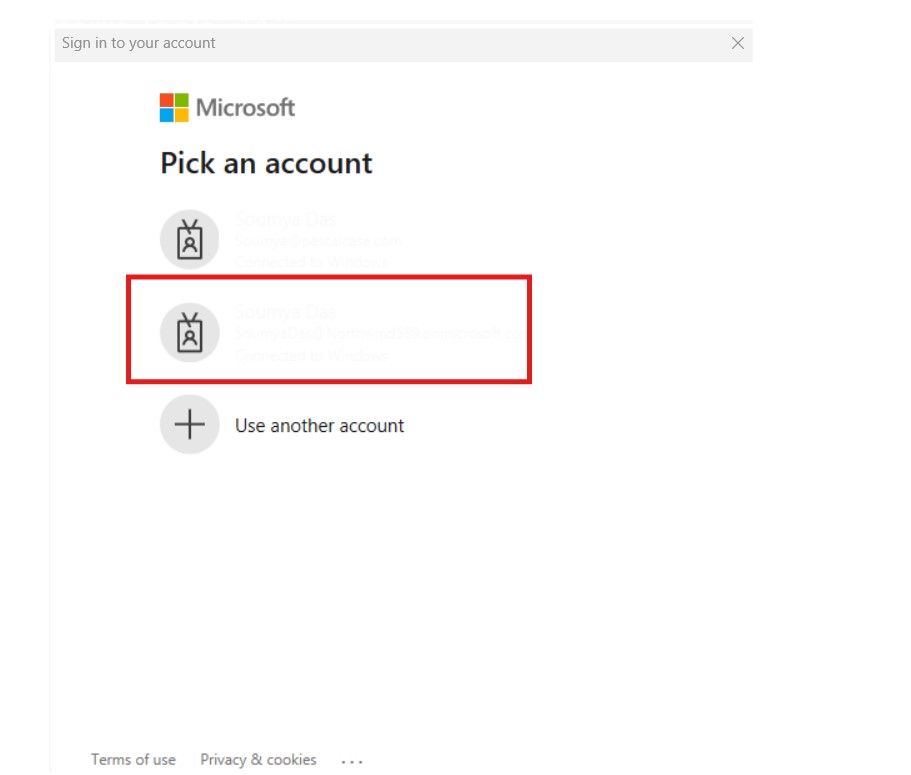
Confirm the credentials and authenticate.
Once successfully authenticated, the following message should appear on the terminal window along with the user’s id:
You can also verify the same using pac auth list command:
Select the above connection with the command pac auth select --index 1
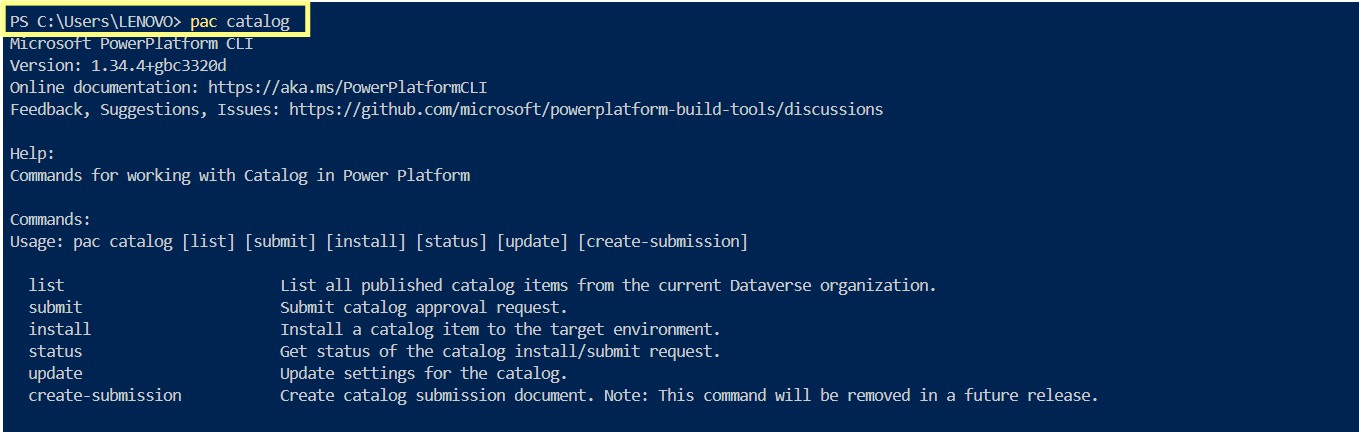
Understanding/ Viewing sub-commands of the pac catalog.
Execute the given command: pac catalog.
Implementation:
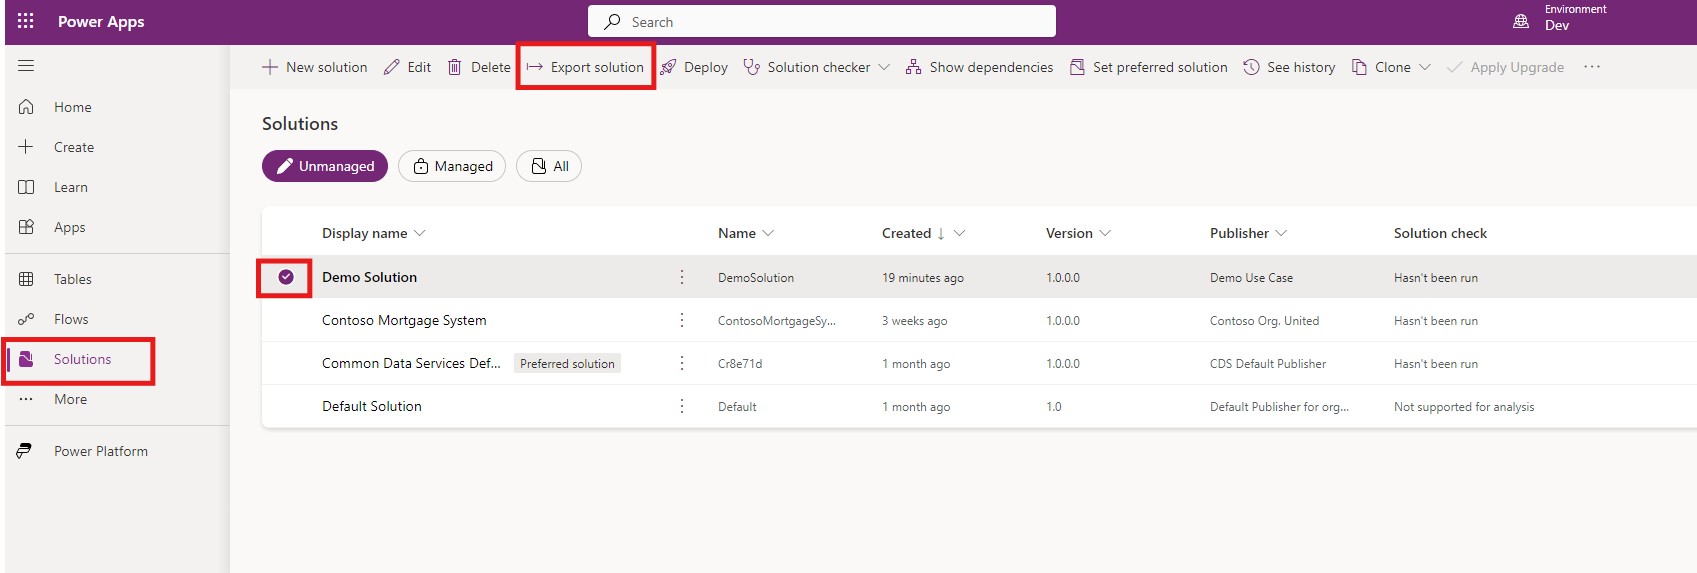
a. Export the solution you wish to use in Catalog submission:
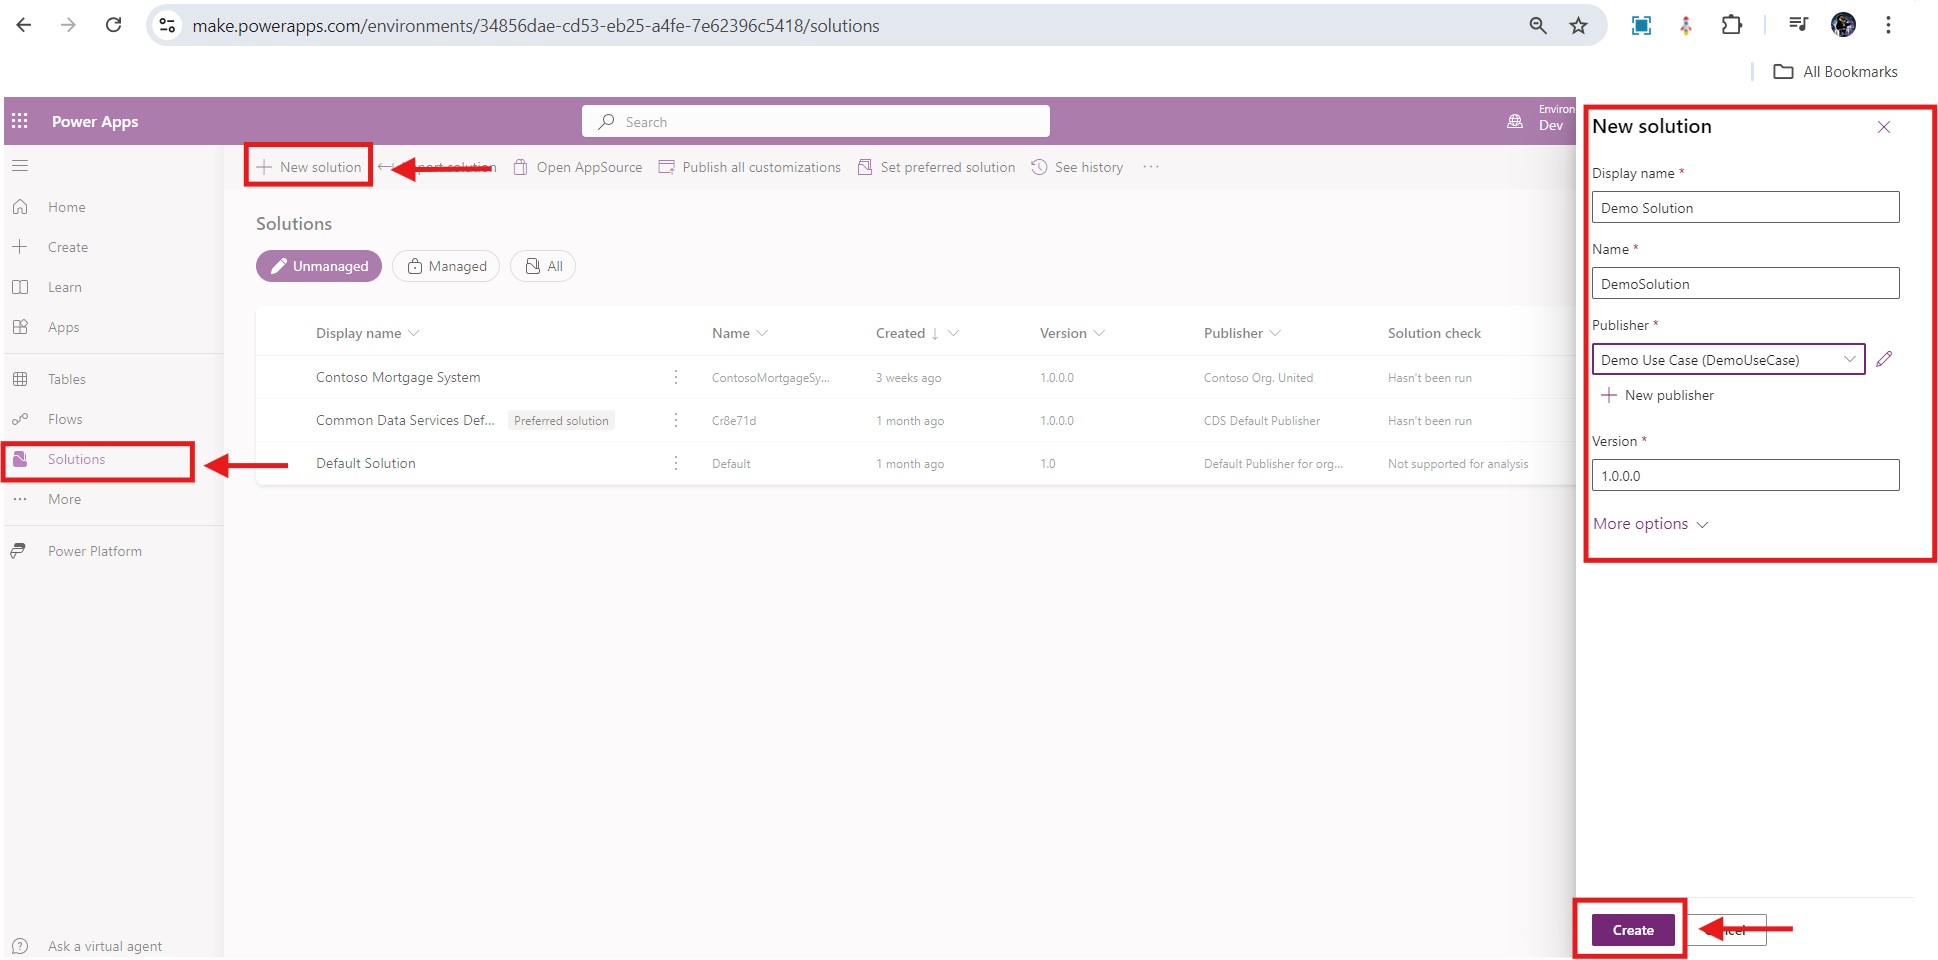
In case, you have not created a solution yet, go to make.powerapps.com > Solutions > New Solution > Fill in the details > Create
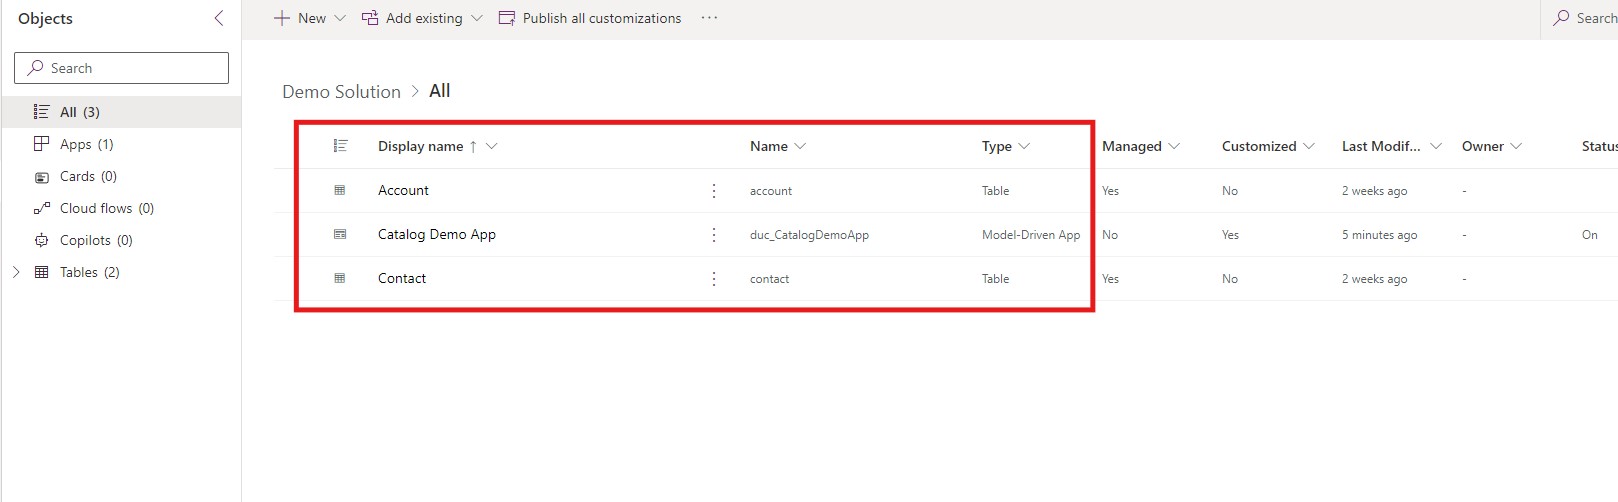
Also, add new or existing tables and apps to your solution before exporting.
Go back to Solutions > Select the solution > Export Solution > Follow the succeeding steps and download the solution once exported.
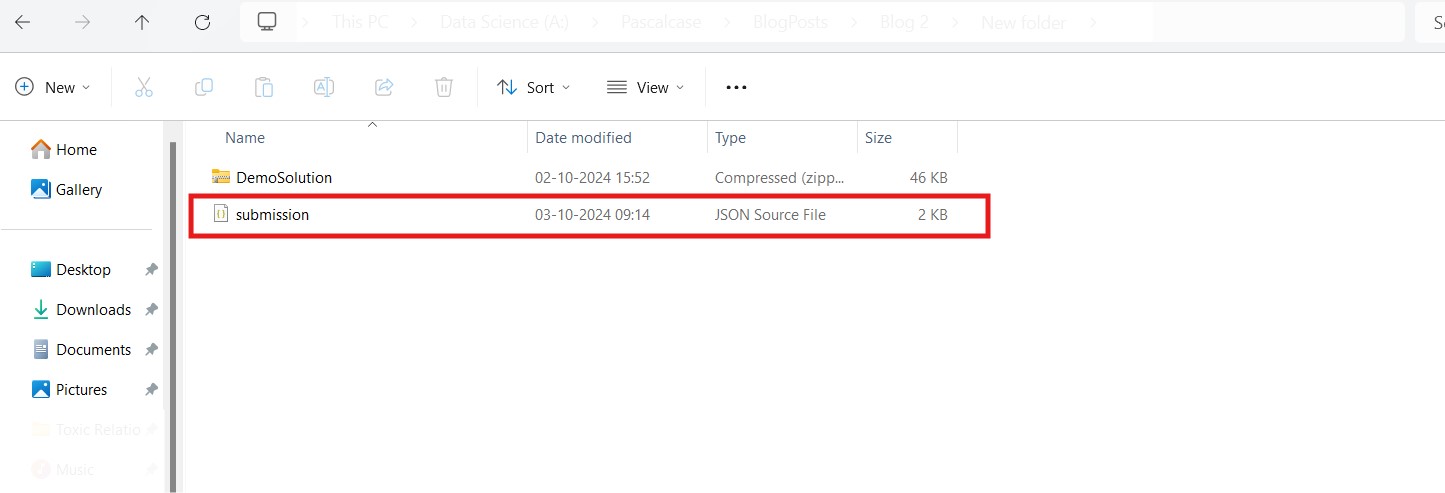
b. Move the zip files to a secure folder.
c. Create a submission.json file with pac catalog create-submission command.
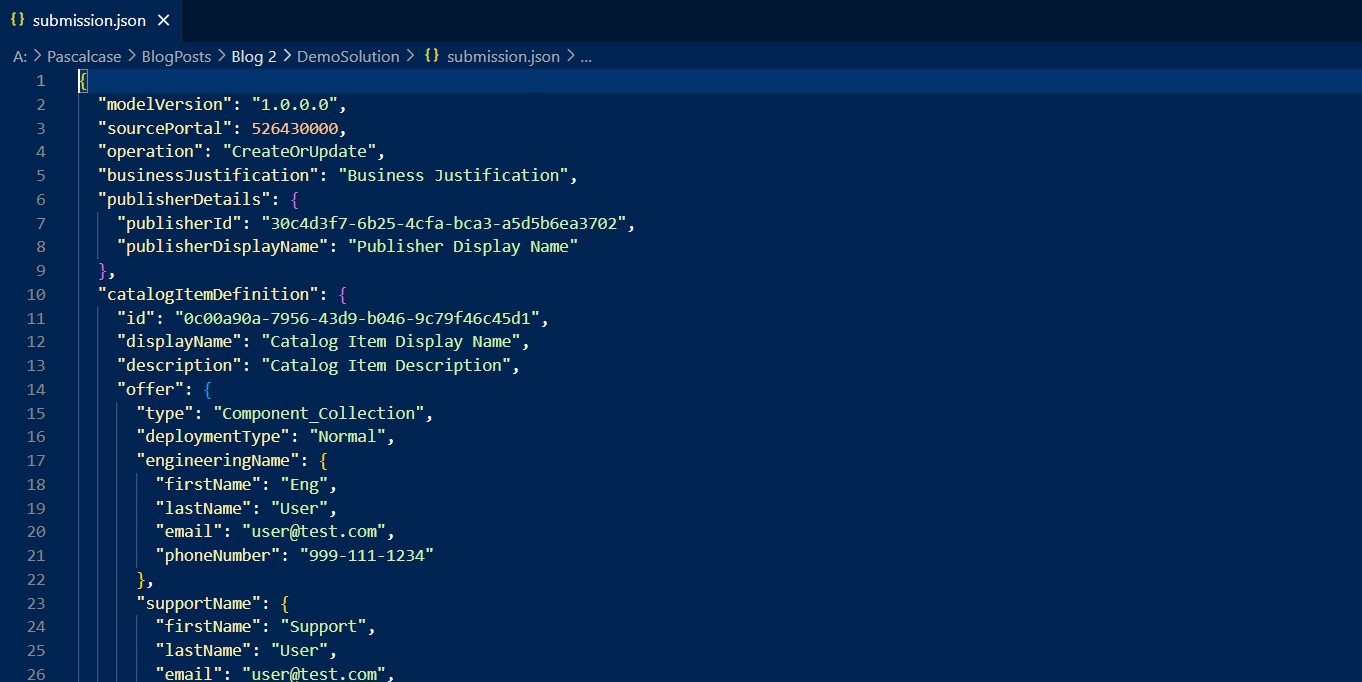
d. Open the file with Visual Studio Code.
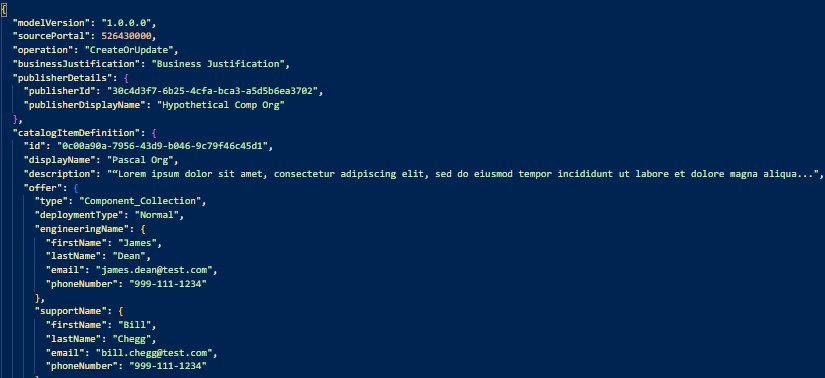
e. Modify the JSON file as per your requirement (for instance, in the given file, two contacts are created along with the publisher and catalog details)
f. Execute the pac catalog submit command: pac catalog submit --path [--package-zip] [--solution-zip] [--poll-status] and this will create a package for the catalog submit and will be submitted for approval.
g. You will be able to track the status of your submission with the command: pac catalog status --tracking-id <enter the id> --type Submit.
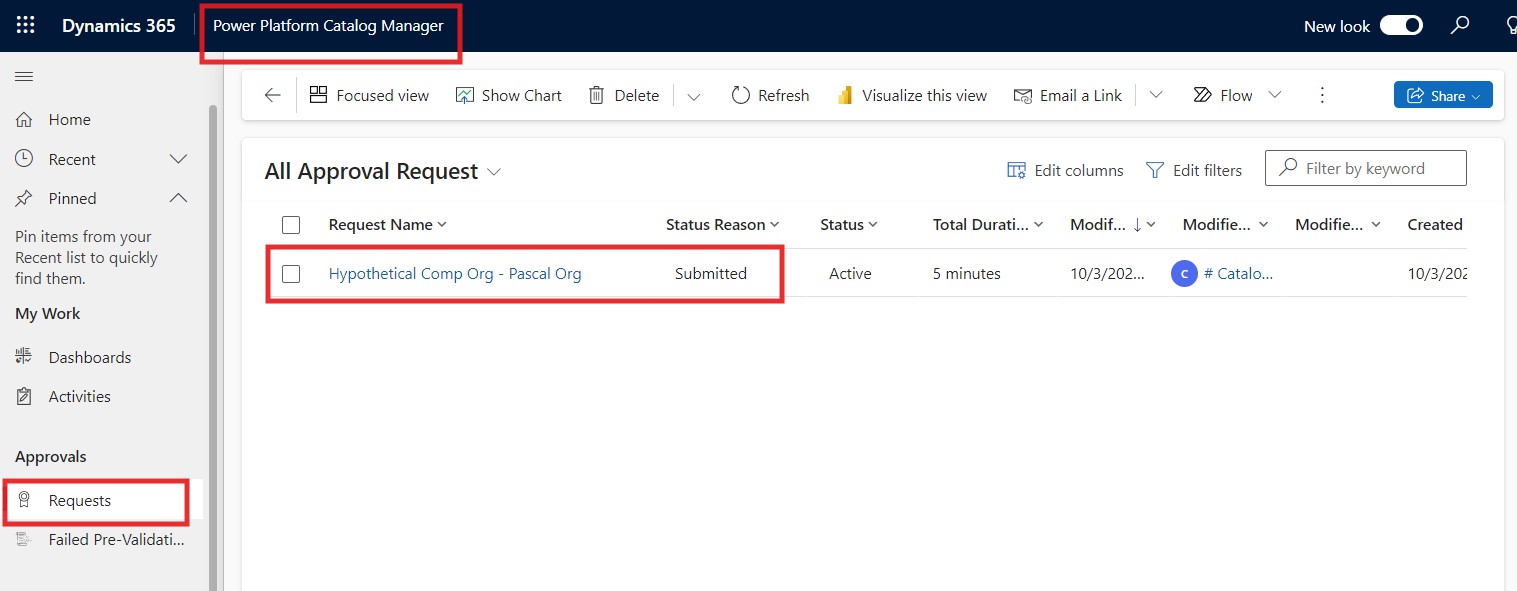
The same will be visible to the admin on the Power Platform Catalog Manager App’s Requests.
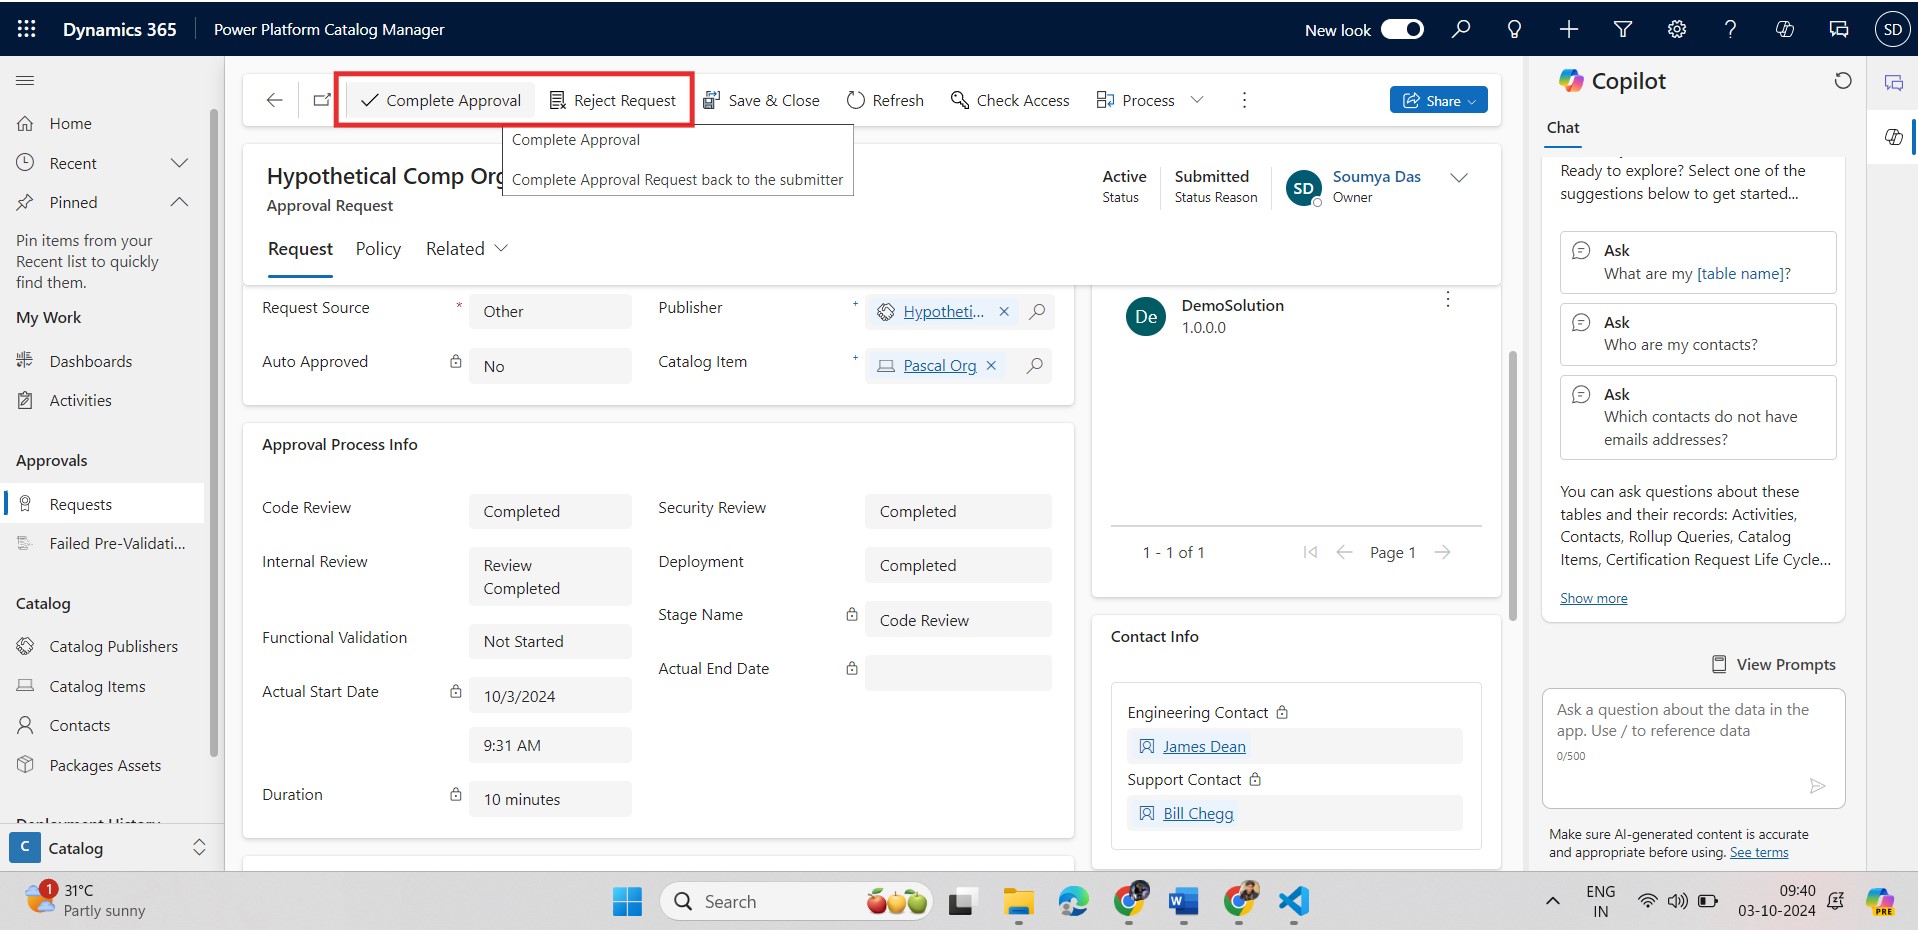
The admin will have the final authority to approve the submission or may as well reject the request.
Frequently Asked Questions (FAQs):
1. What are the prerequisites for setting up the Catalog Manager?
Before setting up the Catalog Manager, ensure that you have the Power Platform CLI installed. Additionally, having Visual Studio installed or configuring the Power Platform Tools extension is recommended for a smoother coding interface.
2. How do I authenticate the Catalog Manager to my Power Platform environment?
You can authenticate the Catalog Manager by establishing a connection with the Power Platform environment using the pac auth create command. Simply provide the environment name and URL, then follow the terminal instructions to authenticate and verify.
3. What steps are involved in exporting a solution for catalog submission?
To export a solution, go to the Solutions tab in Power Apps, create a new solution or select an existing one, then add tables and apps. Export the solution, download the ZIP file, and securely store it for submission to the Catalog Manager.
4. How do I track the status of my catalog submission?
Once you've submitted a package to the catalog using the command pac catalog submit, you can track the submission status by executing the command pac catalog status --tracking-id <ID>. This will allow you to monitor whether the submission is approved or pending.
5. Who approves catalog submissions, and what happens if a submission is rejected?
The final authority to approve or reject catalog submissions lies with the admin in the Power Platform Catalog Manager App. If rejected, you may need to modify the submission or provide additional information before resubmitting.