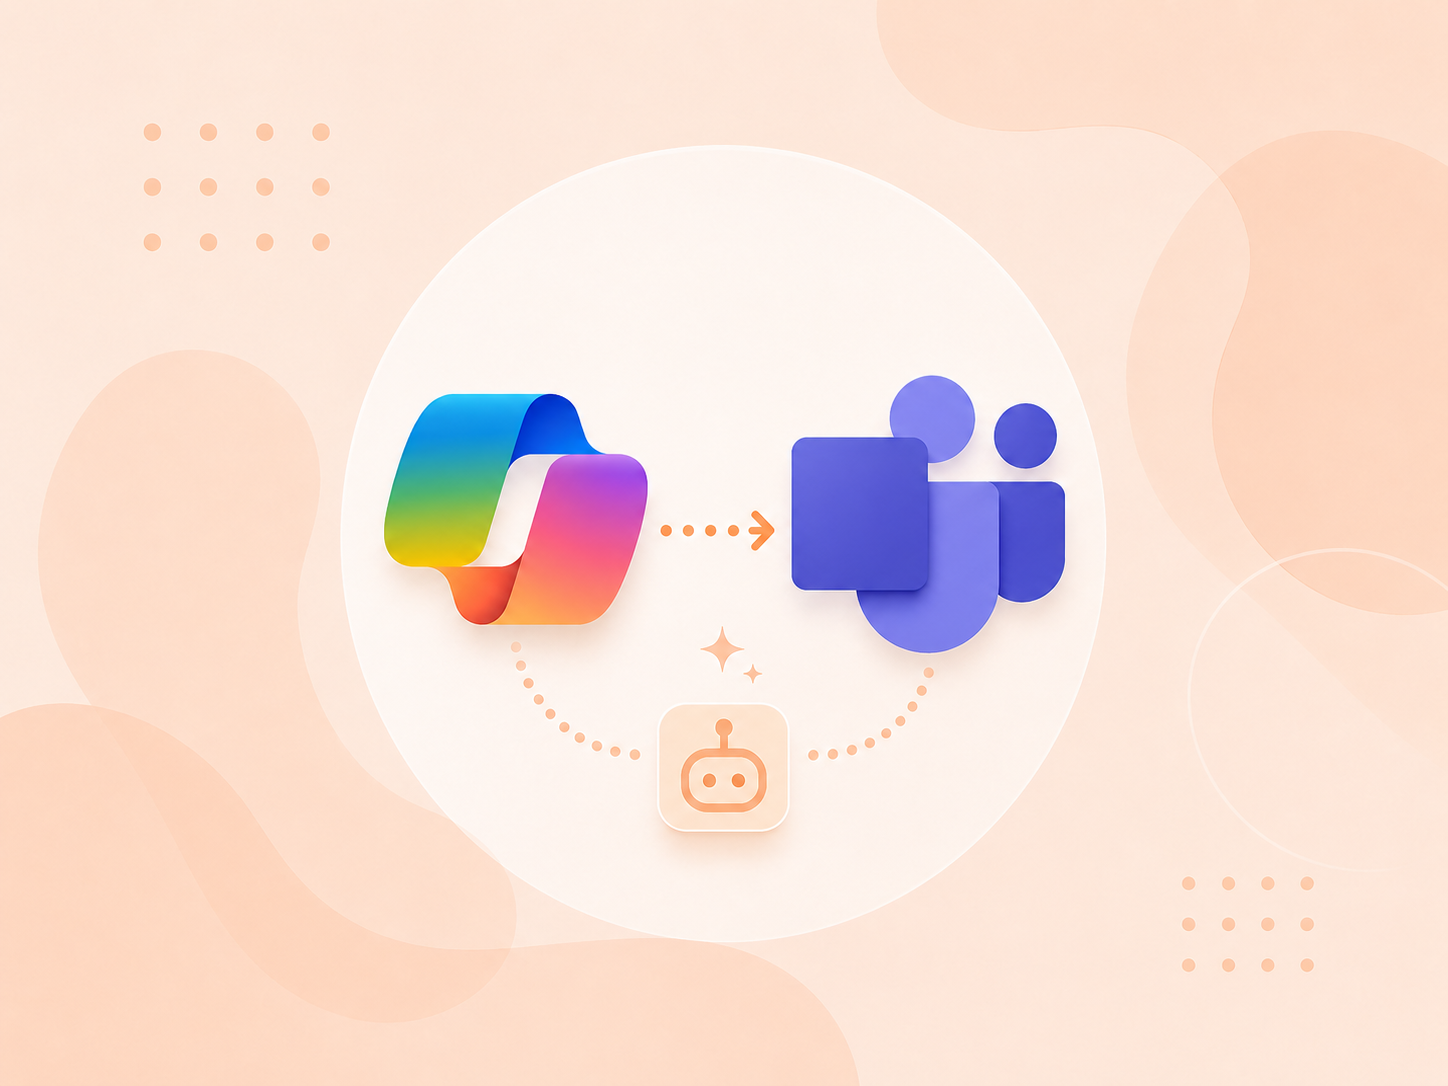
Microsoft Teams is the primary platform for communication and collaboration. Making intelligent Copilot agents available directly within Teams helps users get instant assistance and improves overall productivity.
However, Copilot agents built in Copilot Studio are not automatically visible in Teams and require proper licensing, publishing, channel configuration, and admin approval.
In this blog, I will demonstrate how to:
Integrate a Copilot agent with Microsoft Teams using Copilot Studio Enable Teams as a channel and publish the agent Complete the admin approval process in the Teams Admin Center Add and test the Copilot agent in Microsoft Teams
This integration allows users to interact with a Copilot agent directly inside Teams, providing seamless support without switching applications.
Business Scenario
Our organization uses a Copilot agent called Employee Onboarding Assistant to help new employees with HR, IT, and policy-related queries.
By integrating the agent with Teams, employees can access onboarding support directly within their daily workspace.
Prerequisites
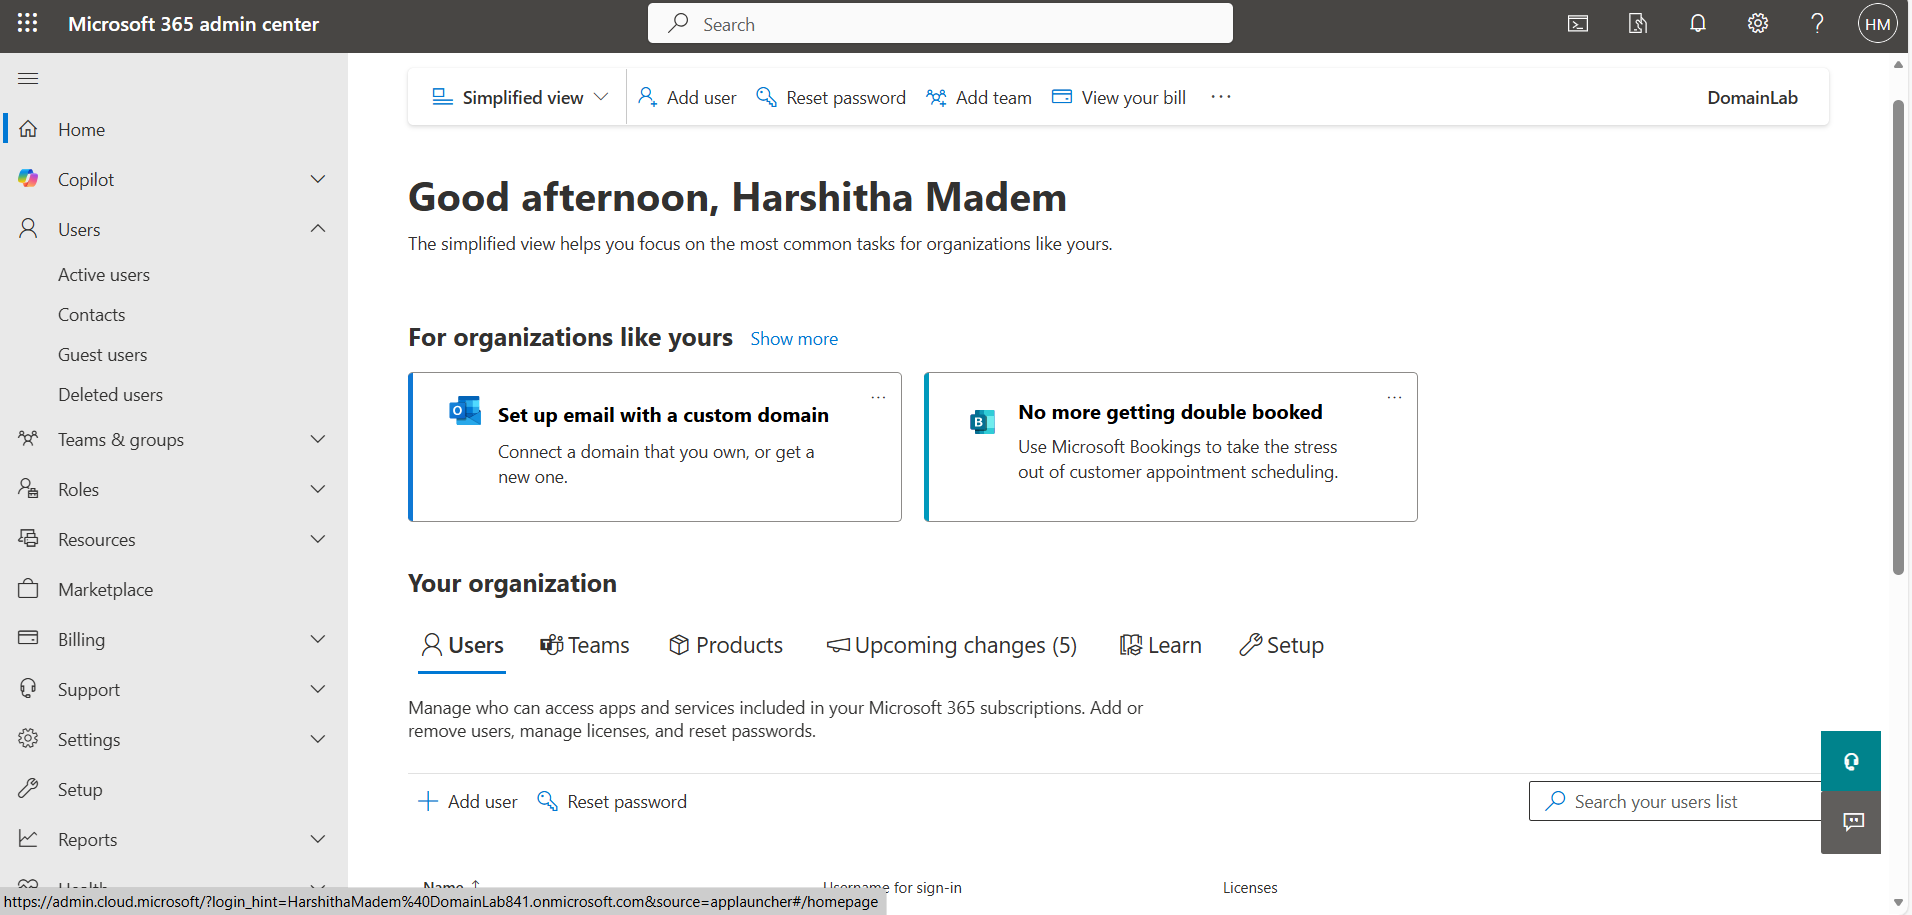
Access to Microsoft Copilot Studio
Microsoft 365 license with Teams enabled
Copilot Studio license or trial Teams or
System Administrator access
Need help with your business solution?
Our team can help you implement the right solution for your organization.
Sign in with the same Microsoft 365 work account you just licensed.
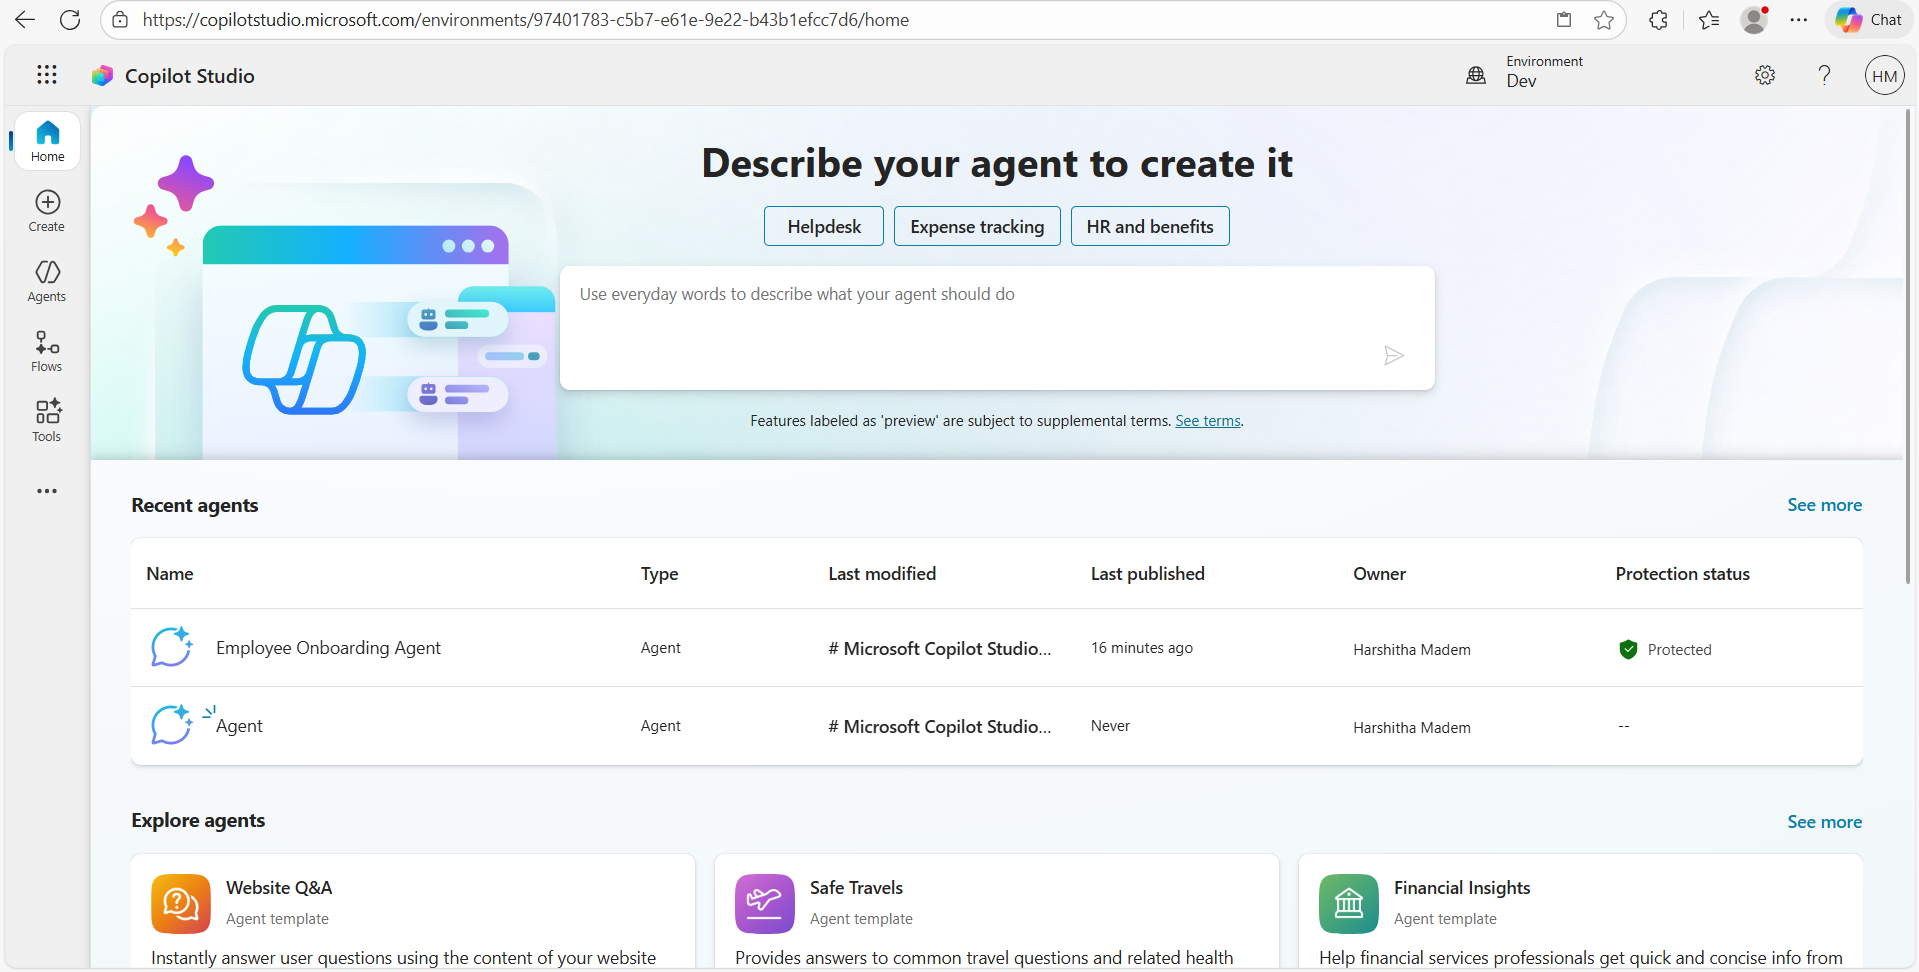
Open Your Agent
On the Copilot Studio home screen, go to Your agents and open the “Employee Onboarding Assistant” agent.
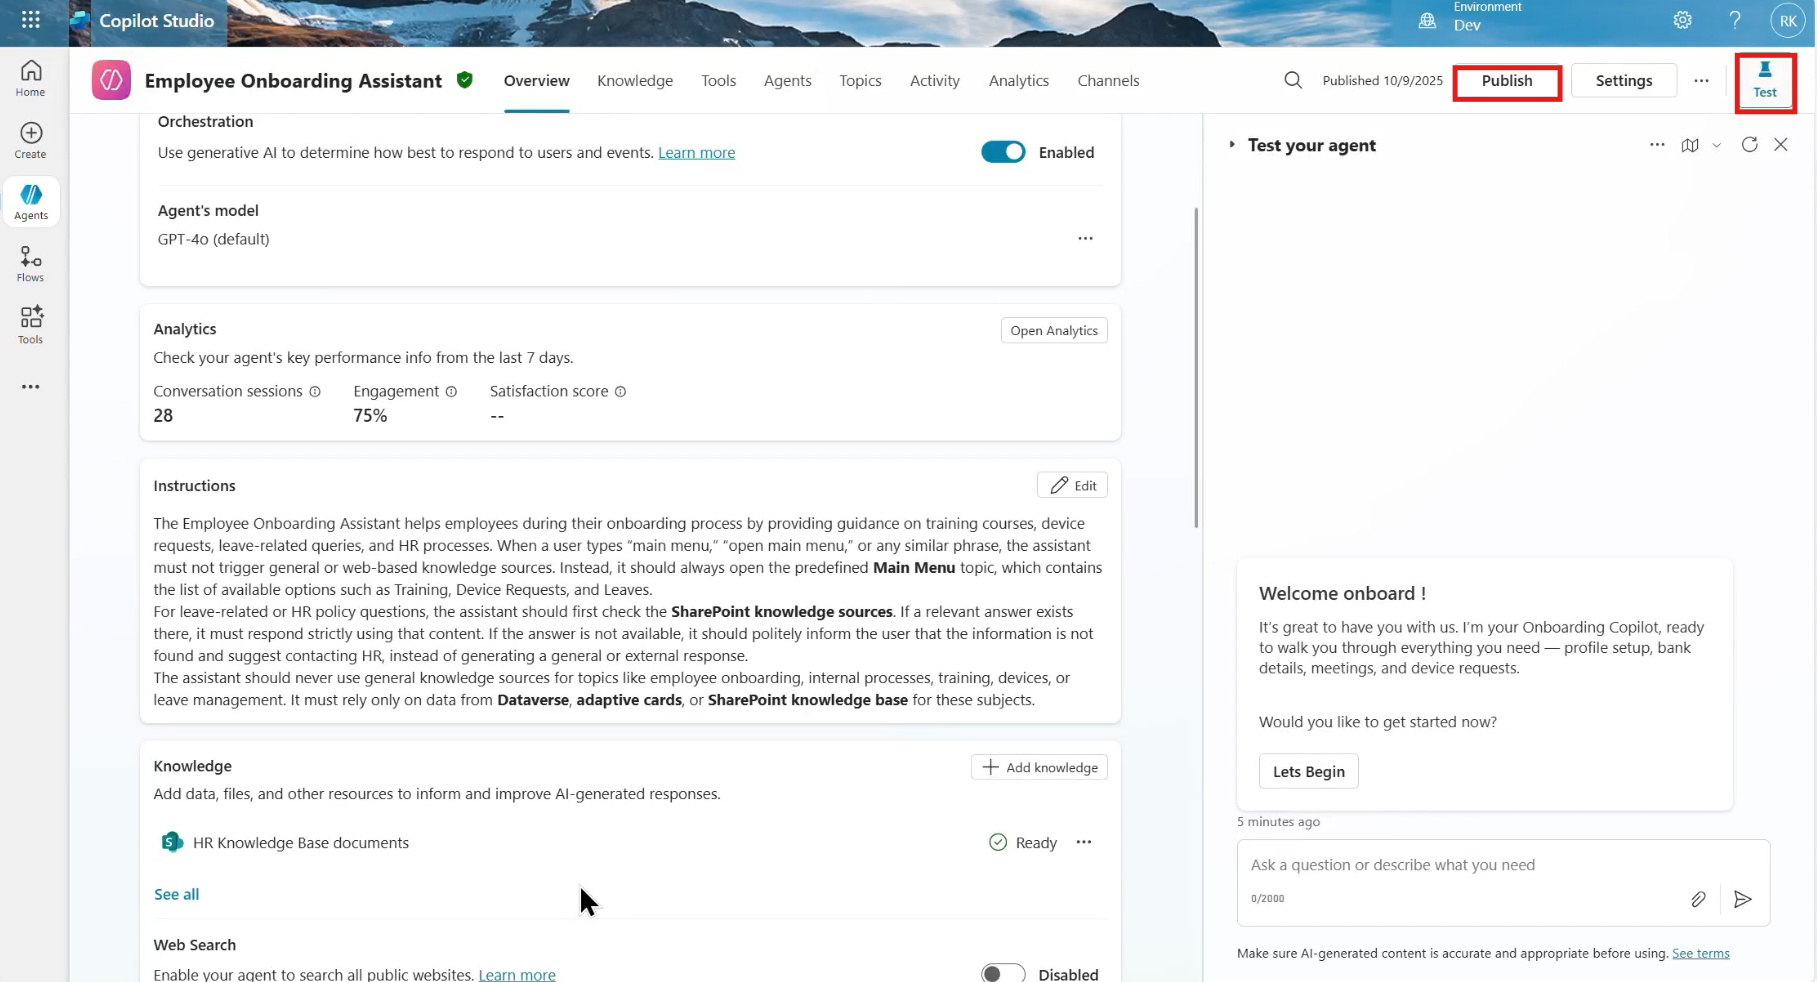
Test and Publish Your Agent
After creating the Employee Onboarding Assistant, open the Test panel to verify its responses, then publish the agent to activate the latest version for use in Teams.
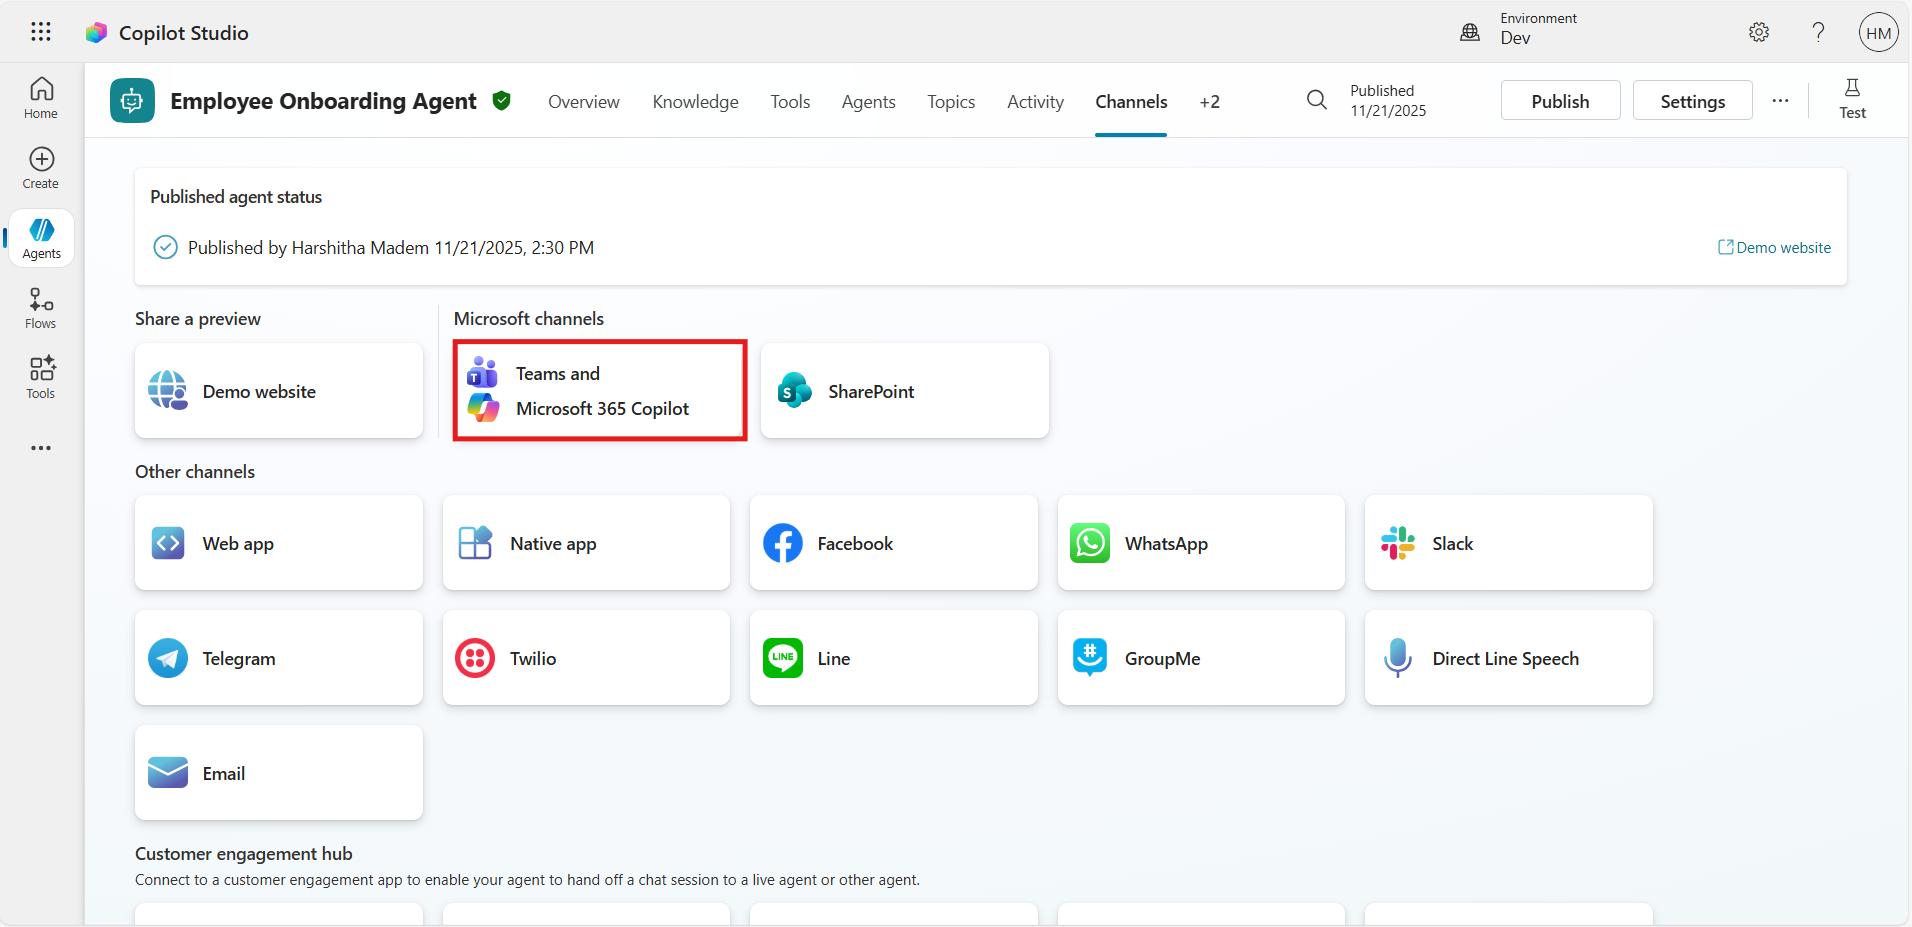
Enable Microsoft Teams as a Channel
In Copilot Studio, open your agent and select Channels from the above navigation.
Find Microsoft Teams and Microsoft 365 Copilot and click Add or Configure.
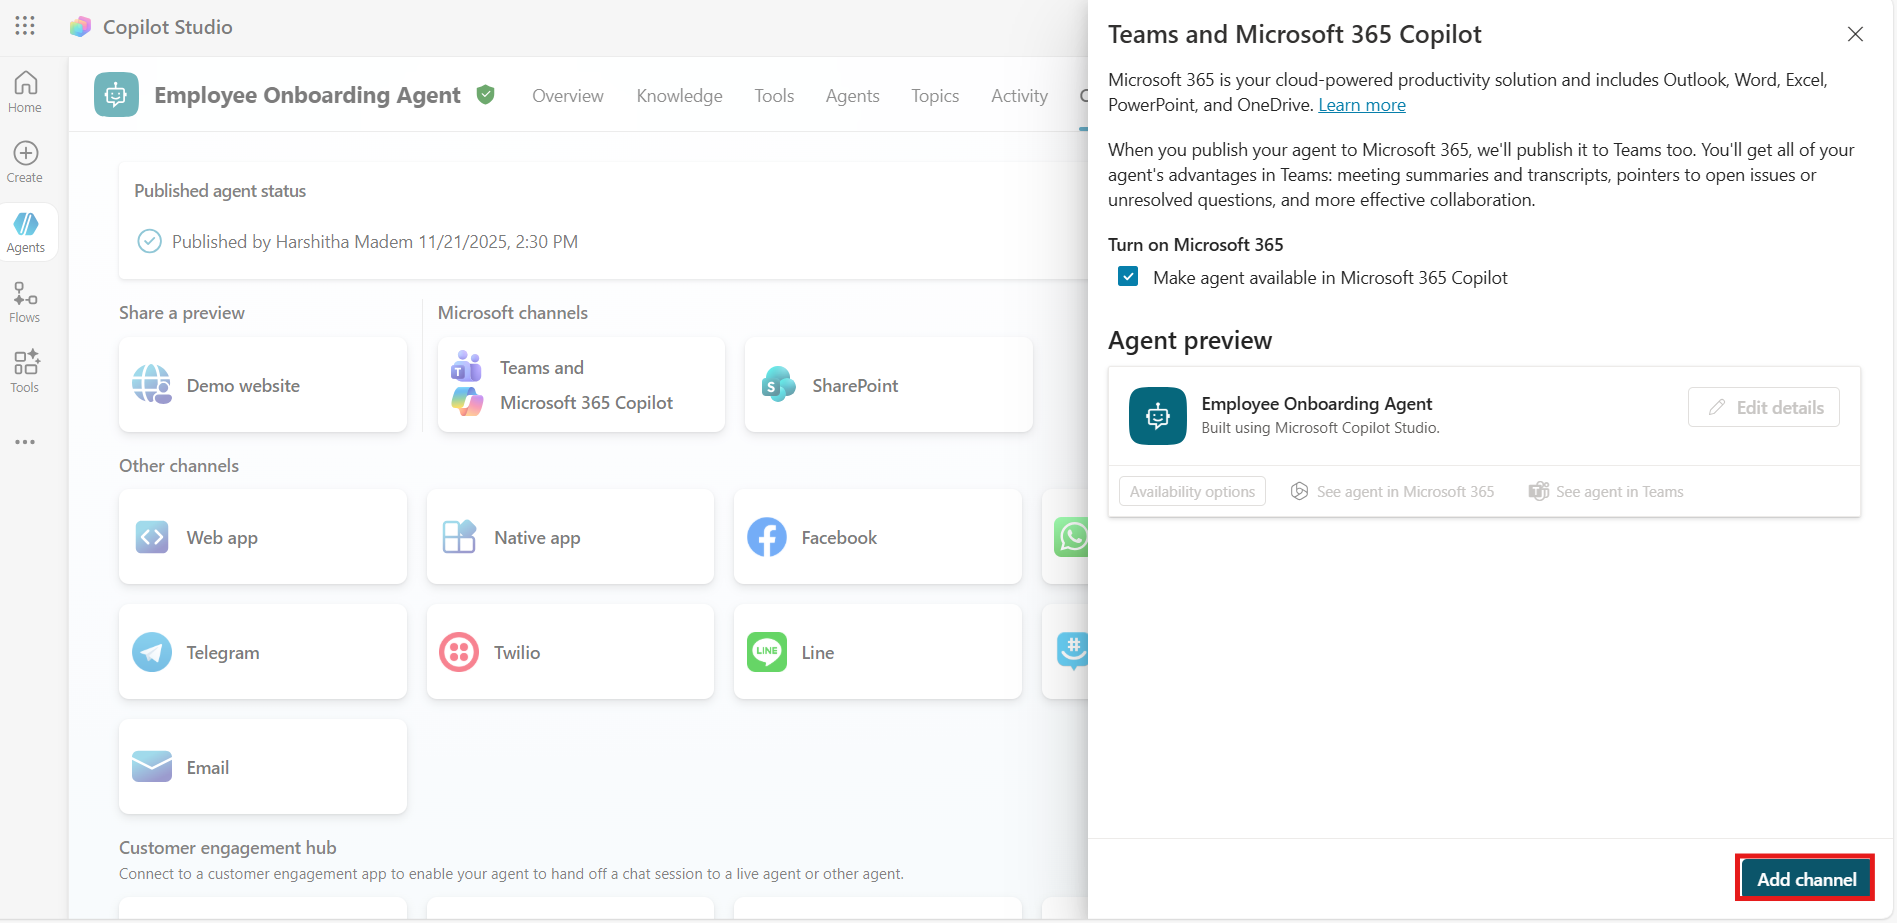
After that, click Add a channel and turn on Available in Teams — this activates Teams as a channel for your agent.
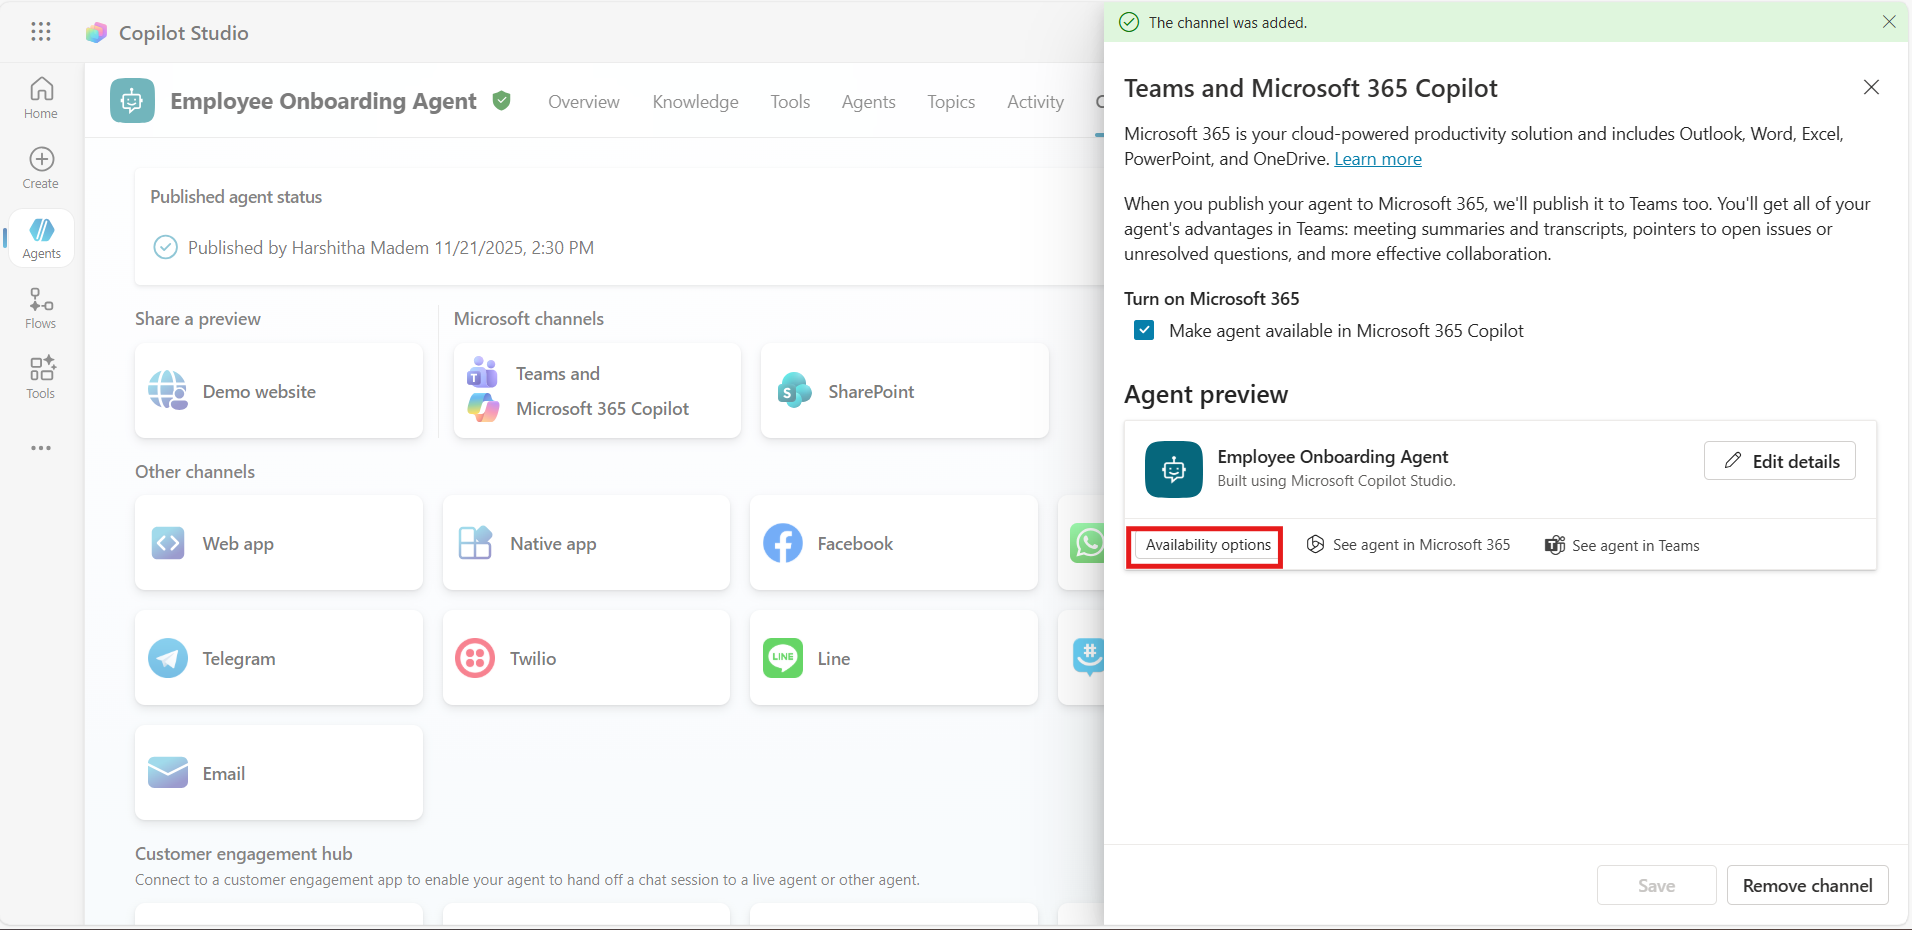
After adding the channel, you’ll see the Availability option for the bot — click on it.
Decide who you want to show your agent to: choose whether to display it to team members, specific users, or all users in the organization. In our case, I selected Show to everyone in the organization.
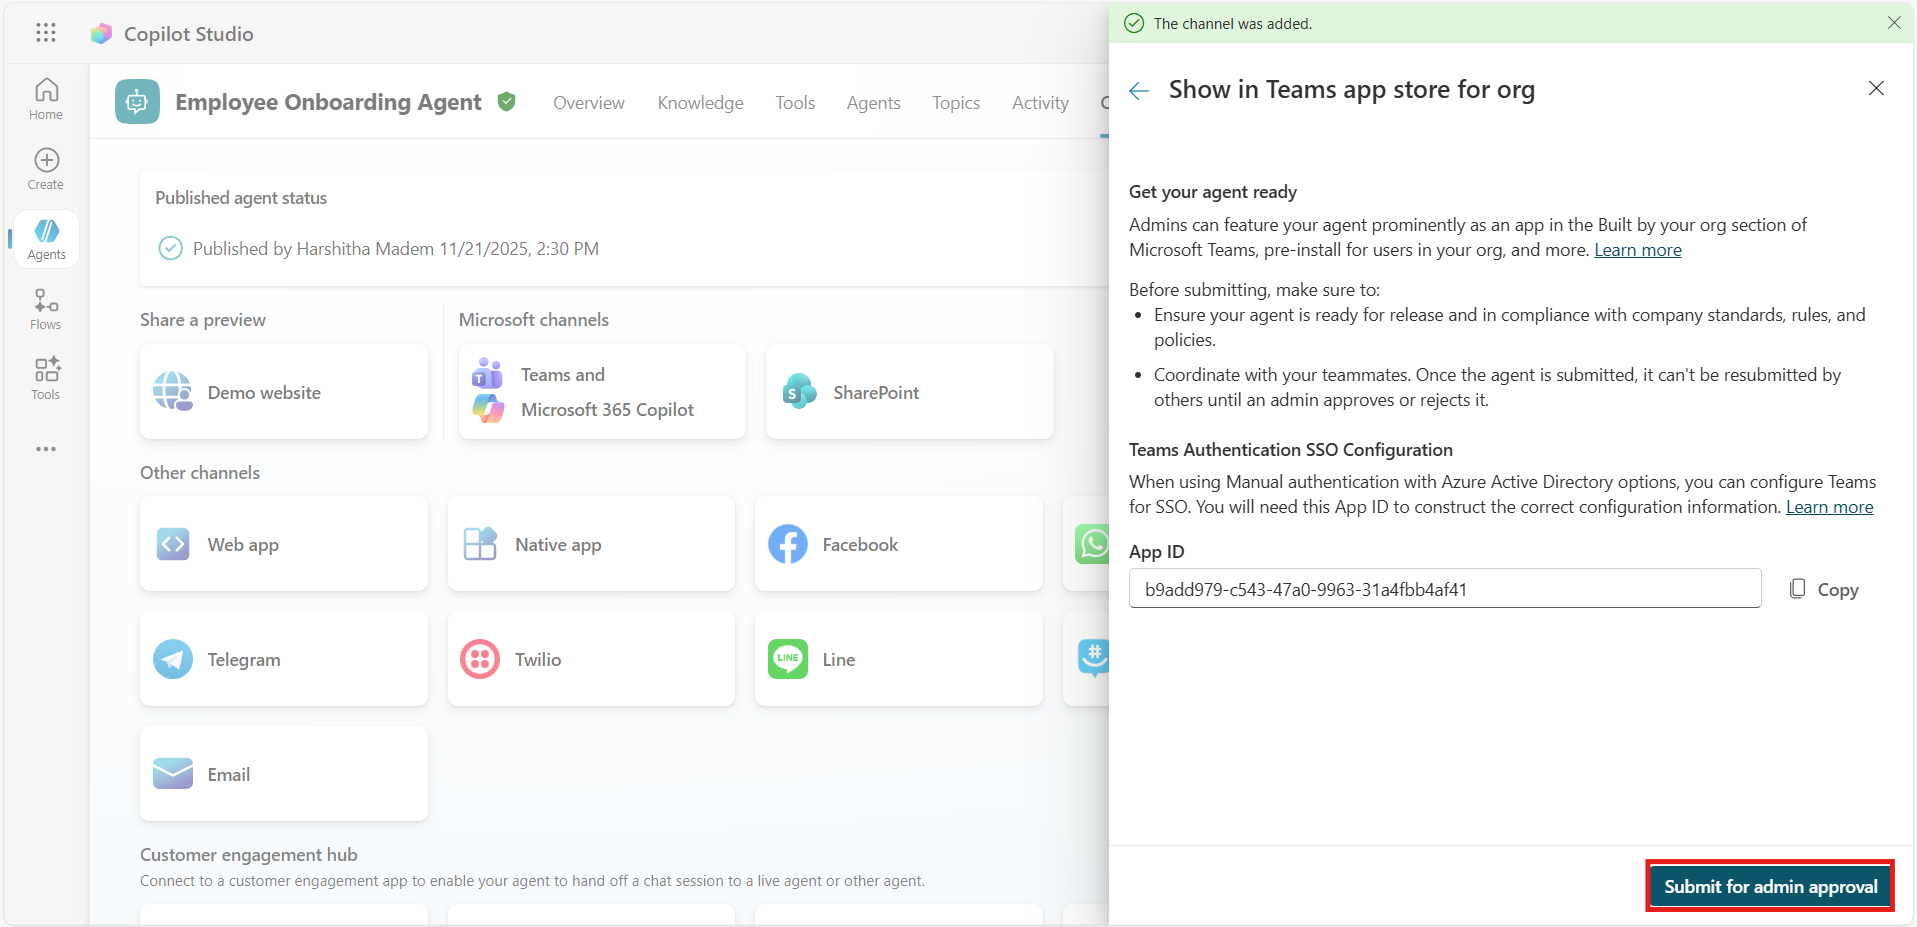
It will open the “Show in Teams app store for org” screen, where you can submit the agent for admin approval so it can appear in Teams for your organization.
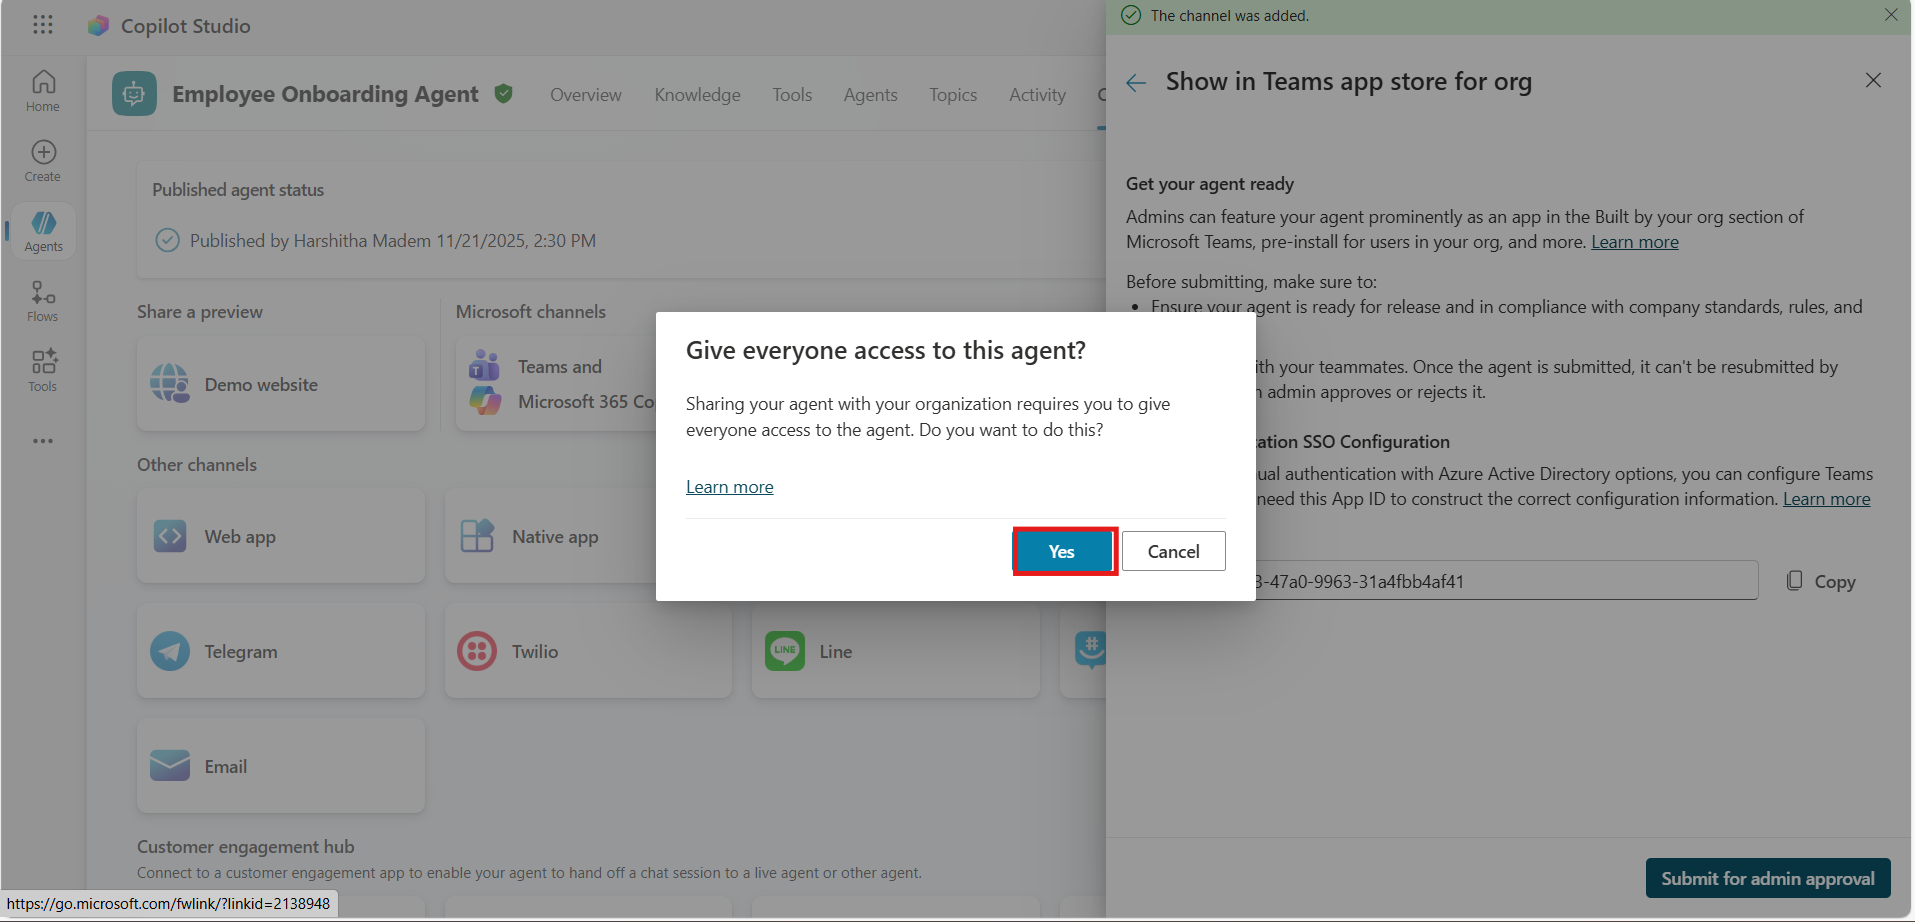
A pop-up will appear asking “Give everyone access to this agent?” — click Yes to continue.
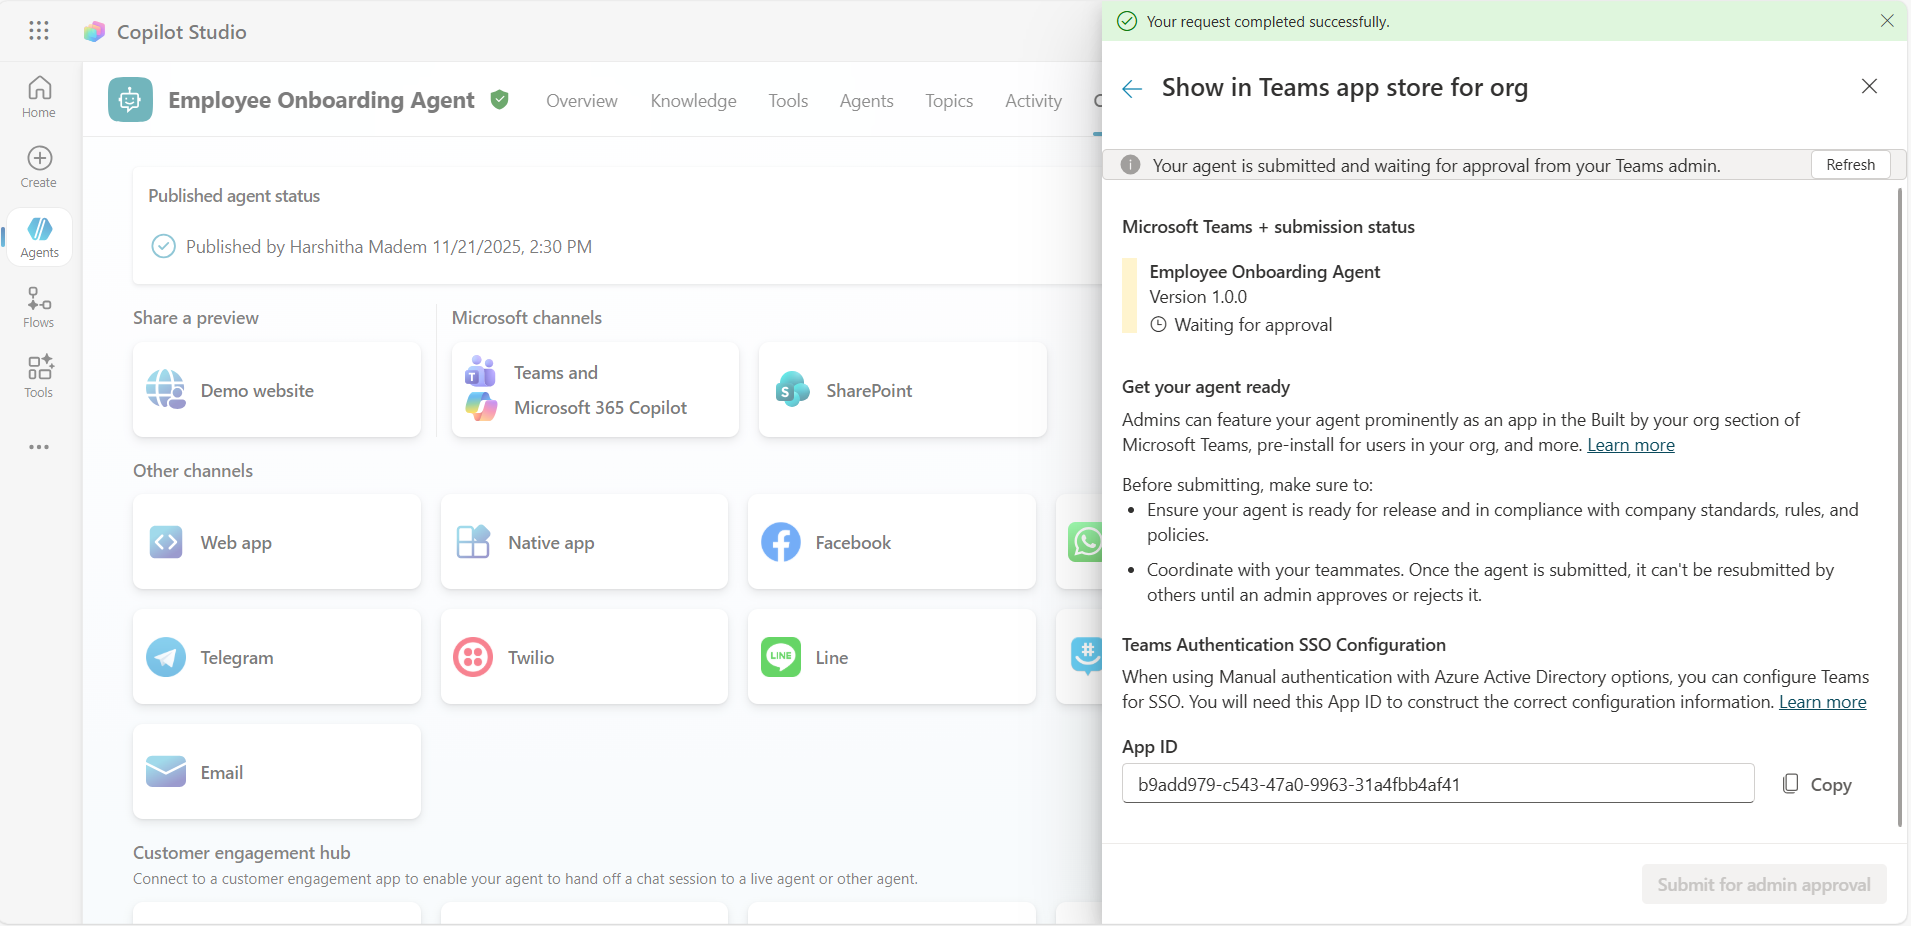
It will send the agent to your admin for review, and after confirming, you’ll need to wait for the admin approval.
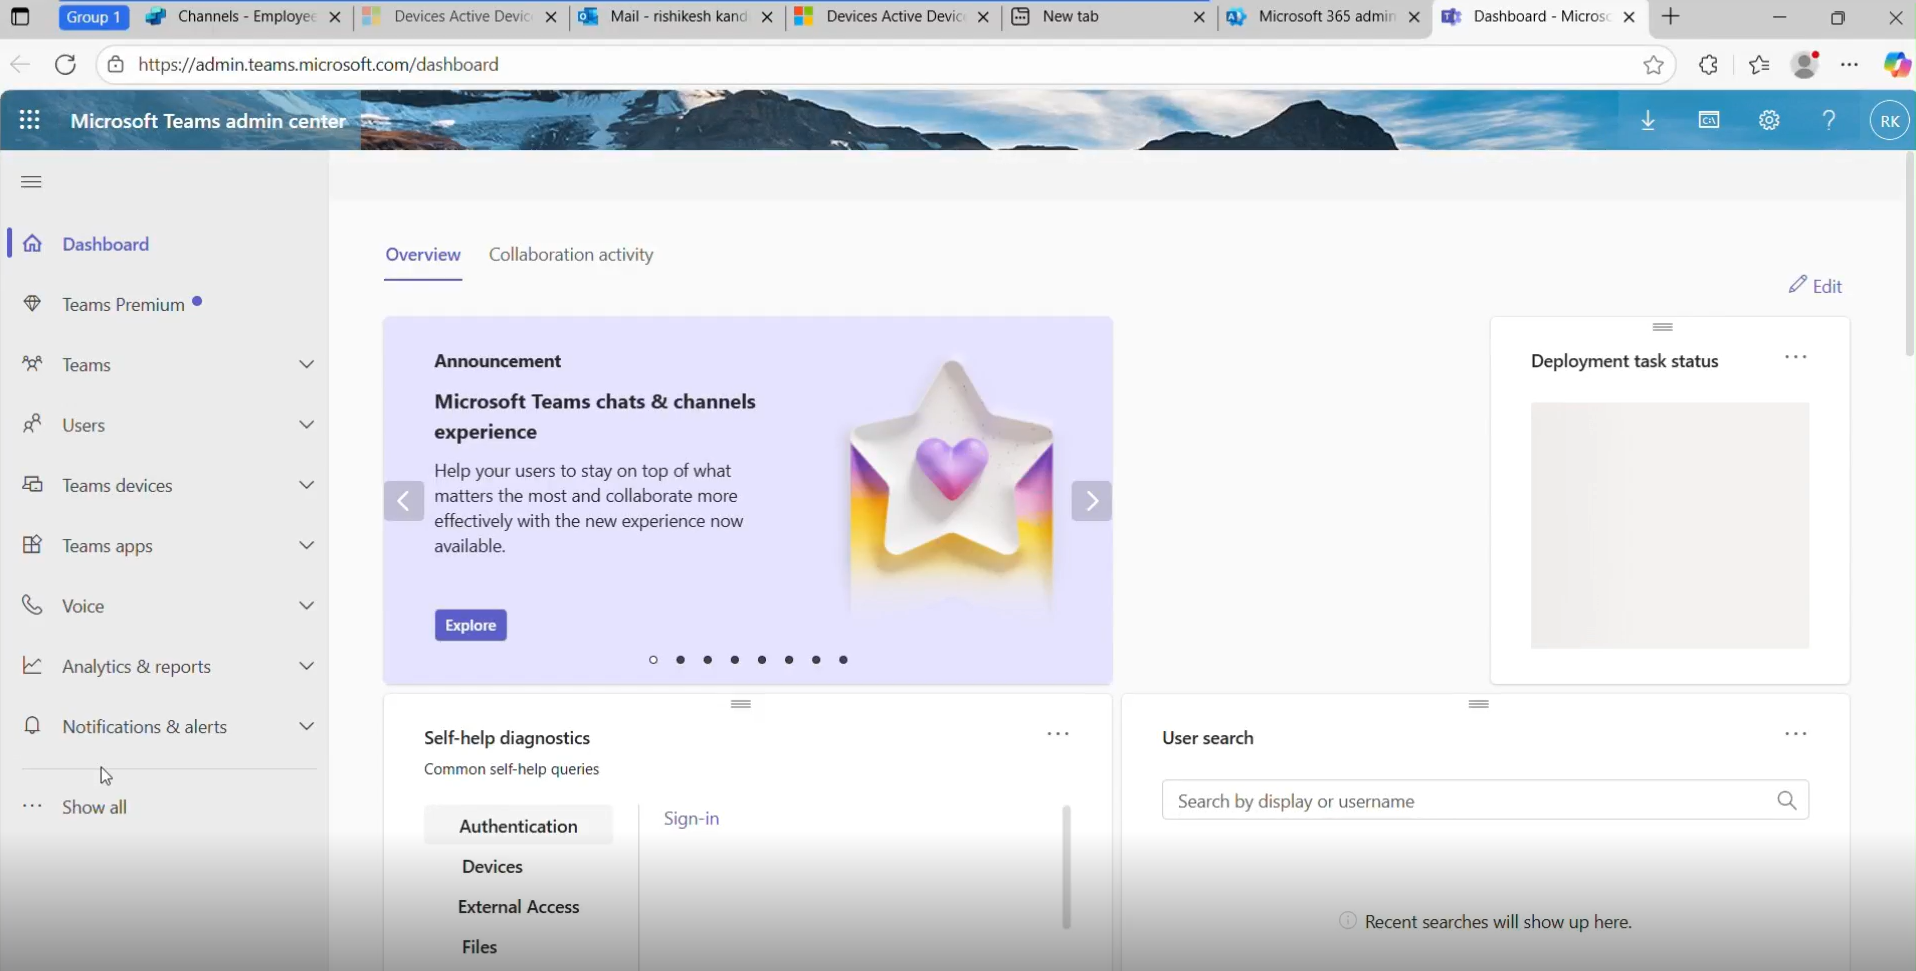
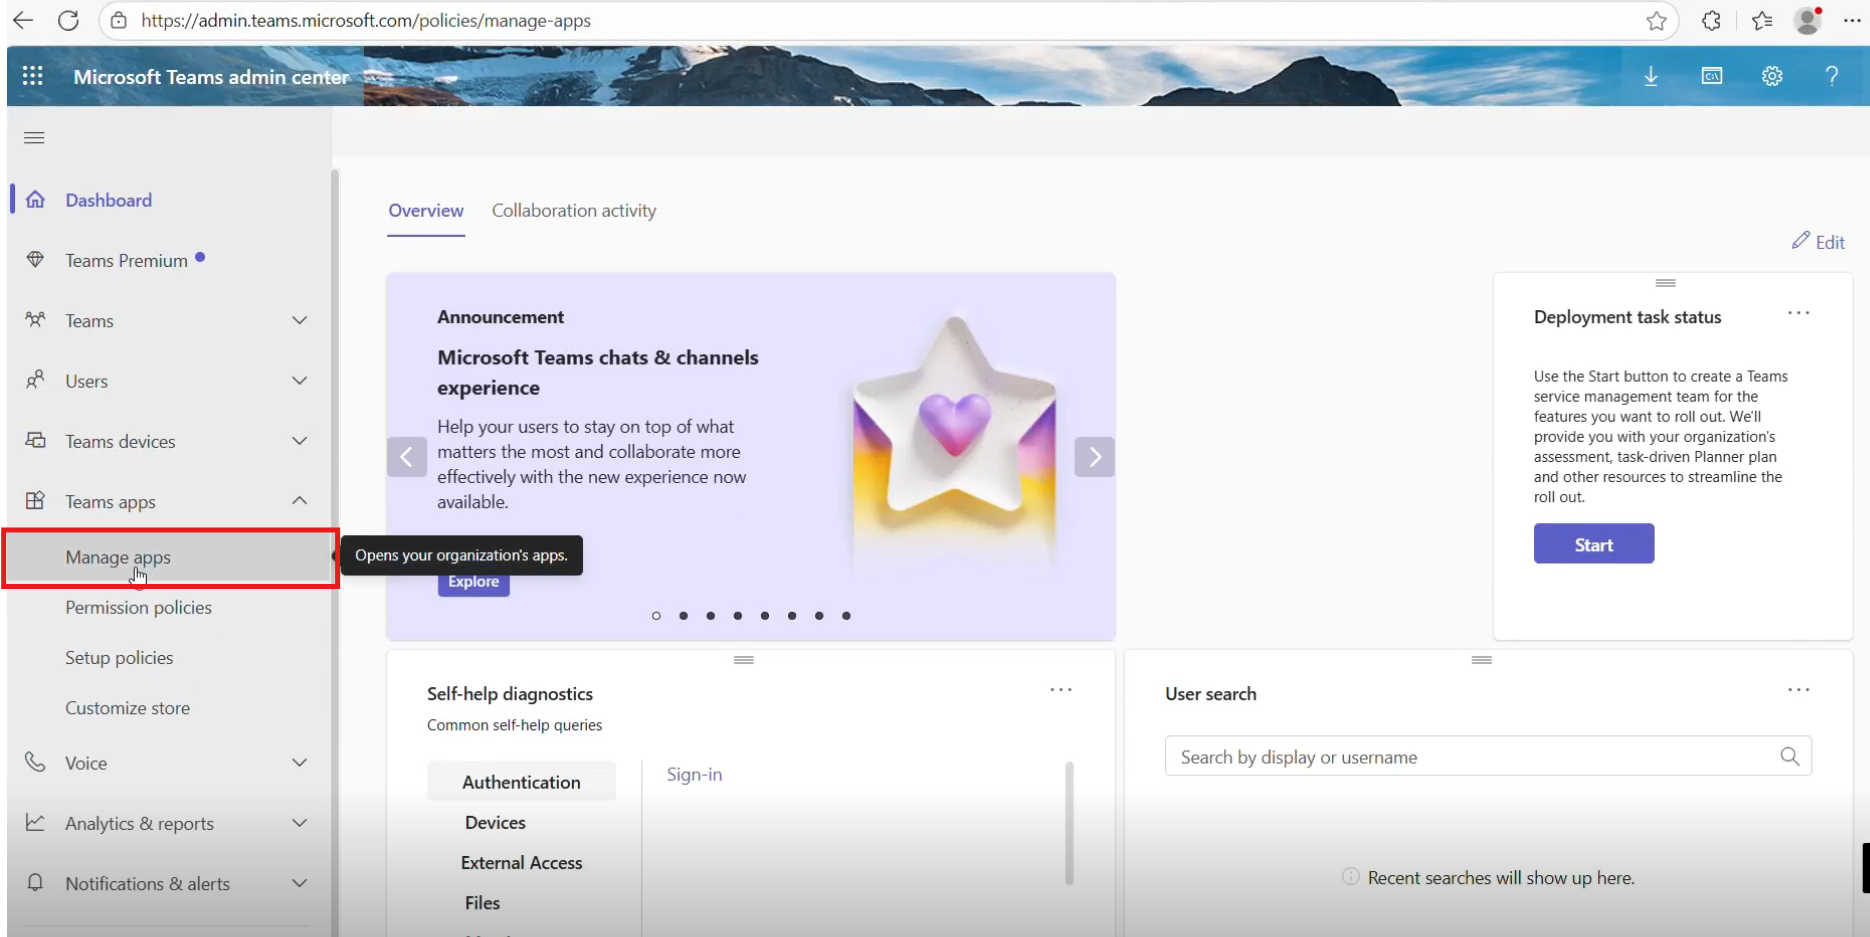
In the left menu, navigate to Teams apps → Manage apps.
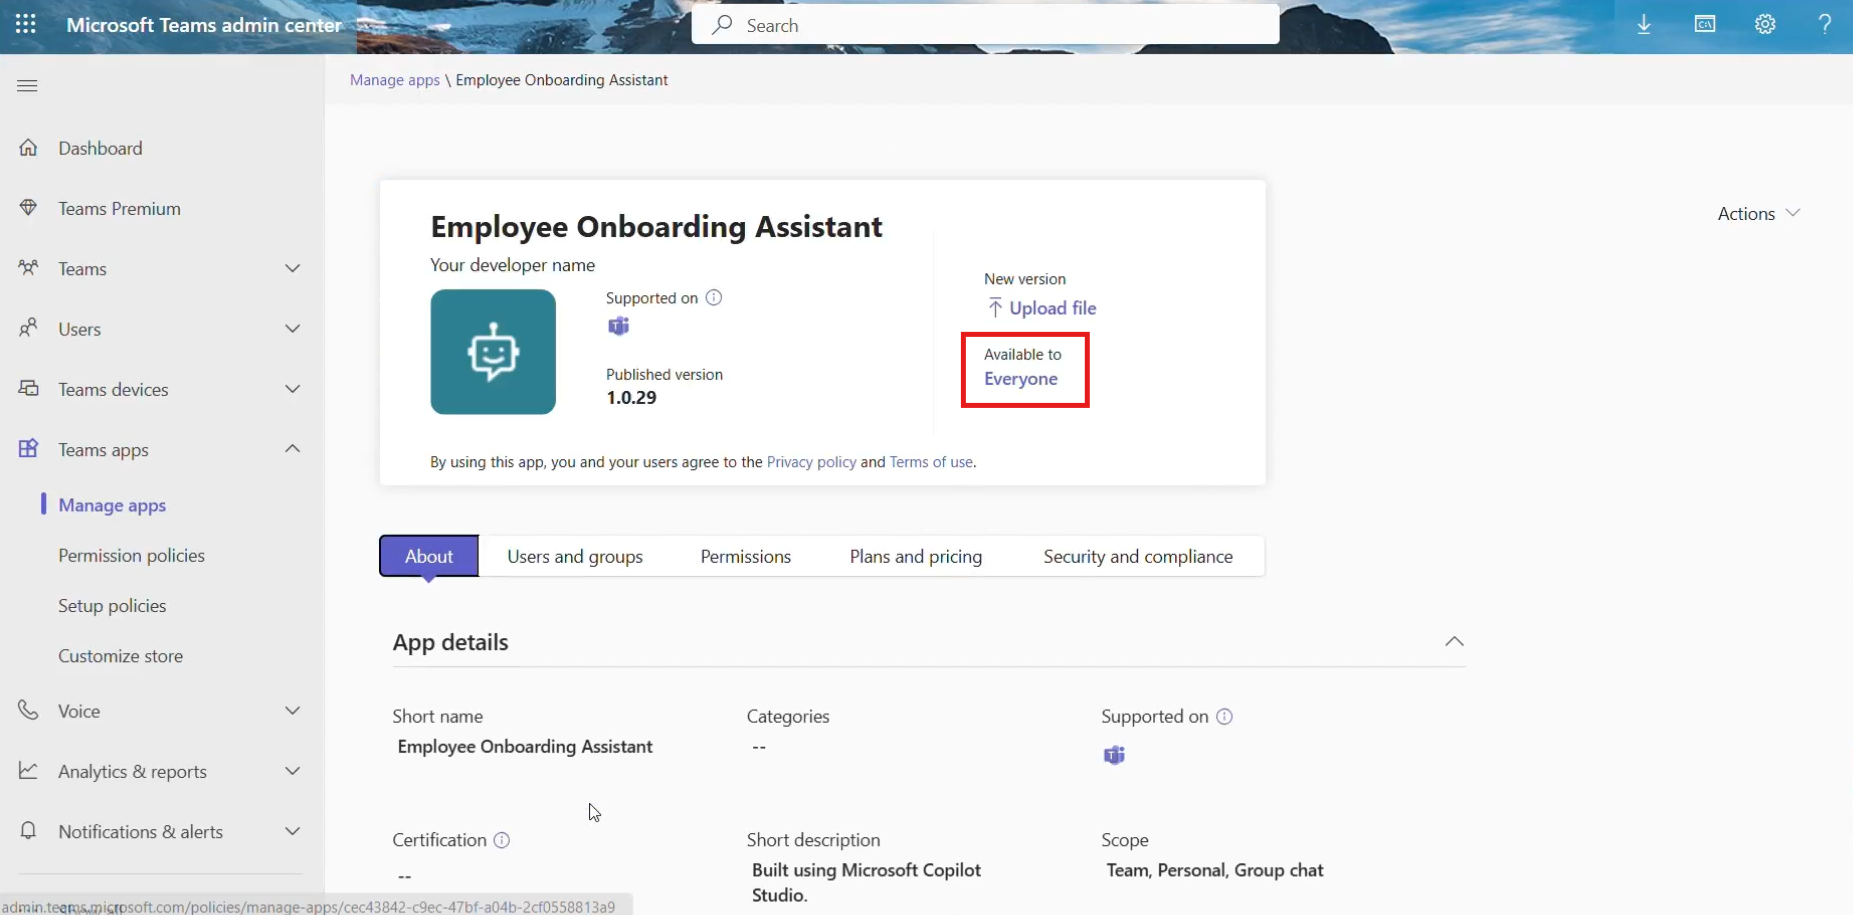
Admin – Approve the Pending App In Manage apps, open Pending approvals, search for Employee Onboarding Assistant, select it, and click Approve. Then open its details to ensure it’s not blocked—set it to Allow / Unblock so it becomes available to everyone in your organization.
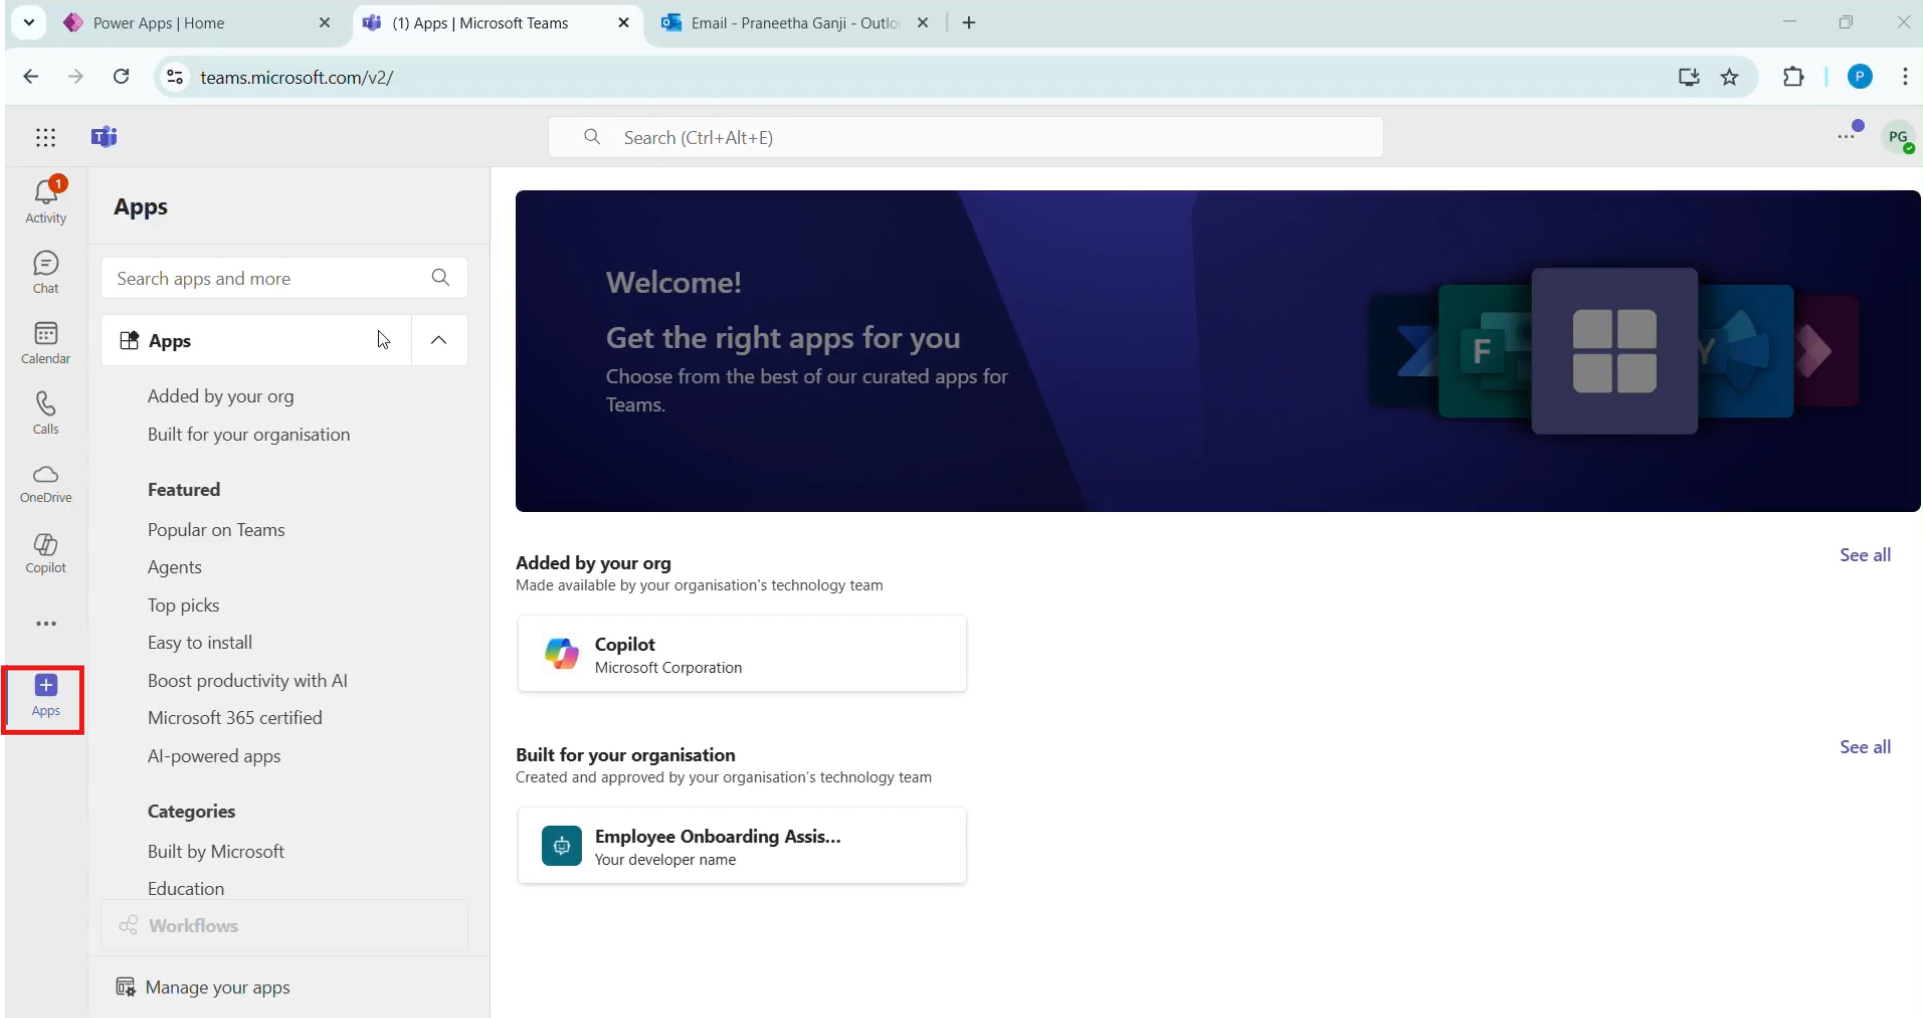
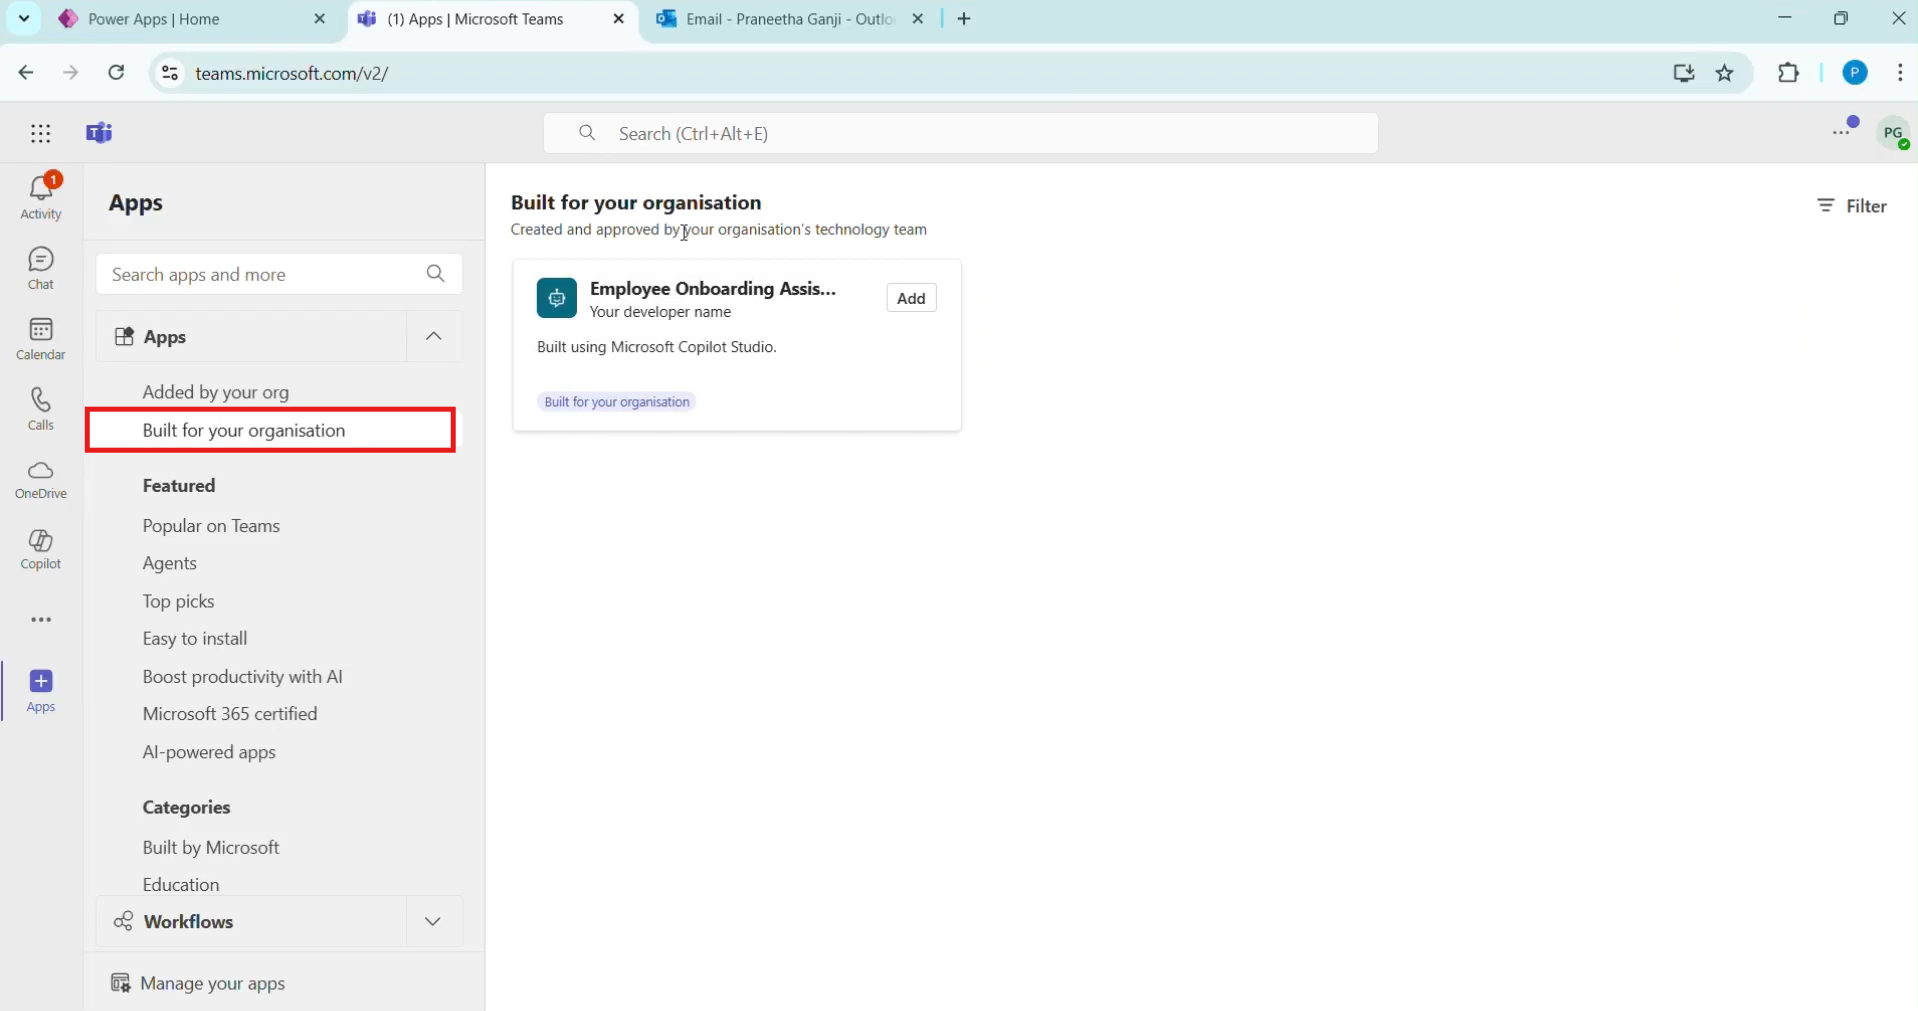
Under Built for your organization, find the Employee Onboarding Assistant and click on it.
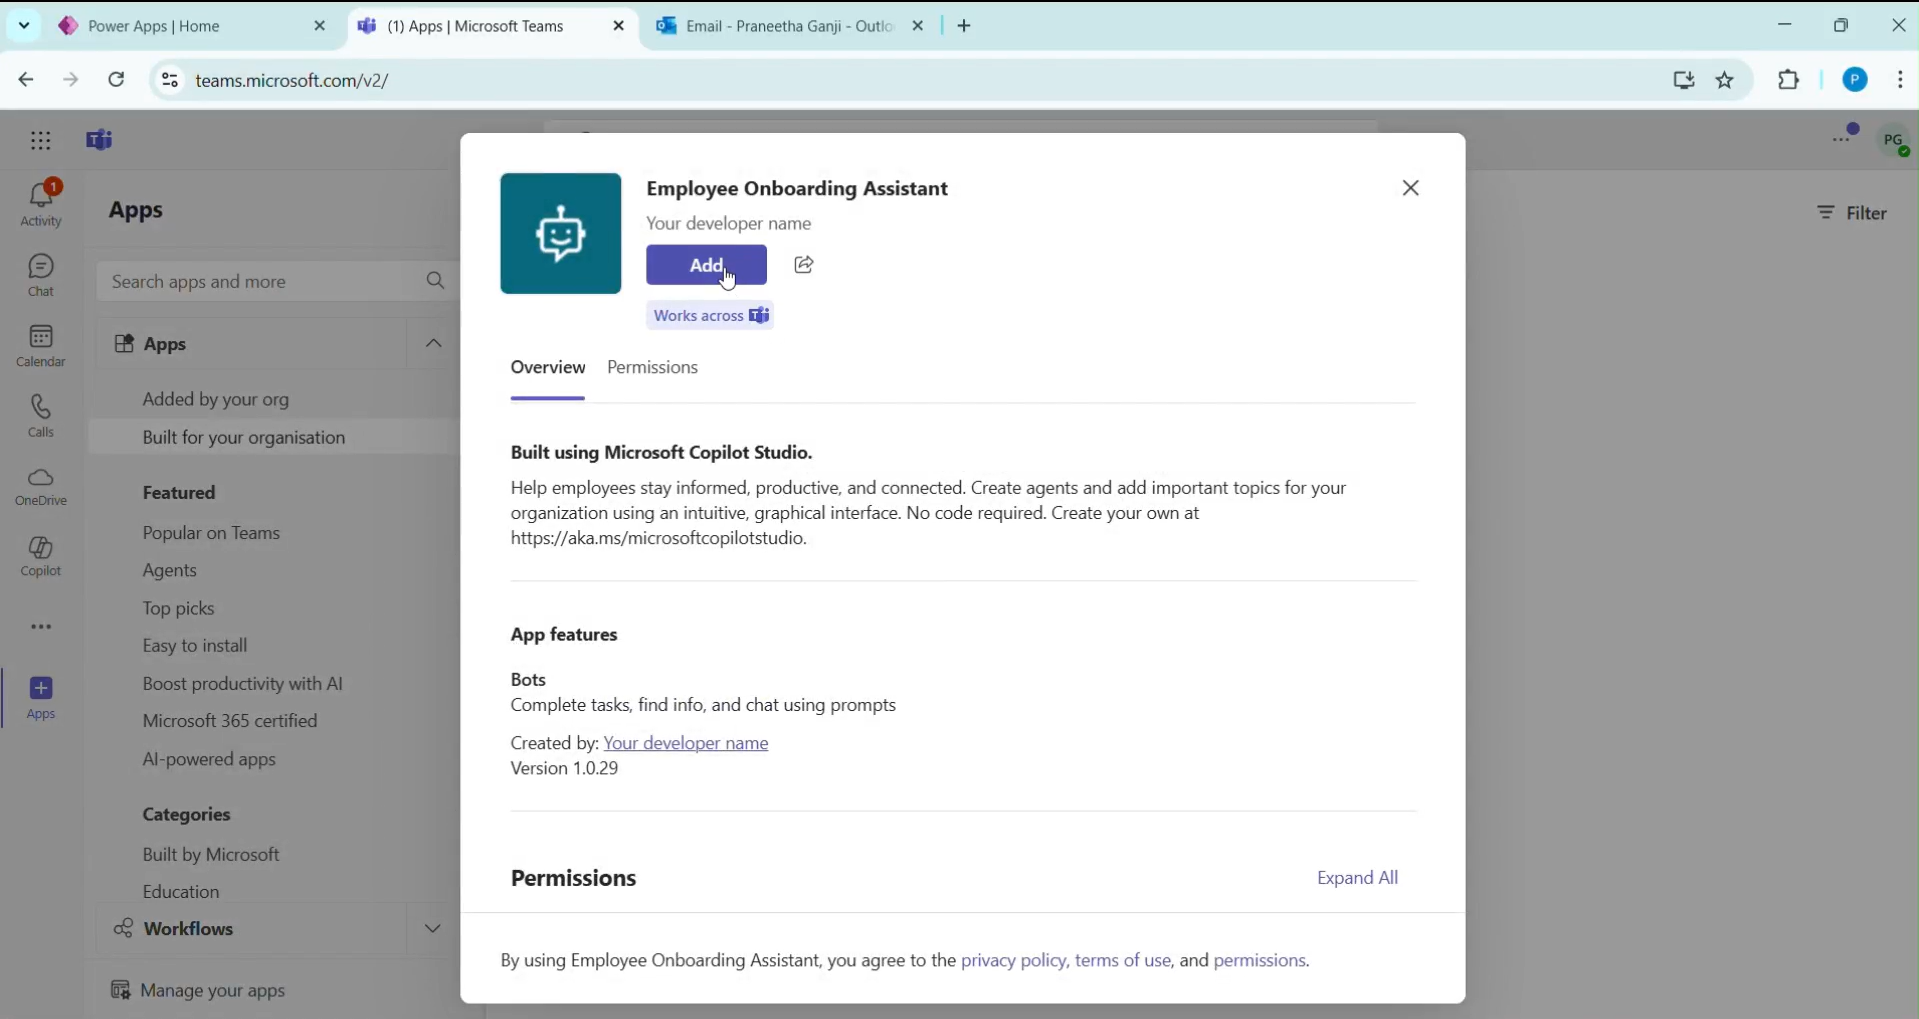
You will now see the option to add it to Teams — click Add to install the agent in your Teams app.
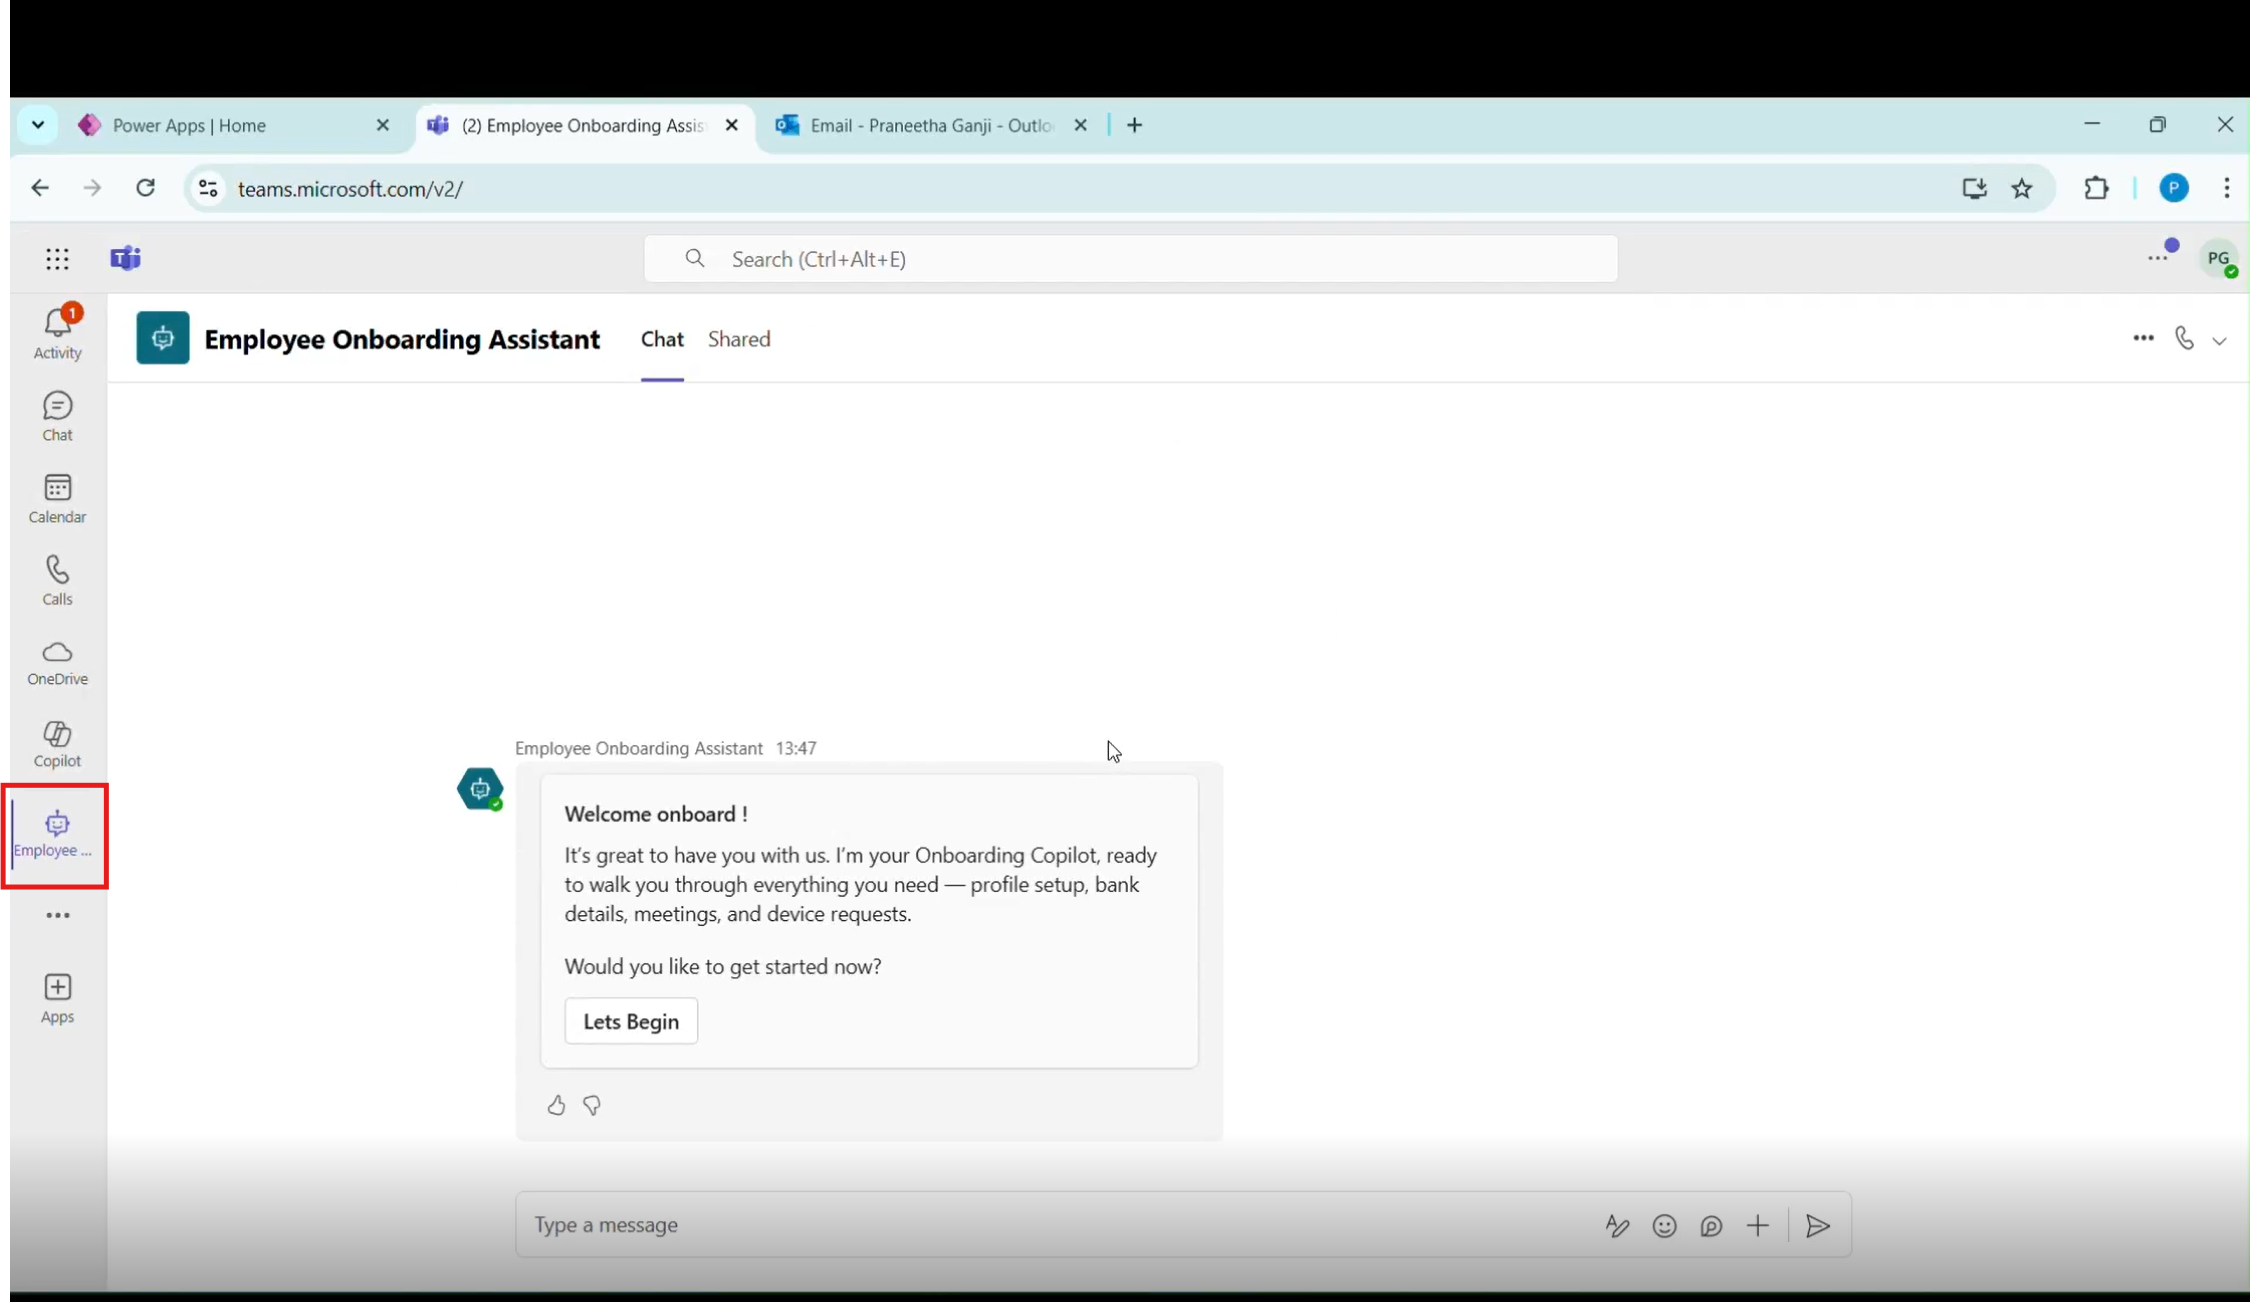
After that, the agent will be added successfully, and you can now open and test it directly in Teams.
After opening the agent, it is added to Microsoft Teams. You can now access the bot directly in Teams and start using it for conversations and tasks.
By following this step-by-step process—assigning the required licenses, publishing the Copilot agent in Copilot Studio, enabling Microsoft Teams as a channel, and completing admin approval—the Copilot agent can be successfully integrated into Microsoft Teams. Once added, the agent becomes immediately available for use within Teams, enabling users to interact with it seamlessly and leverage intelligent assistance for improved productivity and collaboration.
Frequently Asked Questions (FAQ’s):
1. Do I need admin access to integrate a Copilot agent with Teams?
Yes. While a user can create and publish the agent, a Teams admin must approve the app in the Teams Admin Center before it becomes available to users.
2. Which licenses are required to use Copilot Studio with Teams?
At minimum, the user needs a Microsoft Copilot Studio license (or trial) and a valid Microsoft 365 license that supports Teams.
3. How long does it take for the agent to appear in Teams after approval?
After admin approval, it usually appears within a few minutes, but in some cases it may take up to a few hours to sync across the organization.
4. Can I limit the Copilot agent to specific users or teams?
Yes. During the channel configuration, you can choose to show the agent to specific users, teams, or the entire organization.
5. Do users need to install anything separately to use the agent?
No additional installation is required. Users simply add the agent from the Teams App Store (Built for your organization).