LogoLogo

Our Products

Metadata Browser

Edge Add-on

HTML To PDF Converter

Power Automate Connector

Data Mask for Dataverse

Dataverse App

Commission 365

Dynamics 365 App

AI Autocloser

Dataverse App

Flow Monitor

Power Automate App

ServicesAboutCareersBlogContact
Chat on Teams
Metadata BrowserHTML To PDF ConverterData Mask for DataverseCommission 365AI AutocloserFlow Monitor
ServicesAboutCareersBlogContactChat on Teams
HomeBlogCreating Filters in Canvas Apps

Creating Filters in Canvas Apps

May 05, 2024
#Canvas App
Mahith Reddy
Creating Filters in Canvas Apps

In Canvas Apps, the Filter function helps to pinpoint specific records within your data. You can set rules to display relevant information, it's like having a search tool that extracts precisely what you seek from your dataset. 

Syntax:  

Filter (data source, formula) 

Example: Suppose you have a table named "Tasks" with various columns such as "TaskName", "AssignedTo", "Priority", and "Status". You want to filter this list to only show tasks that are assigned to either "John" or "Emily" and have a priority of "High" or "Medium" and are still in progress (Status is "In Progress"). Here's how you could use the Filter function with that syntax: 

Filter(Tasks, (AssignedTo = "John" || AssignedTo = "Emily") && (Priority = "High" || Priority = "Medium")&& Status = "In Progress") 

In this example, the Filter function will go through each task in the "Tasks" list and pick out only those that meet all the specified criteria: assigned to either "John" or "Emily", have a priority of "High" or "Medium", and have a status of "In Progress". So, you'll end up with a filtered list showing only the tasks that match all these conditions. 

Let's get started!!! 

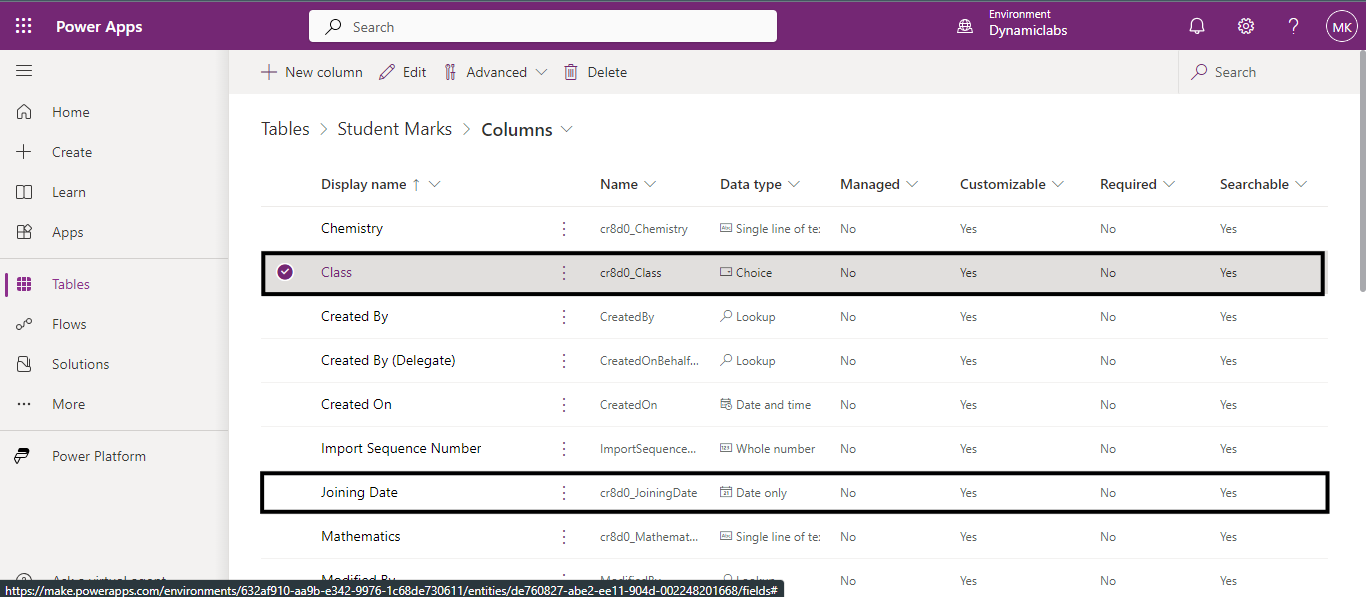
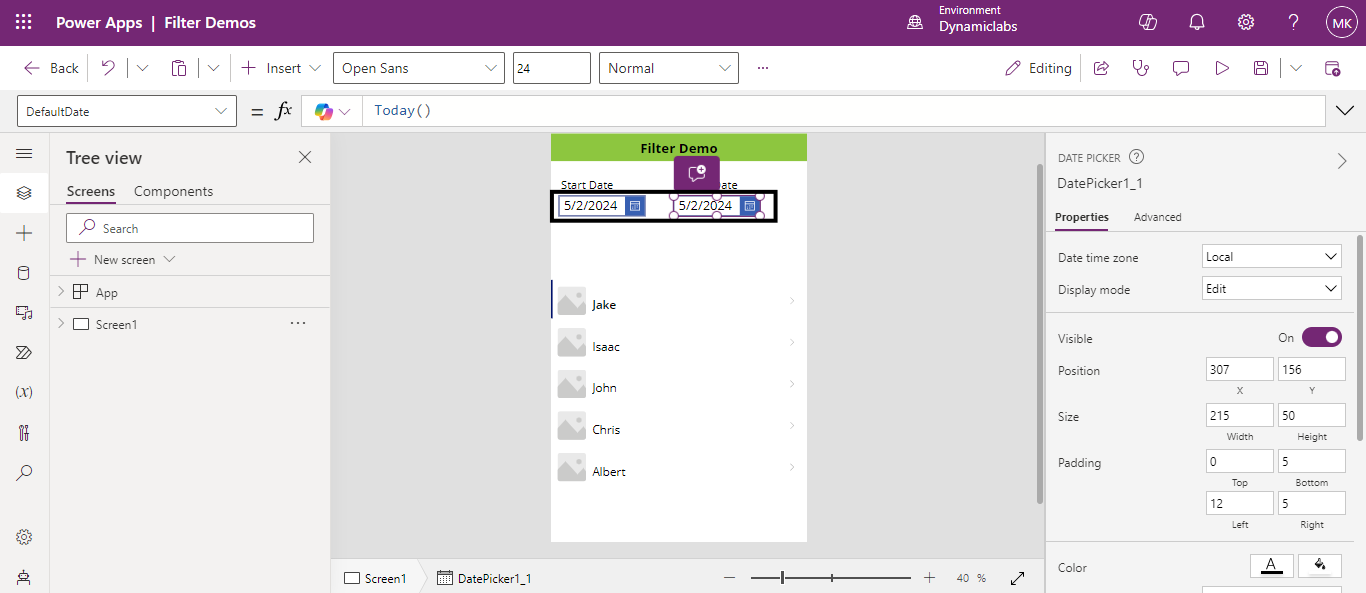
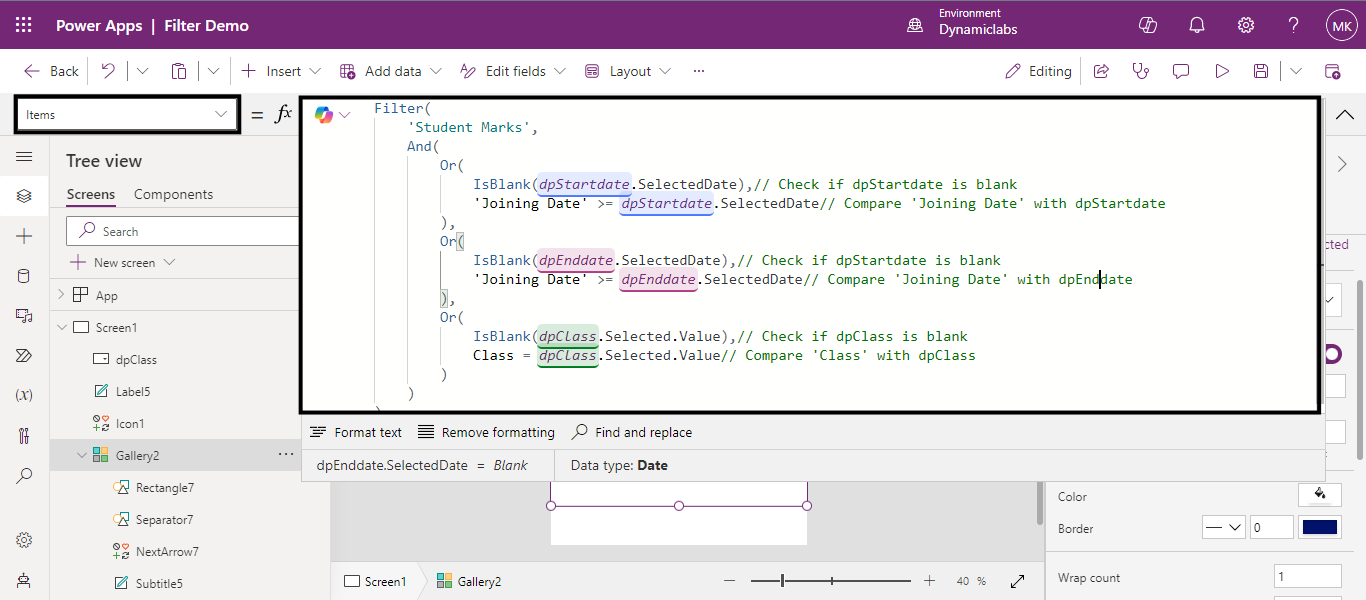
Before we proceed let me give you a glance at what I am going to do now, I have created a table ‘Student Marks’ which consists of columns like student name, marks, Joining date, Class, etc. Now I am going to create a filter that filters student records based on their joining date and class. 

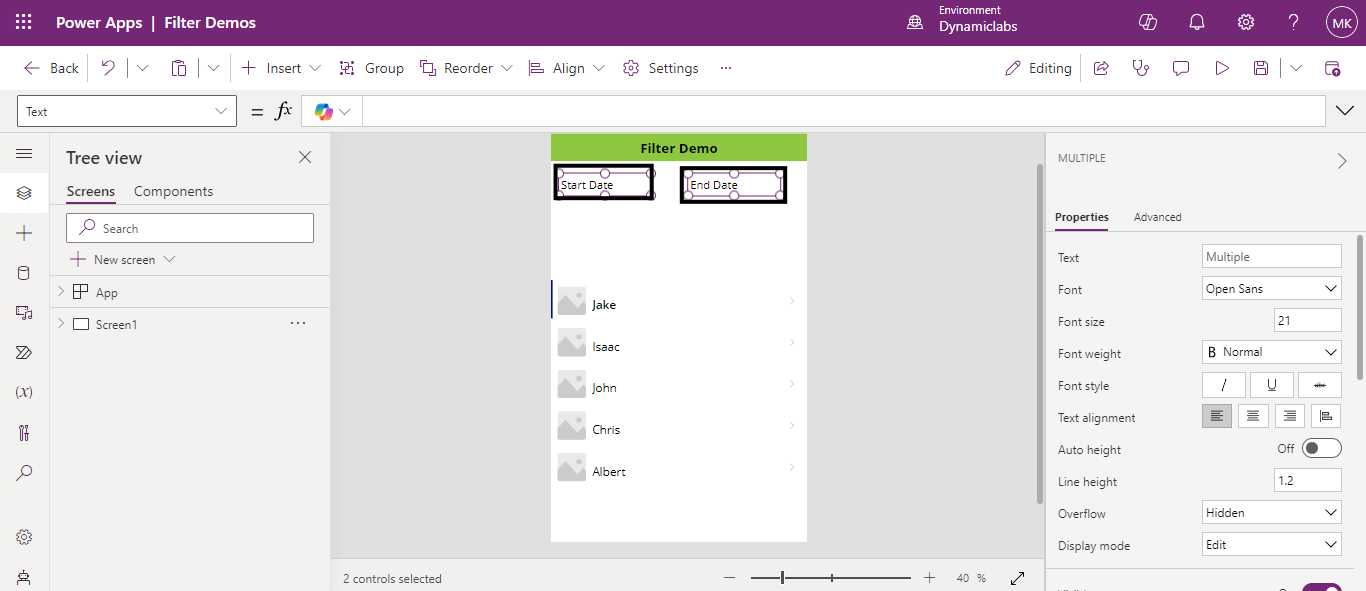
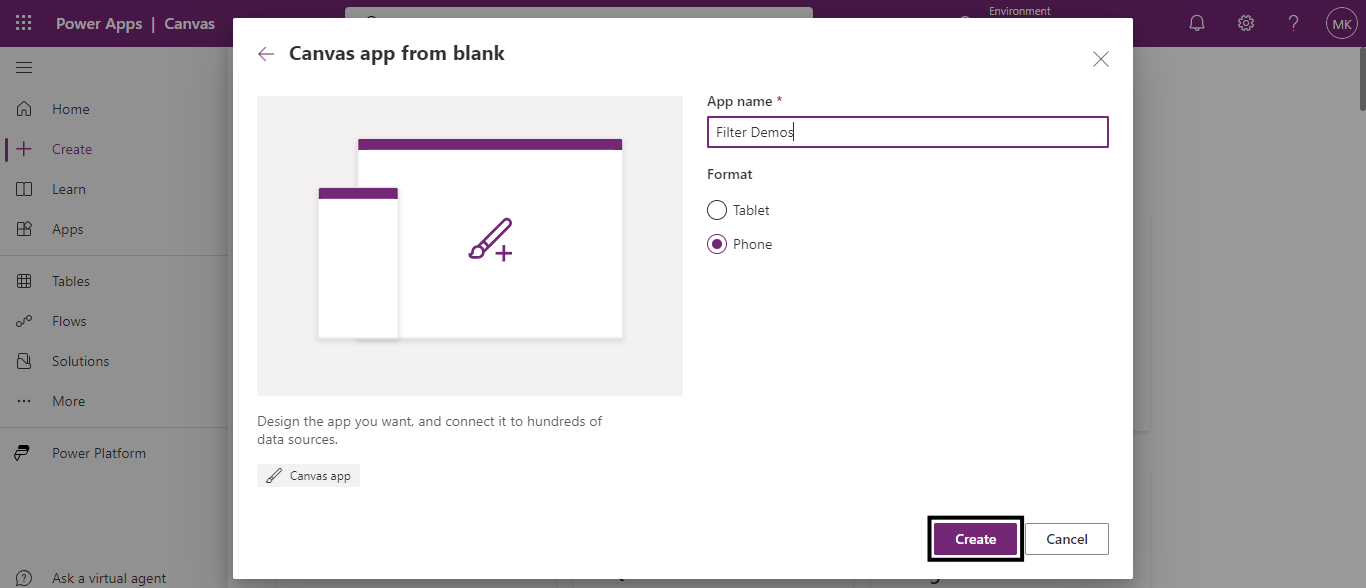
Firstly, log in to Power Apps, and create a canvas app, you can either select Tablet or Phone format. Here, I am selecting Phone. 

Creating Filters in Canvas Apps 01

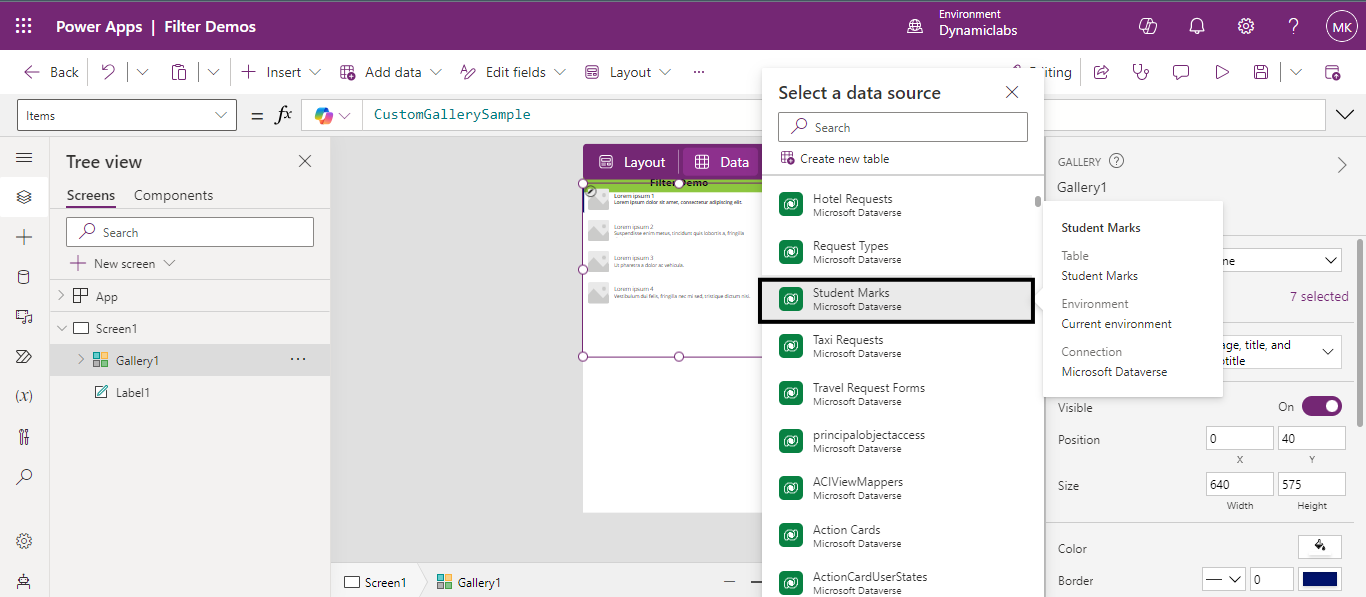
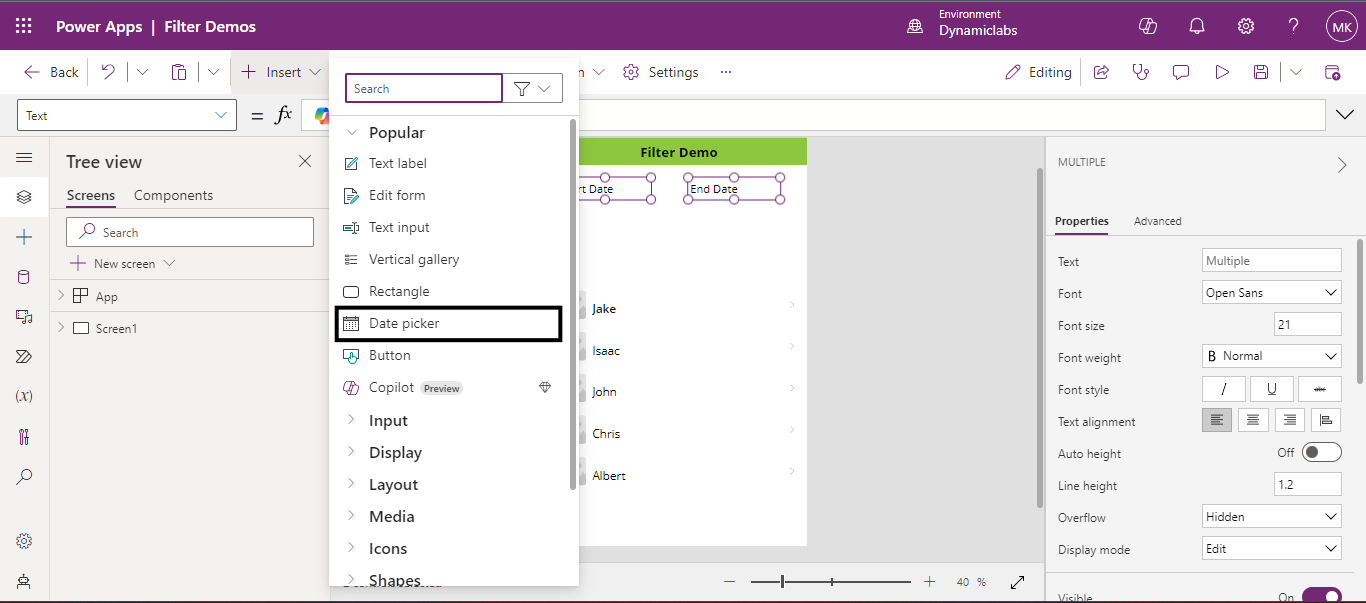
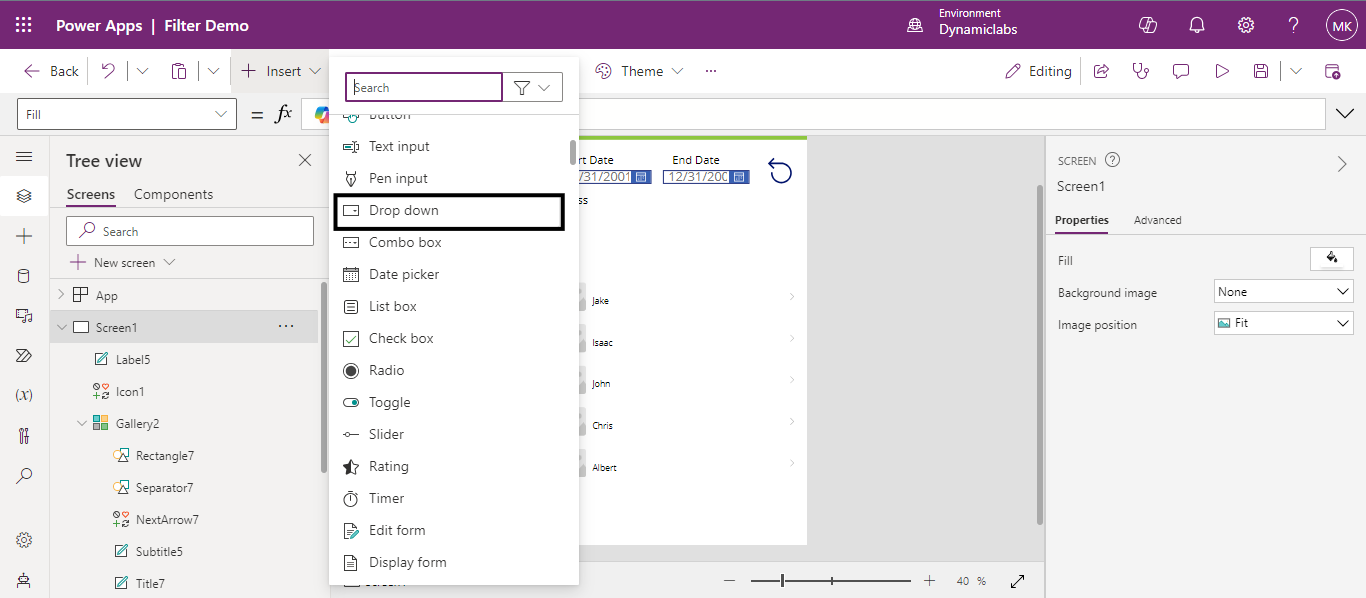
 From the insert drop-down select the vertical gallery. 

Creating Filters in Canvas Apps 02

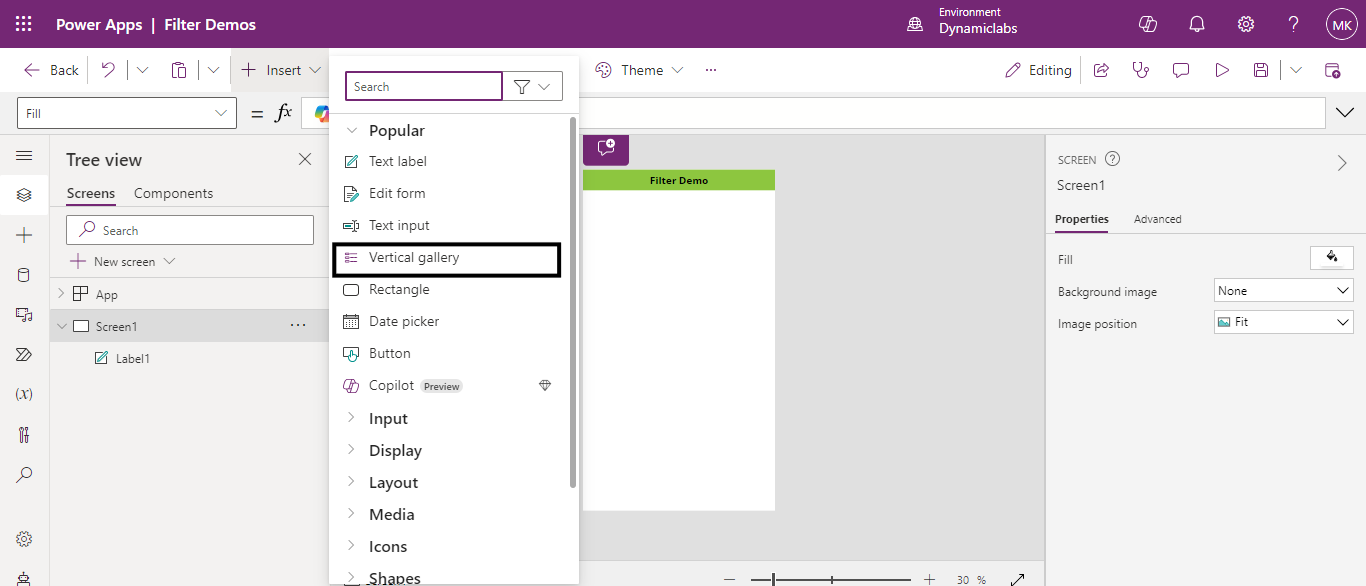
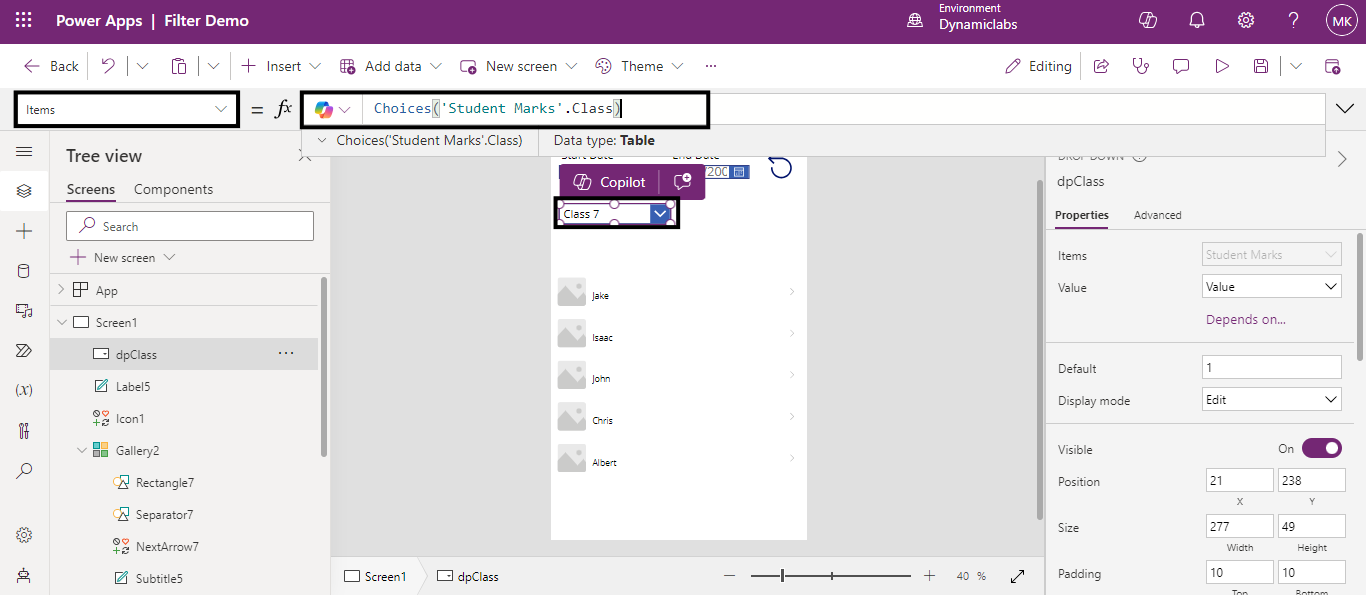
Now, we need to select a data source on which we are going to perform the filter operation which in my case is ‘ 

Back to all articles

More from the blog

Power Apps: Code View feature in Canvas App

Adding a Custom Page to your Power Apps Model-Driven App

Generate Temporary Download URLs in Dynamics 365 Using GetFileSasUrl

Enable Audio Playback in Dynamics 365 Contact Forms Using JavaScript

Integrating Your Copilot Agent with Teams

Adding Generative AI to your Cloud Flows with AI Prompts

How to Generate Early Bound Classes in Dataverse with XrmToolBox

Email Smarter in Outlook with Sales Copilot and Power Apps Integration

Need help with your business solution?

Our team can help you implement the right solution for your organization.

Get in touch
LogoLogo

Ex-Microsoft experts helping businesses get more from their Dynamics 365 and Power Platform investments.

Products

Student Marks’.
Creating Filters in Canvas Apps 03

After connecting it to the data source, we try to create and apply filters for our canvas app. Since my data source consists of a date column and a choice column, I want to create filters using them. 

Creating Filters in Canvas Apps 04

Here, I am going to select the text labels from the insert menu which I am going to use as Start Date and End Date.

Creating Filters in Canvas Apps 05

Next, select the date picker from the insert drop-down menu. 

Creating Filters in Canvas Apps 06

Since we have a start date and an end date, we need to select two date pickers and place them below the text labels. These date pickers act as date filters which filter the records based on start date and end date. 

Creating Filters in Canvas Apps 07

To reset the filters after using them we need to add a reset button on the screen by selecting it from the insert menu. 

Creating Filters in Canvas Apps 08

Now pick the dropdown option from the insert menu which will act as a choice field, and we are going to apply filter on that.

Creating Filters in Canvas Apps 09

To add choices to the dropdown menu we created, go to the items property of the dropdown, and write a formula using the function, Choices. 

Syntax: Choices(your_datasource.column_name) 

Creating Filters in Canvas Apps 10
Now to make filters work, go to the items property of the gallery, and write a formula using the filter function. 

Filter(
    'Student Marks',
    And(
        Or(
            IsBlank(dpStartdate.SelectedDate),
            'Joining Date' >= dpStartdate.SelectedDate // Check if dpStartdate is blank and Compare 'Joining Date' with dpStartdate
        ),
        Or(
            IsBlank(dpEnddate.SelectedDate),
            'Joining Date' >= dpEnddate.SelectedDate // Check if dpStartdate is blank and Compare 'Joining Date' with dpEnddate
        ),
        Or(
            IsBlank(dpClass.Selected.Value),
            Class = dpClass.Selected.Value // Check if dpClass is blank and Compare 'Class' with dpClass
        )
    )
)

This formula filters student records from the 'Student Marks' table based on their joining date and class. If a start date is selected, it retrieves records with joining dates on or after that date. If an end date is selected, it retrieves records with joining dates on or before that date. If a class is selected, it retrieves records belonging to that class.  

Creating Filters in Canvas Apps 11

Now to reset the filters, we need to activate the filter button. This involves writing a formula for the 'OnSelect' property of the reset button.

Creating Filters in Canvas Apps 12

Preview the app, and let’s see how our filters work. So, here, we selected the date range and choice from the drop-down, and the records that match that date range and choice are filtered. 

Creating Filters in Canvas Apps 13

In summary, adding multiple filters to a gallery in Canvas Apps makes it much easier for users to find exactly what they need. These filters act like shortcuts, helping people quickly sort through lots of information. Overall, having these filters makes the app easier to use and more helpful for everyone. 

Frequently Asked Questions (FAQs):

1. What is a filter in Canvas Apps? 

 Filter in Canvas Apps is a function used to retrieve a subset of records from a data source based on specific criteria. 

 2. How do I apply a filter in Canvas Apps? 

You can apply a filter using the Filter function, which takes a data source and a formula defining the filtering criteria. 

 3. Can I use multiple filters in Canvas Apps? 

Yes, you can use multiple filters in Canvas Apps. They help refine and narrow down the data displayed in various controls like galleries, tables, and forms. You can apply filters using the Filter function, combining different conditions with logical operators like && (AND) or || (OR). 

 4. Can I use dynamic values for filtering? 

Yes, you can use dynamic values for filtering in Canvas Apps. Dynamic filtering allows you to change filter criteria based on user input, variables, or other dynamic factors. You can use formulas or functions to incorporate dynamic values into your filter conditions, adapting the filtering logic to match the current context of your app. 

Metadata Browser
  • HTML To PDF Converter
  • Data Mask for Dataverse
  • Commission 365
  • AI Autocloser
  • Flow Monitor
  • Services

    • D365 Marketing
    • D365 Sales
    • D365 Customer Service
    • D365 Field Service

    Company

    • About Us
    • Blog
    • Contact
    • Careers

    Copyright ©2026 Pascalcase Software Private Limited. All rights reserved.

    Privacy PolicyTerms of Service