What is Liquid?
Liquid is an open-source template language that works by embedding placeholders, logic, and filters directly into HTML. It enables developers to access and display data from sources like Dataverse dynamically, making it possible to tailor content to each user's needs or roles.
In this blog, we’ll explore how Liquid Code can be used to dynamically update a button’s behavior in Power Pages. Whether its displaying actions based on user roles, providing tailored options, or simplifying complex workflows, this approach enables a seamless and interactive experience for users.
Scenario: Dynamic Family Account Actions Based on User Role
In our use case, we’re leveraging Liquid Code in Power Pages to dynamically update button actions based on a user's family account data stored in Dataverse. This ensures that the user sees only the options relevant to their role within a family account, creating a tailored and intuitive experience.
Here’s how the button behavior works:
1. Users Not in a Family Account: If a user is not part of any family account, they see a button prompting them to create a family account.
Action: "Create Family Account"
This guides users to start the process of establishing their family account.
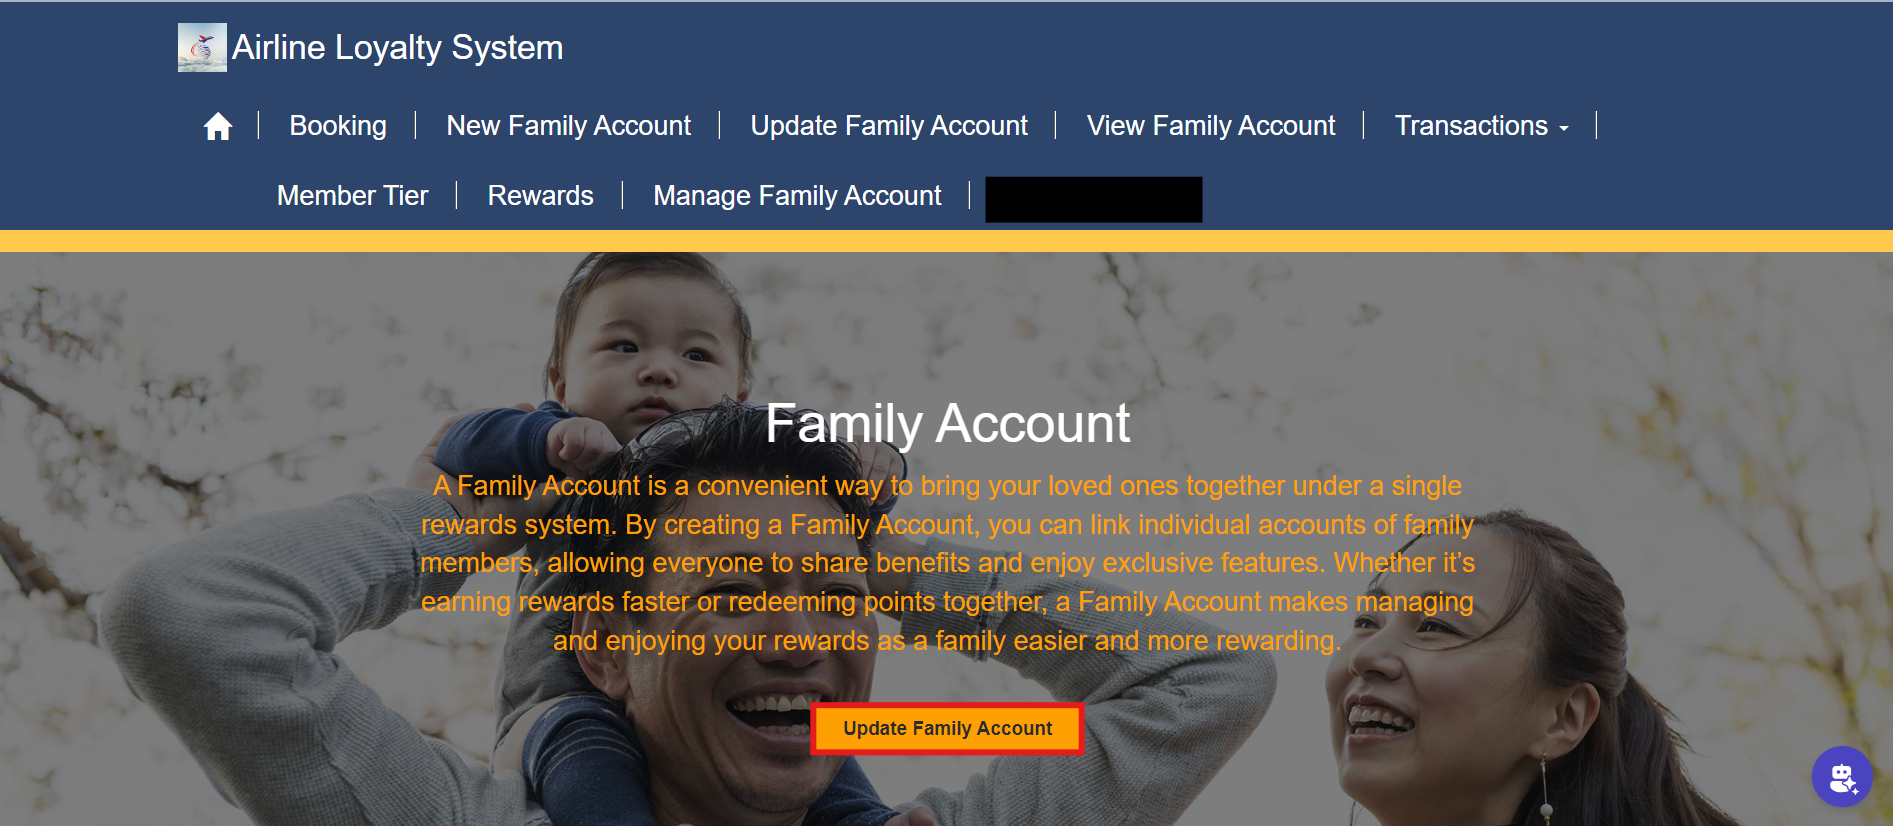
2. Primary Contact for a Family Account: If the user is a primary contact for a family account, the button allows them to update or manage their family account details.
Action: "Update Family Account"
This ensures they have easy access to manage their family’s information.
3. Family Account Member: If the user is a member of an existing family account but not the primary contact, the button directs them to view the family account details.
Action: "View Family Account"
This limits their actions to viewing the family information while preserving data integrity.
By implementing this scenario, we demonstrate how Liquid Code and Dataverse can be combined to provide user-specific options dynamically. This approach not only enhances user experience but also streamlines navigation and functionality within Power Pages.
Step-By-Step Guide:
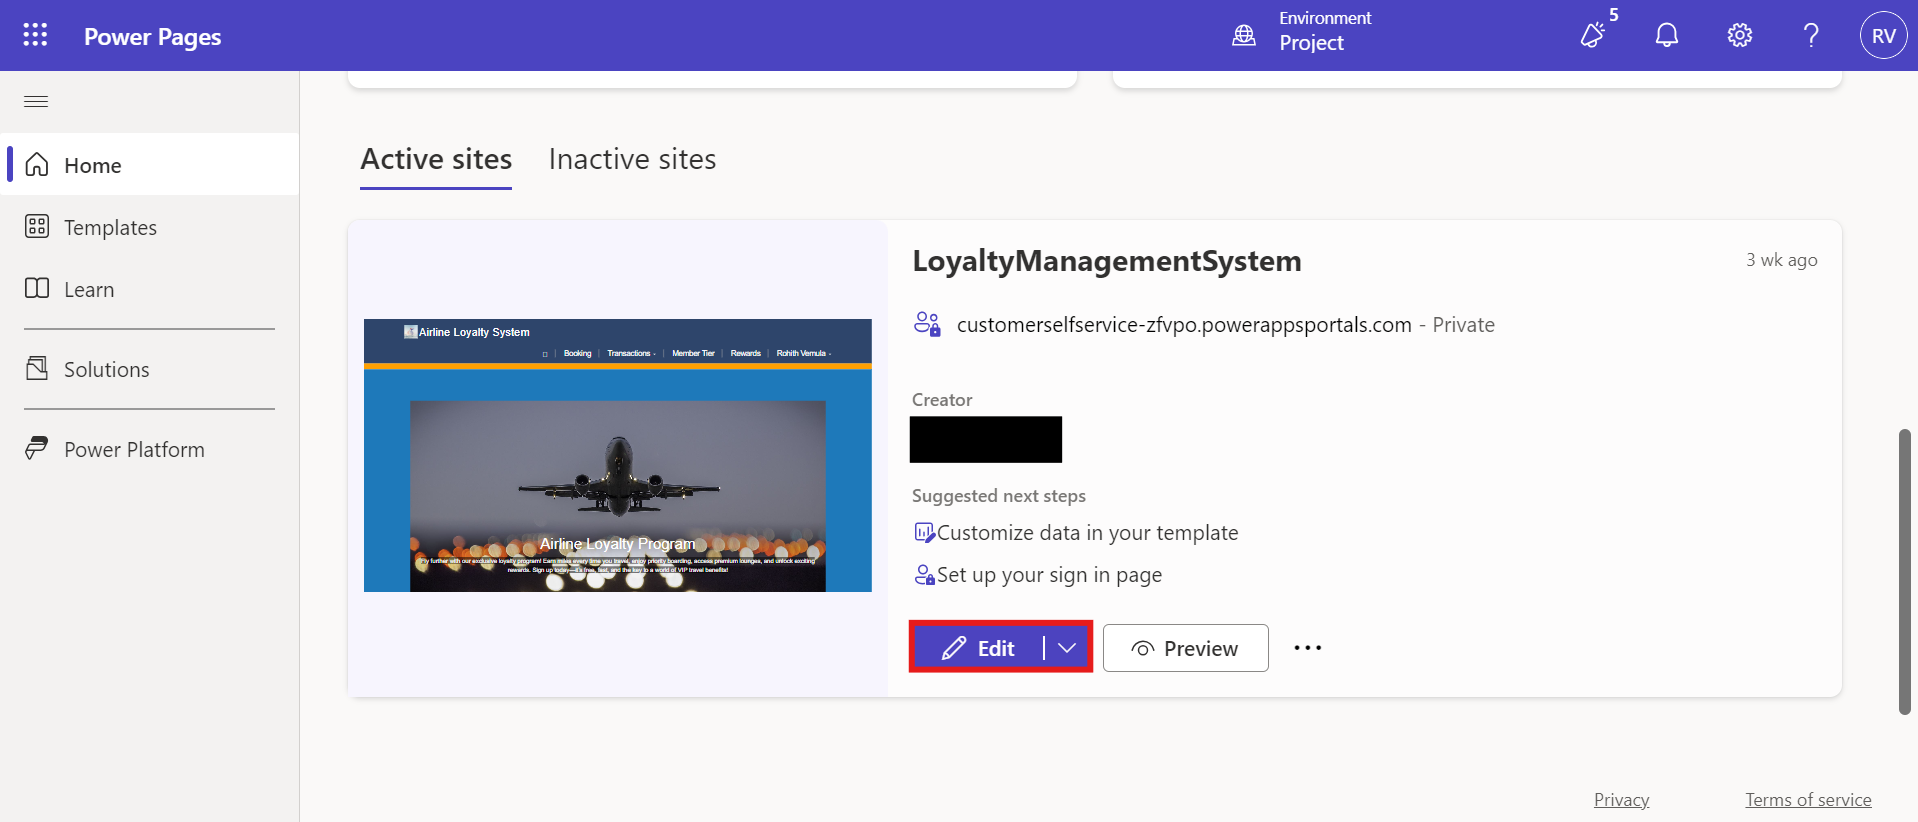
Open Power Pages Studio and edit your site or create a new site.
Locate or Create the Page:
If you have an existing page:
Go to the "Pages" section and find the page where the dynamic button will be placed.
If you’re creating a new page:
Click on “New Page”, name it appropriately (e.g., Family Account), and choose a layout that fits your design needs.
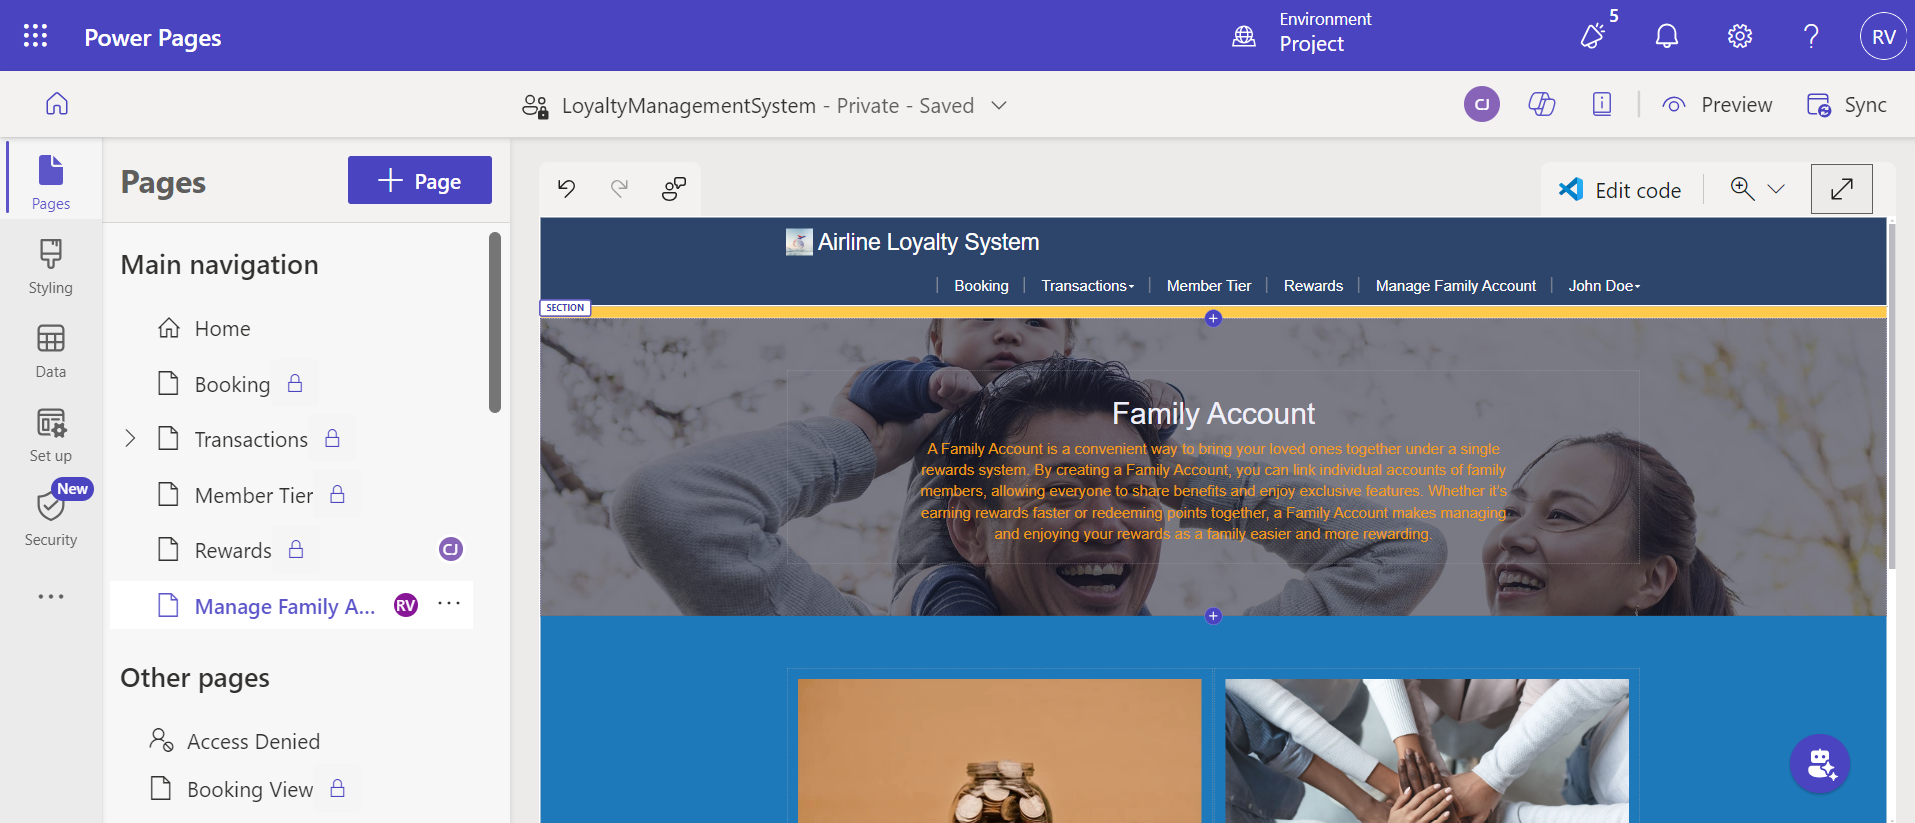
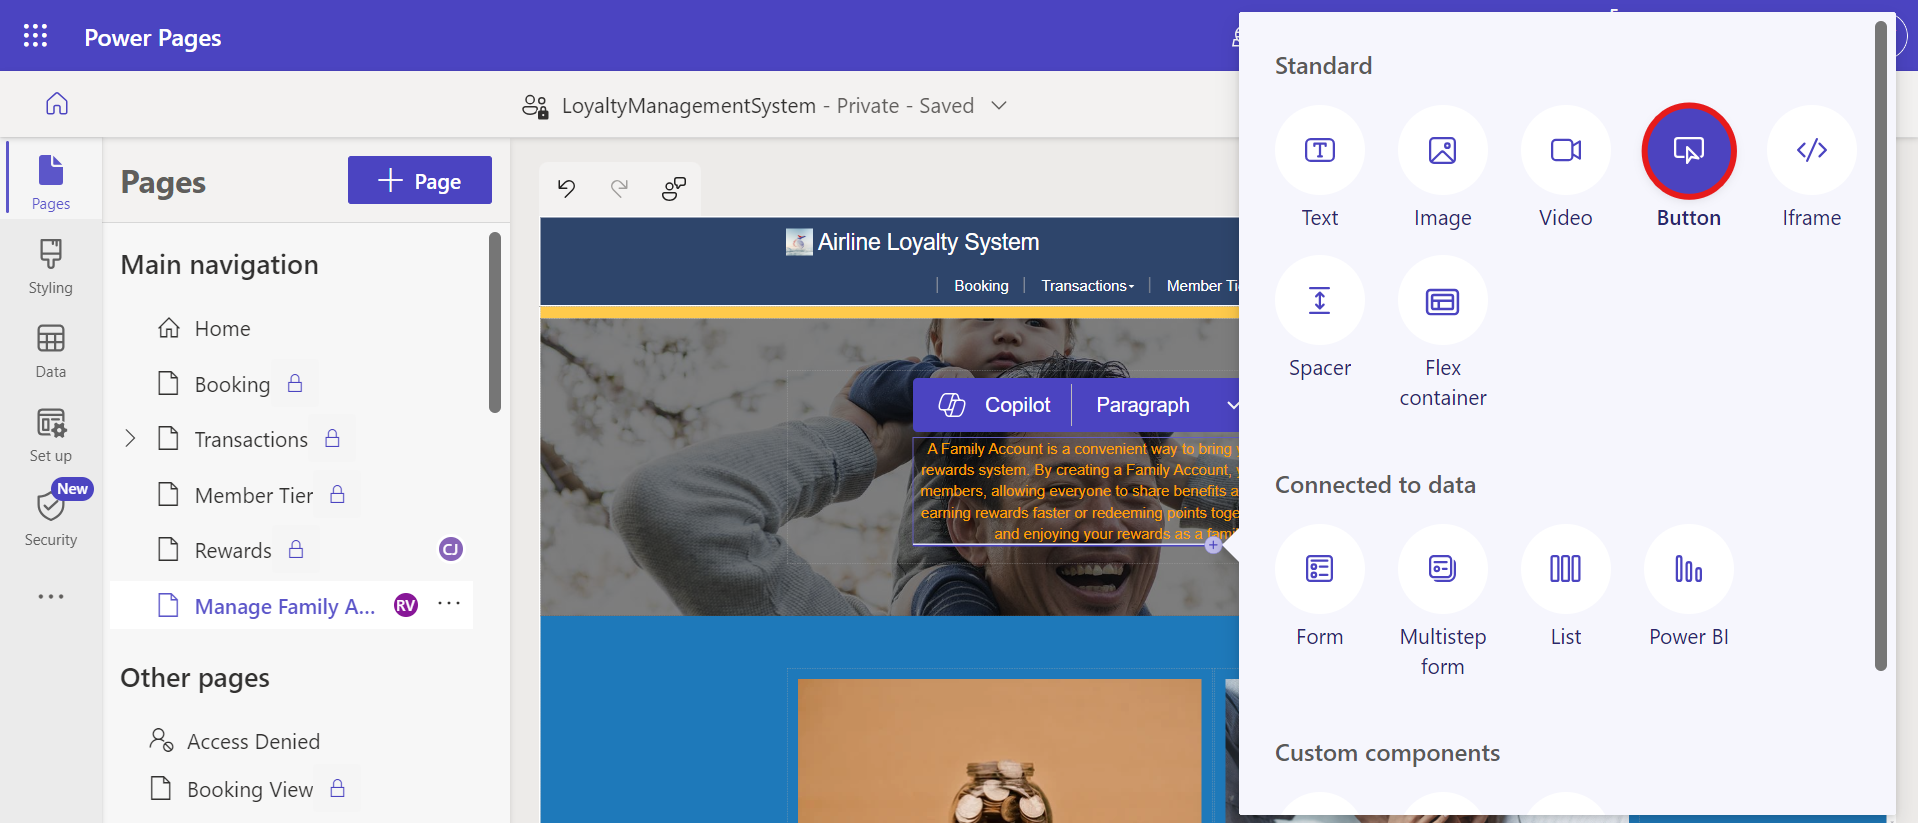
Now add a button to your page at a suitable location and name it appropriately.
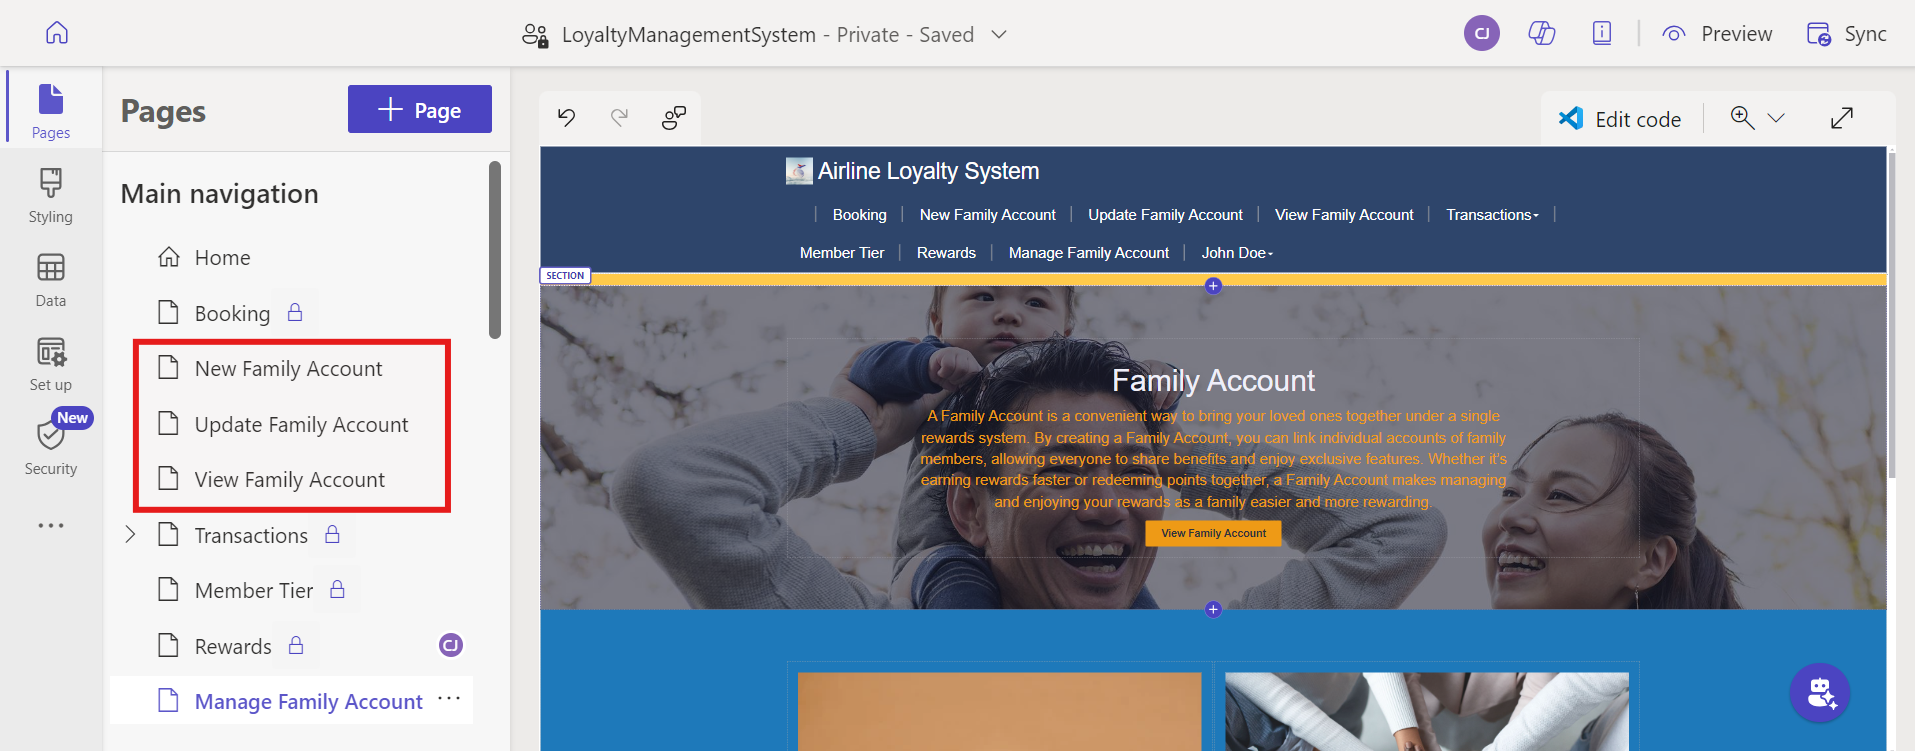
Before implementing the Liquid Code, we need to prepare the three pages that users will be redirected to, based on their role. These pages will serve as the foundation for the functionality provided by each button.
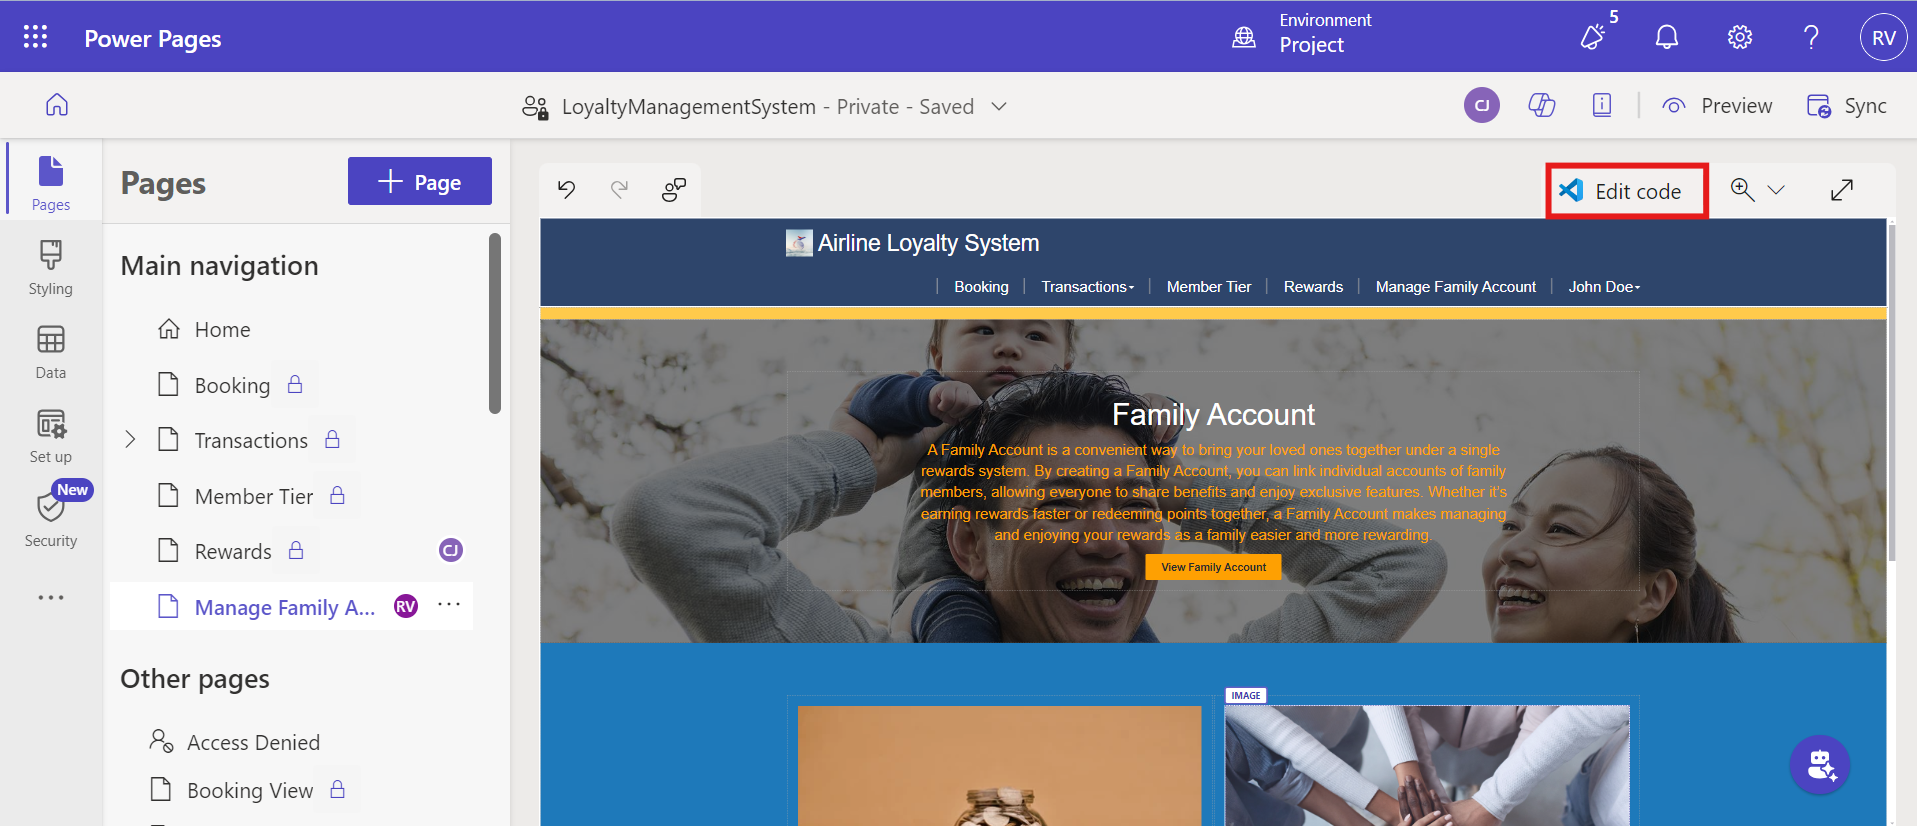
Now, click on the “Edit Code” button located at the top-right corner of the Power Pages Studio. This will open the code editor where you can modify the page’s HTML directly.
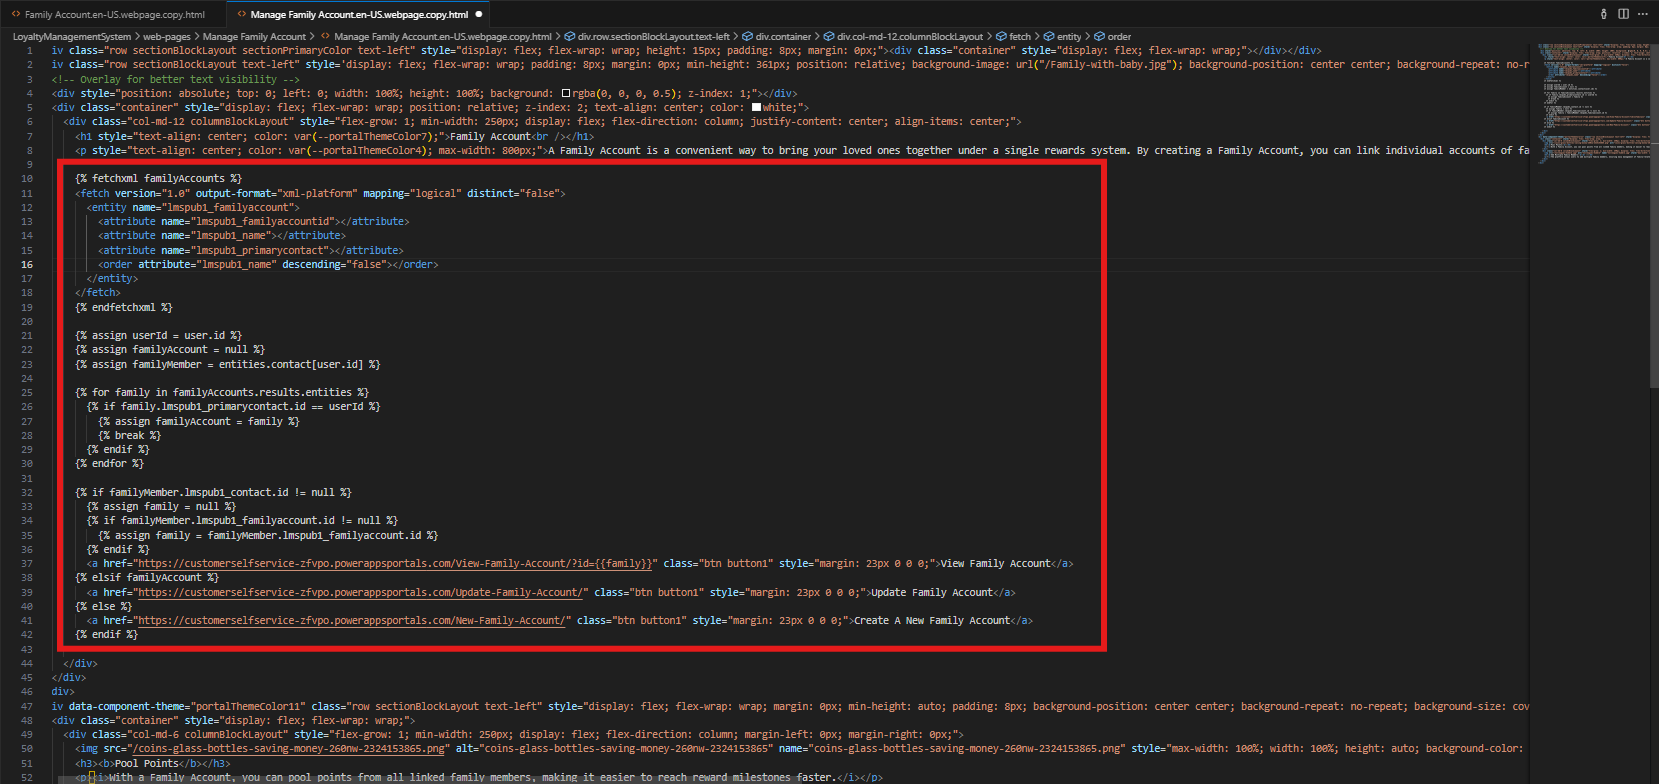
Inside the code editor, locate the code for the button; usually, it’s an anchor tag above the button. We need to retrieve the family account details of the current user using Fetch XML.
The {% fetchxml %} tag retrieves data from the Dataverse’s lmspub1_familyaccount table
This FetchXML will retrieve all the family accounts present in the Dataverse.S

Now we need to initialize few variables to store user and family details.
In the first line we are assigning the current logged in users id (contact id) as userId.
In the second line we are initializing a variable familyAccount to store the current user’s family account if it exists.
In the third line we are retrieving the current user’s information from the contact table using the userId we assigned initially and storing it in the familyMember field.

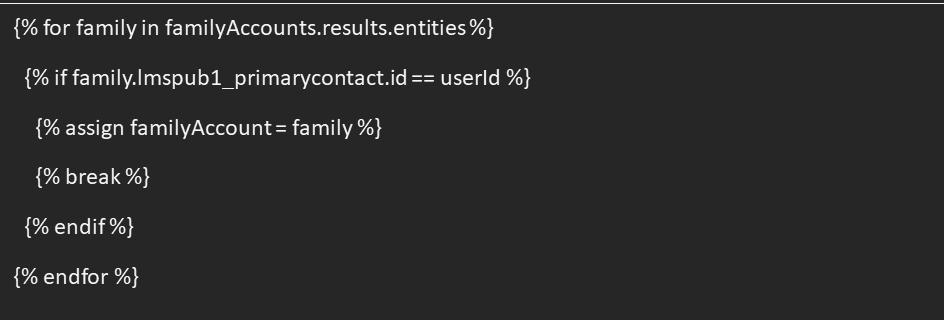
Now we need to find whether the current user is a primary contact of any family account.
We will loop through the result from FetchXML to determine whether the lmspub1_primarycontact field in any of family accounts match with the current user’s Id, if it matches, we will assign the familyAccount variable we initialized earlier with the matched familyAccount information.
Now, based on the outputs we will determine which button to display.
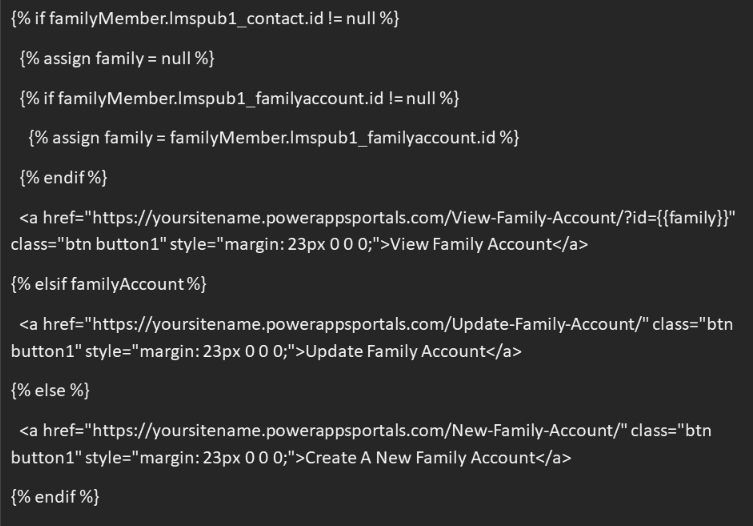
First, we check if the current user is part of a family by verifying whether familyMember.lmspub1_contact.id exists. If familyMember.lmspub1_contact.id is not null, it
confirms that the user is associated with a family account. In this case, the user will be shown a button linking to the “View Family Account” page. Additionally, the corresponding family account ID is attached to the URL, ensuring the user is redirected to the details of their specific family account.
Secondly, if familyMember.lmspub1_contact.id is null, we check if the contact is the primary member of a family account. This is done by verifying whether the familyAccount variable, assigned earlier in the code, is not null. If the condition is satisfied, the user will be shown a button linking to the “Update Family Account” page.
Finally, if both checks fail, the user will be presented with a button linking to the “Create Family Account” page, enabling them to create a new family account from scratch.
Now that the Liquid Code is ready, the final step is to test it by replacing the original static button code with the dynamic Liquid Code we created.
Frequently Asked Questions:
1. What is Liquid Code, and why is it used in Power Pages?
Liquid Code is a flexible templating language designed to dynamically render content. In Power Pages, it is used to customize the user experience by conditionally displaying elements, fetching data from Dataverse, and creating dynamic page behaviour without heavy server-side logic.
2. How does Liquid Code fetch data from Dataverse?
Liquid Code uses the fetchxml tag to retrieve data from Dataverse. You define a FetchXML query, and the results can then be used in the page to dynamically adjust the content based on the retrieved data.
3. Can Liquid Code handle complex logic and multiple conditions?
Yes, Liquid Code allows conditional statements, loops, and variable assignments to implement complex logic. You can check multiple conditions, iterate over data, and render specific HTML content dynamically.
4. Is Liquid Code specific to Power Pages, or can it be used elsewhere?
Liquid Code was originally developed for Shopify but is also supported in other platforms, including Power Pages and Power Apps Portals, where it is tailored to interact with Dataverse and portal-specific configurations.
5. What are the benefits of using Liquid Code in dynamic content rendering?
Liquid Code provides a lightweight and efficient way to create personalized, data-driven experiences. It eliminates the need for heavy JavaScript or backend processing for conditional content rendering, improving maintainability and performance.