
Working with strongly typed entities in Dynamics 365 makes your code more readable, maintainable, and less error prone. The Early Bound Generator plugin in XrmToolBox helps streamline this process by generating C# classes directly from your Dataverse schema. In this blog, we'll walk you through how to set up and use the Early Bound Generator to enhance your Dynamics 365 development experience.
What is Early Bound?
Early bound classes are C# representations of Dataverse tables (entities), columns (fields), and relationships. Instead of strings like "new_name" or "contactid", you use properties like Contact.Name or Contact.ContactId.
Benefits of Using Early Bound Classes:
IntelliSense in Visual Studio provides quick access to entities, attributes, and relationships while coding.
Compile-time error detection ensures issues are caught early, reducing runtime bugs.
Refactoring is simpler and safer, as changes automatically reflect across your codebase.
The code becomes cleaner, more readable, and easier to maintain.
Prerequisites:
Visual Studio (2019 or later)
XrmToolBox (download from XrmToolBox)
.NET SDK installed
Connection to a Dataverse environment
Step-by-step Guide:
Step 1: Installing the Early Bound Generator Tool
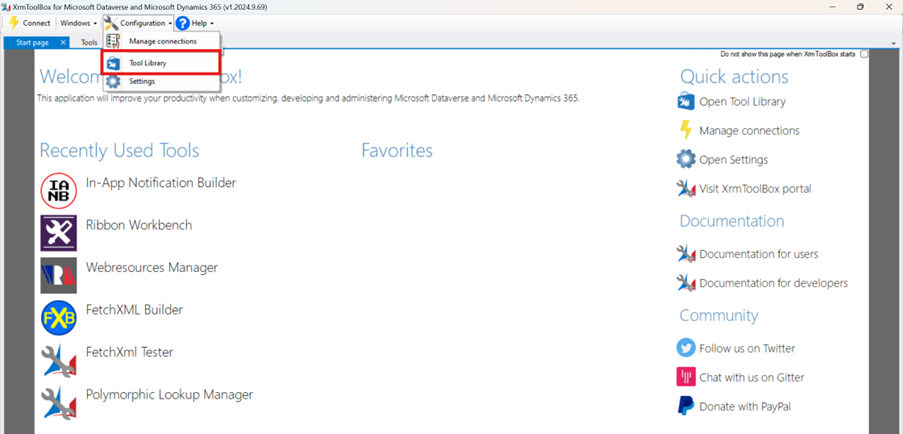
Open XrmToolBox and click on Configuration.
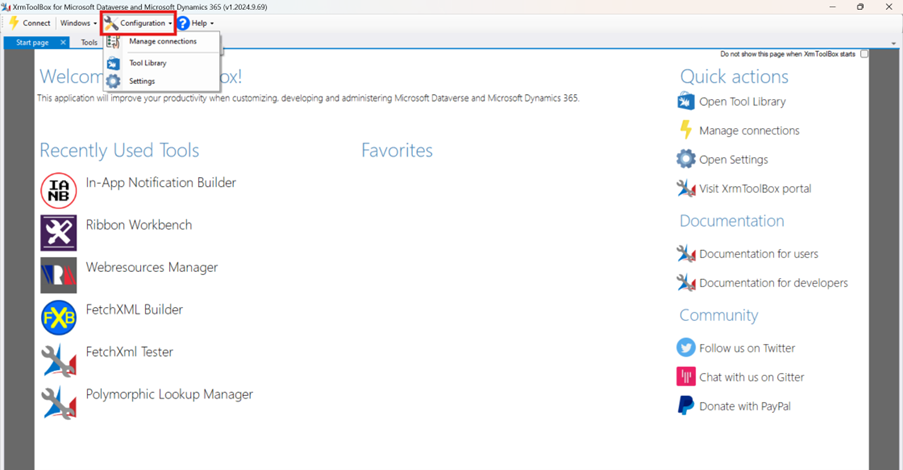
Select Tool Library.
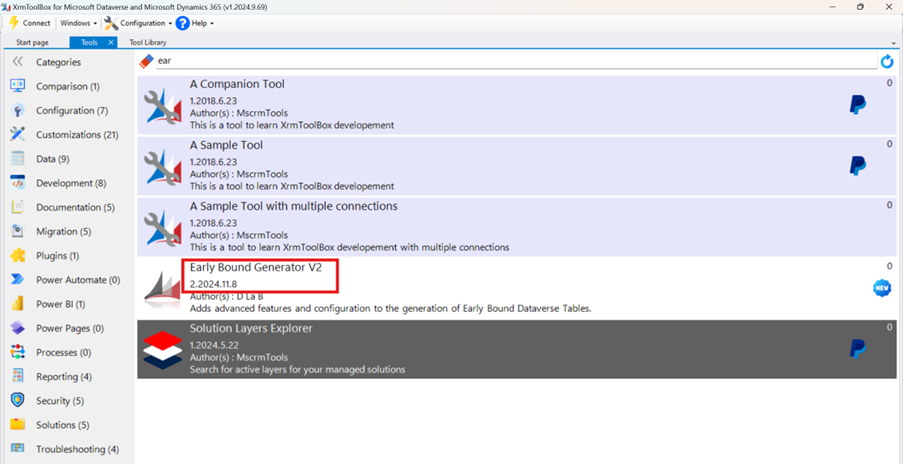
Search for Early Bound Generator V2.
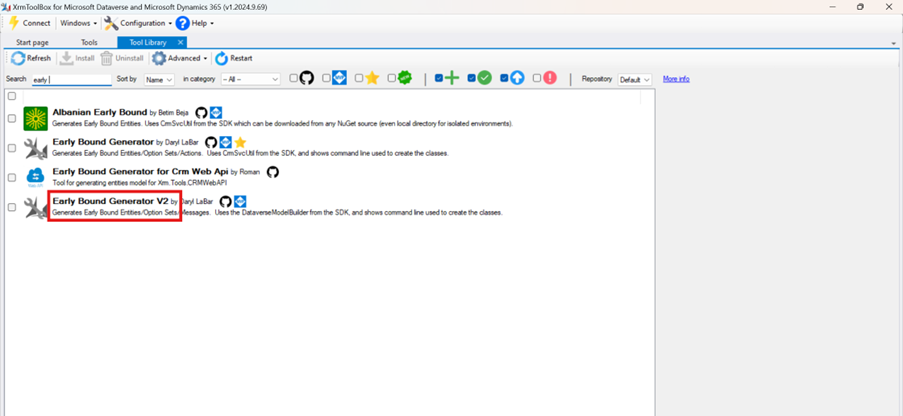
Click Install.
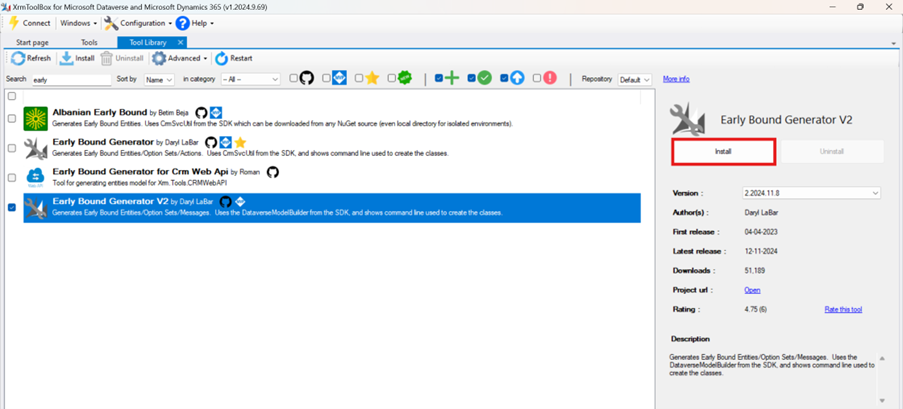
Once installed, it will appear in the list of available tools.
Step 2: Connect to Your Environment
Open the Early Bound Generator from the main menu.
Click on Connect.
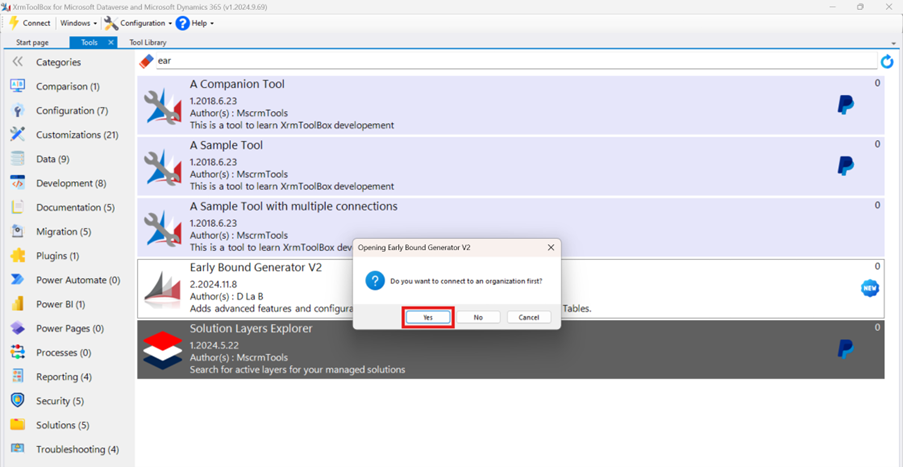
Choose or create a connection to your Dataverse environment.
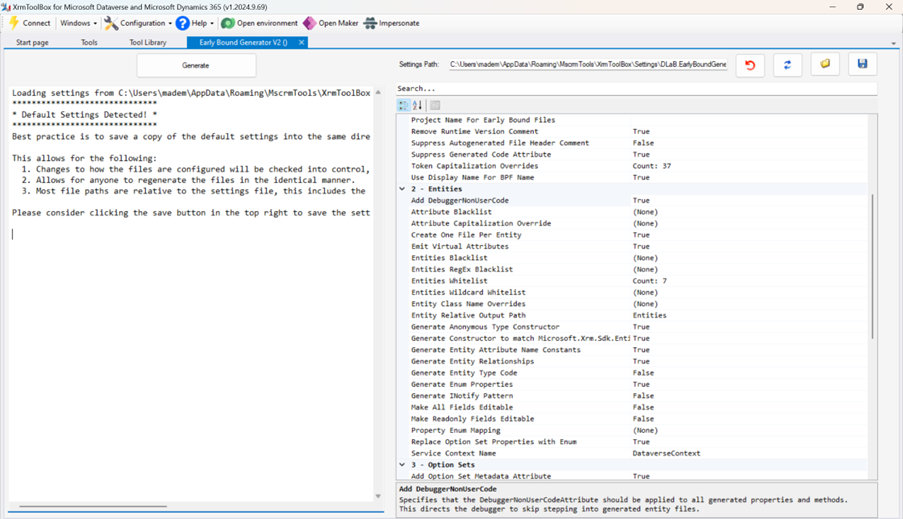
After a successful connection, metadata will start loading automatically.
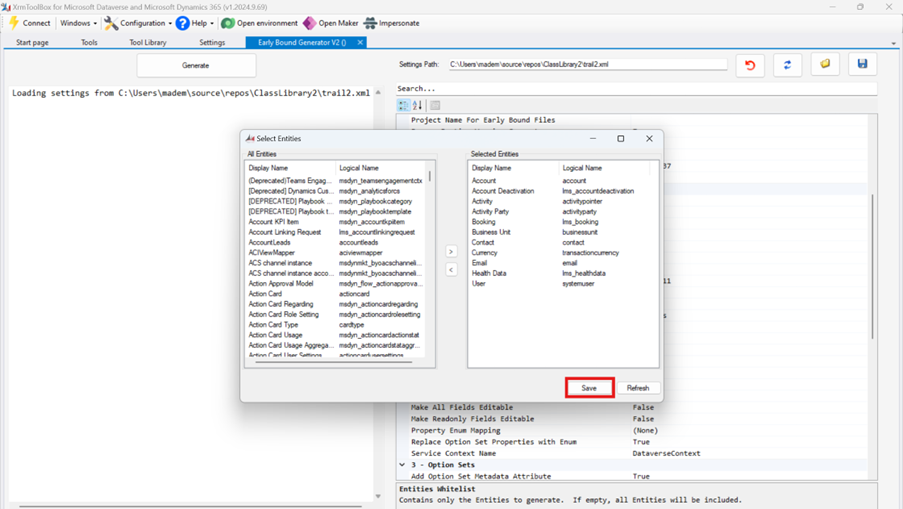
Step 3: Select Entities and Generate Early Bound classes.
Beside the Whitelist Entities section, choose only the tables you plan to work with.
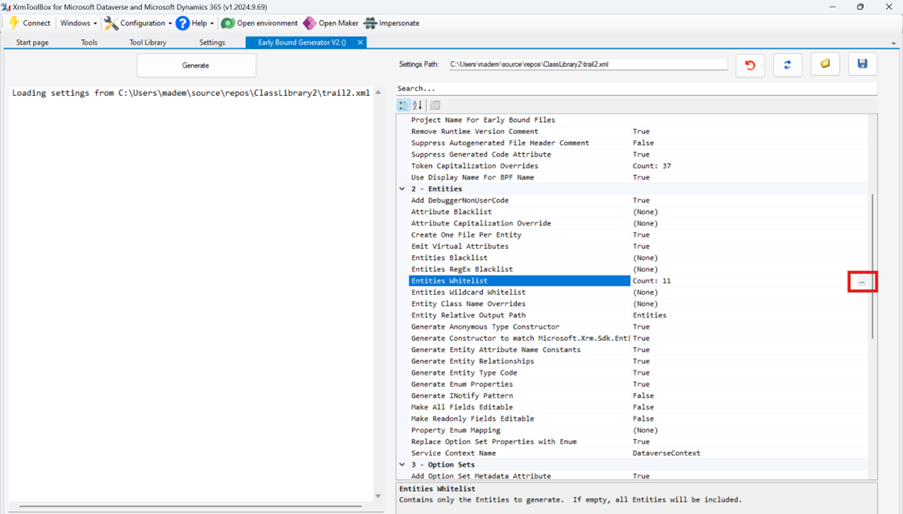
Choose the tables and click Save.
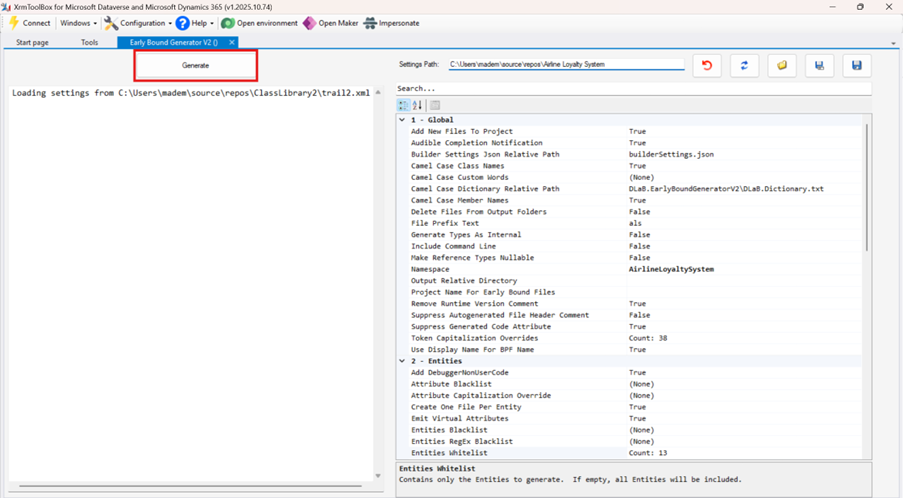
Provide File Prefix Text (e.g., als) and Namespace (e.g., AirlineLoyaltySystem).

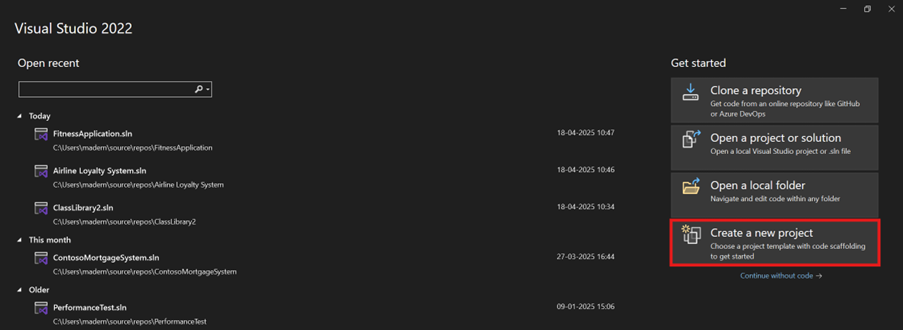
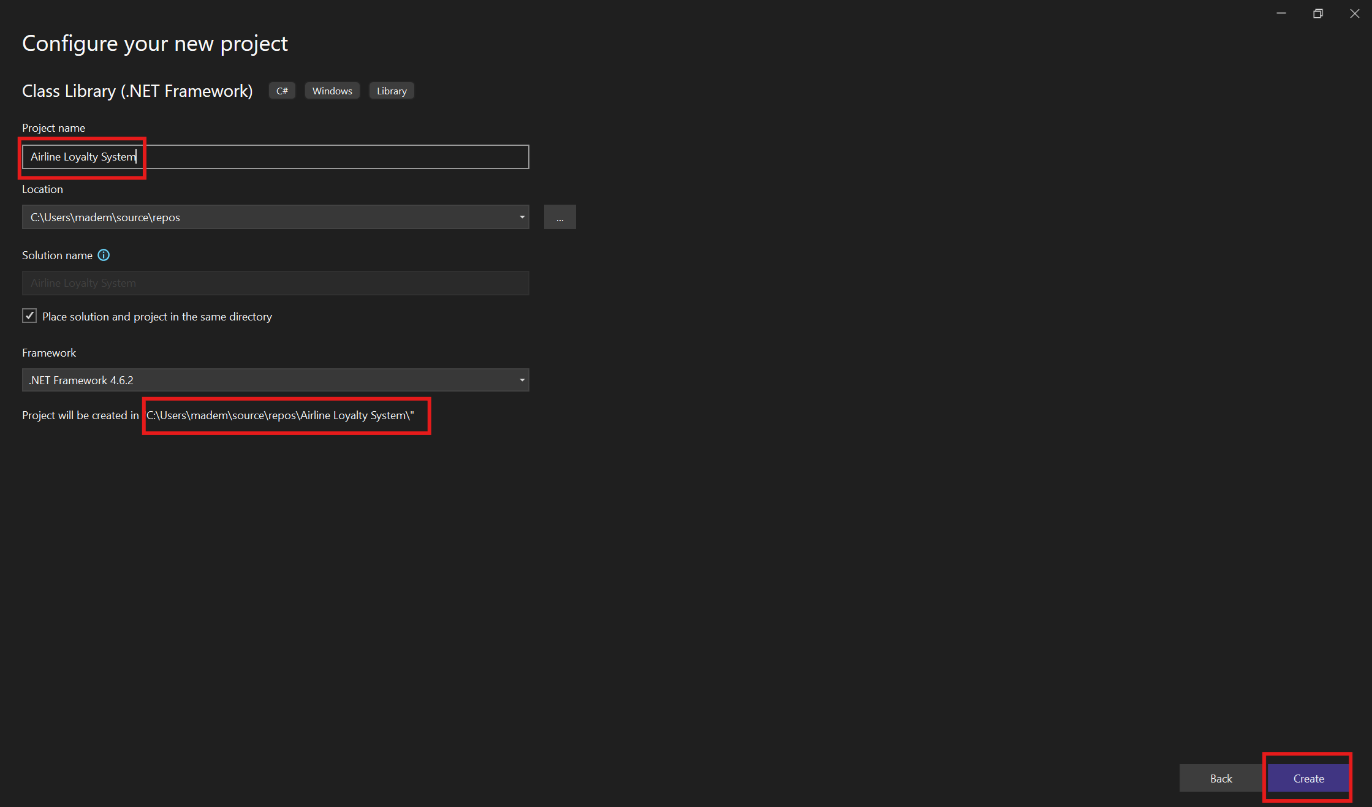
Create a new solution in Visual Studio.
Give the project name, copy the path, and click Create.
Paste this path into the Output Path section of the Early Bound Generator tool.
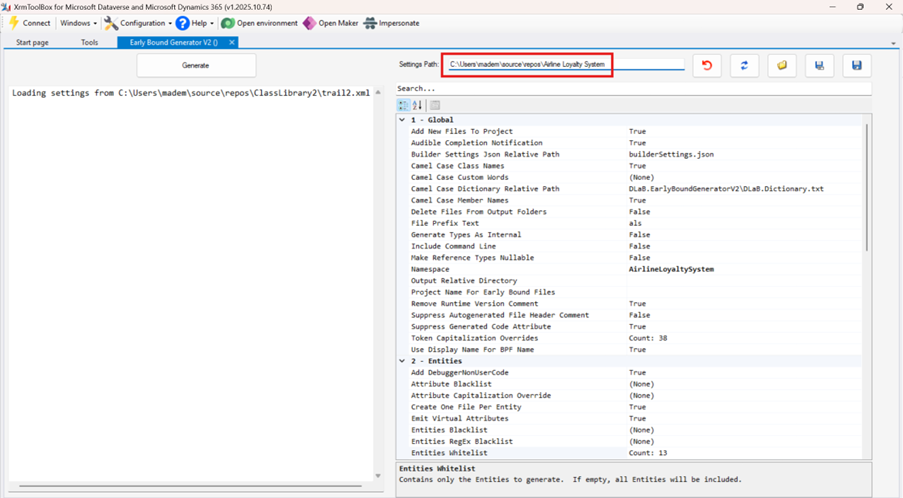
Click Generate.
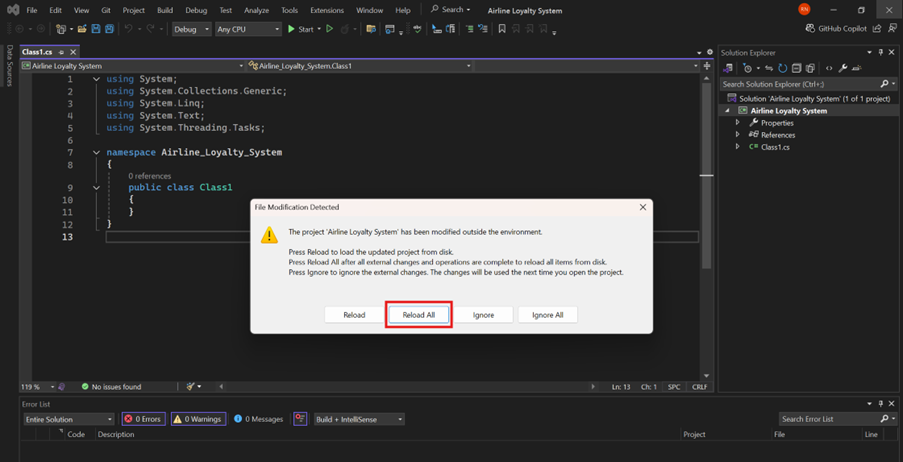
Step 4: Load Generated Files to Visual Studio.
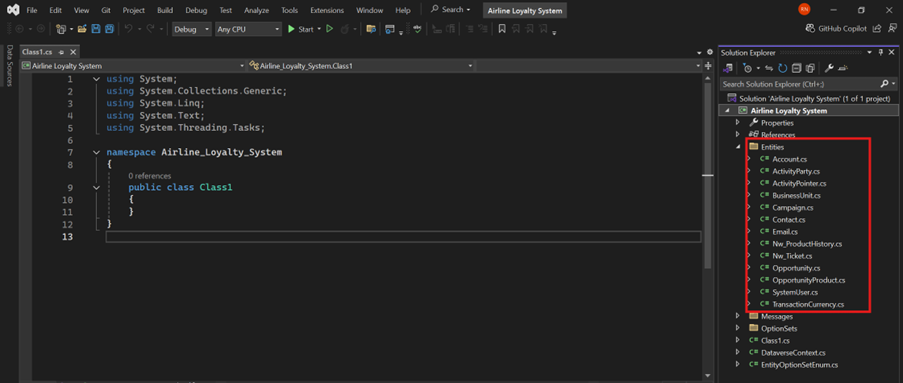
Open Visual Studio and click on Reload All.
Now, you can see the early bound classes of all the selected entities.
When writing Dataverse code manually, hard-coded logical names for tables and fields had to be used, requiring developers to remember exact schema names and increasing the risk of errors.
Early bound classes solve this by bringing the Dataverse schema directly into the codebase as strongly typed C# classes. As a result, instead of relying on logical names, Visual Studio can directly suggest tables and fields from the generated early bound classes, making development faster, safer, and more structured.
Frequently Asked Questions (FAQs):
1. Can I regenerate early bound classes if the schema changes in Dataverse later?
Yes. If you make changes to your Dataverse schema (e.g., adding new fields or tables), you can reopen the Early Bound Generator, reload metadata, select the updated entities, and regenerate the classes. Make sure to reload them into Visual Studio afterward.
2. What happens if a field used in early bound class is deleted from Dataverse?
The generated class will still contain that field’s property. But if you try to access or set that property during runtime, it might throw an exception or fail silently depending on the scenario. You should always regenerate the classes after schema updates to keep your code in sync.
3. Can early bound and late bound approaches be used together in the same project?
Yes, you can mix both approaches in the same solution. This might be useful when working with dynamically defined entities or fields not included in your early-bound generation.
4. Are early bound classes only useful in plugins?
No. You can use early-bound classes in custom workflow activities, console apps, Azure functions, and any C# project that connects to Dataverse using the SDK. They improve maintainability across all types of projects.
5. What should I do if some entities are missing from the whitelist selection?
Ensure you have sufficient privileges and that those tables aren’t hidden or restricted. Furthermore, try reloading metadata or restarting XrmToolBox, as sometimes the metadata cache doesn’t refresh immediately.